Advertisement
Quick Links
Advertisement

Related Manuals for Yeti Cycles SB6C 2016


Summary of Contents for Yeti Cycles SB6C 2016
- Page 1 OWNER’S MANUAL 2016 YETI SB6C...
-
Page 2: Table Of Contents
TABLE OF CONTENTS BRAND OVERVIEW FRAME FEATURES GEOMETRY MAINTENANCE SCHEDULE SETUP OVERVIEW SHOCK SETUP DERAILLEUR HANGER INSTALL CABLE/LINE SETUP TECHNICAL ASSEMBLY OVERVIEW EXPLODED VIEWS REBUILD KITS LEGAL WARRANTY CONTACT INFORMATION... - Page 3 WELCOME TO THE TRIBE. CONGRATULATIONS ON YOUR PURCHASE OF A NEW YETI. We are confident your new bicycle will exceed This manual outlines basic setup and your expectations for value, performance, and maintenance recommendations of your new ride quality. Each frameset and component Yeti.
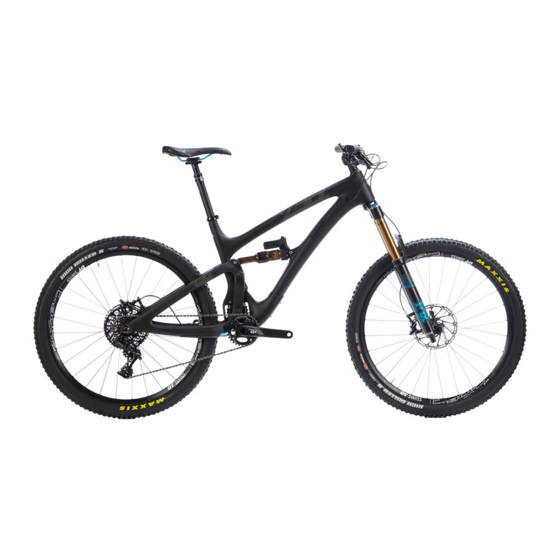
- Page 4 THE LOWDOWN ON THE The SB6c delivers 6 inches (157mm) of travel with our patented Switch Infinity Technology. Efficient pedaling performance while still AND ITS FEATURES. smooth and continuous when the going gets rough. High modulus carbon provides a stiff, strong and light weight chassis.
-
Page 5: Geometry
GEOMETRY FOX 36 / 160MM FORK 15.0 16.5 17.5 20.5 21.8 22.8 23.8 24.8 25.8 65.5 65.5 65.5 65.5 65.5 73.5 73.5 73.5 73.5 73.5 17.4 17.4 17.4 17.4 17.4 44.6 45.7 46.8 47.8 48.9 13.6 13.6 13.6 13.6 13.6 28.7 28.8 28.9... -
Page 6: Overview
KEEP YOUR YETI FRESH AND CLEAN OVERVIEW TORQUE Following these guidelines will help maintain the performance of your bicycle and prevent Yeti strongly recommends using a torque wrench when assembling your frame. Torque more serious problems from arising. It is important to remember that service intervals can vary specifications for individual parts on the SB6c are listed below, as well as in the step by step depending on climate, trail conditions and riding frequency. -
Page 7: Shock Setup
SHOCK SETUP YETI TIPS TOOLS NEEDED Inspect your shock for any visible damage. • Shock Pump If oil is leaking or you notice any damage to • Metric Tape Measure the surfaces or seals, please contact the Fox Racing Shox service center for repair at 800. FOX.SHOX or your local bike shop. -
Page 8: Derailleur Hanger Install
DERAILLEUR HANGER INSTALLATION DERAILLEUR HANGER INSTALL YETI TIPS TOOLS NEEDED NOTE: The hanger cap is REVERSE • 6mm Allen key THREADED. Be careful not to strip out the • Grease Hanger tool faces. The cap is marked with a tighten direction arrow. Inspect the frame around the hanger seat for any suspicious damage any time you replace 01. - Page 9 CABLE HOUSING SETUP The SB6c uses internally routed full length cable housing. By using full cable housing, we have eliminated break points in the line of your shifter housing. This allows riders to experience better overall shifting performance by reducing the entrance of unwanted elements such as sweat and sediment.
- Page 10 Place them with the flat side toward the opening. Warning: Service on Yeti bicycles requires special knowledge and tools. Yeti Cycles recommends that all service and repairs be performed by an authorized Yeti Dealer Insert the Infinity Link from the non-drive side.
- Page 11 ASSEMBLY ASSEMBLY Insert the link and align the lower pivot. Place Place the steel washer on the lower link bolt and Slide the main pivot pin through the swingarm Prepare and install the upper link pivot pin the the steel washer over the pivot pin, apply a small apply pink Loctite (222).
- Page 12 ASSEMBLY ASSEMBLY Using a soft mallet push the female shock Prep and install the male shock mounting Prepare both your collet bolts with grease. You Using a 5mm allen wrench, thread both collet mounting hardware through the frame and shock hardware on both ends of the shock.
-
Page 13: Exploded Views
EXPLODED VIEW... - Page 14 EXPLODED VIEW PARTS LIST ITEM# PART # DESCRIPTION ITEM# PART # DESCRIPTION SB6C FRONT TRIANGLE 300040480 COLLET AXLE 15 X 55.5S X 14.0T M15X1.5 300040454 COLLET WEDGE ASSEMBLY GEN2 300070006 ICE AXE HEAD BADGE 300030057 BOLT CAP M6 X 1 X 20MM 300060072 YETI SEAT CLAMP 300030214...
-
Page 15: Rebuild Kits
PART# DESCRIPTION REBUILD KITS 200020233 SB6C HARDWARE KIT 300030057 BOLT CAP M6X1X20 300030062 WASHER SS 6.5MM ID 12.5 OD .5M 300030069 WASHER SS 8.8MM ID 12.5MM OD . PART # DESCRIPTION 300030151 BOLT-TI-MALE M6X12MM 200020232 SB6C MASTER REBUILD KIT 300030154 STUD-TI-FEMALE 8X54.5MM 300020045 BEARING F6902 2RS 28X15X7 OUT... - Page 16 REBUILD KITS CONTINUED PART # DESCRIPTION 400100126 SB6C PROTECTOR KIT 400100119 PROTECTOR SB6-C DT 400100120 PROTECTOR SB6-C CS/SS 400100121 PROTECTOR SB6-C CHAIN SUCK 400100122 PROTECTOR SB6-C CS LOWER 200020236 SB6-C CABLE GUIDE KIT 2014- 300040474 PORT GROMMET BLANK 300040475 PORT GROMMET 5MM...
-
Page 17: Warranty
(applies to SB4.5c / SB5c / Beti SB5c / SB5+ / SB5.5c / SB6c / ASRc / Beti ASRc) Yeti Cycles will repair or replace, at its option, any frame it determines to be defective due to PRODUCT LIFE CYCLE defective materials and/or workmanship.
Need help?
Do you have a question about the SB6C 2016 and is the answer not in the manual?
Questions and answers