Advertisement
Quick Links
Advertisement

Related Manuals for Yeti Cycles SB4.5


Summary of Contents for Yeti Cycles SB4.5
- Page 1 OWNER’S MANUAL YETI SB4.5...
-
Page 2: Table Of Contents
TABLE OF CONTENTS BRAND OVERVIEW FRAME FEATURES GEOMETRY MAINTENANCE SCHEDULE SETUP OVERVIEW SHOCK SETUP DERAILLEUR HANGER INSTALL CABLE/LINE SETUP TECHNICAL ASSEMBLY OVERVIEW EXPLODED VIEWS REBUILD KITS LEGAL WARRANTY CONTACT INFORMATION... - Page 3 CONGRATULATIONS ON YOUR PURCHASE OF A NEW YETI. WELCOME TO THE TRIBE. We are confident your new bicycle will exceed This manual outlines basic setup and your expectations for value, performance, and maintenance recommendations of your new ride quality. Each frameset and component Yeti.
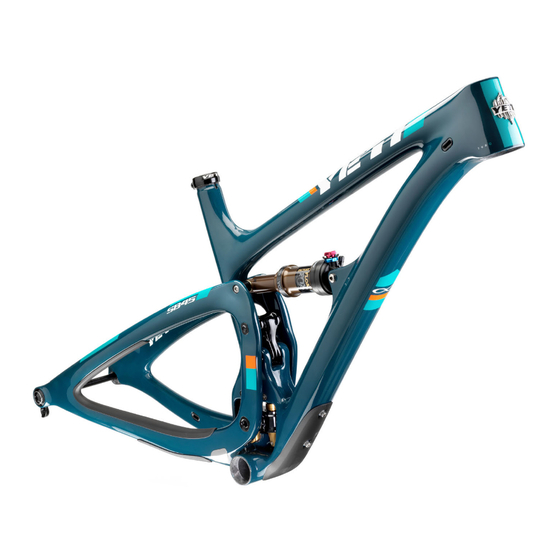
- Page 4 CUSTOM DEBRIS AND CHAIN SLAP GUARDS height without compromising any performance. INTERNAL CABLE ROUTING The SB4.5 uses a 2 inch stroke, 7.5 inch eye to eye Float EVOL INTEGRATED AXLE AND DERAILLEUR HANGER SYSTEM shock, by Fox Racing Shox. Custom guards on the seat stay, chain stay and down tube keep things quiet while riding and protect the frame.
-
Page 5: Geometry
GEOMETRY FOX 34 / 140MM FORK SEAT TUBE LENGTH TOPTUBE LENGTH HEADTUBE ANGLE 67.4 67.4 67.4 67.4 EFF. SEATTUBE ANGLE 73.3 73.3 73.3 73.3 CHAIN STAY LENGTH WHEELBASE 1127 1153 1180 1207 ESTIMATED BB HEIGHT STANDOVER HEADTUBE LENGTH AXLE TO CROWN OFFSET STACK REACH... -
Page 6: Overview
It is important to remember that service intervals can vary specifications for individual parts on the SB4.5 are listed below, as well as in the step by step depending on climate, trail conditions and riding frequency. If you are unsure about working on assembly instructions later in the manual. -
Page 7: Shock Setup
01. AIR PRESSURE 02. SAG Shock set-up can fluctuate greatly based on The main air spring controls sag. For the SB4.5 Once you have set your baseline air pressure and the rider. The set-up guide is intended as a to ride properly it is important to setup the shock cycled the shock you are ready to measure the with the correct amount of sag. -
Page 8: Derailleur Hanger Install
DERAILLEUR HANGER INSTALLATION DERAILLEUR HANGER INSTALL YETI TIPS TOOLS NEEDED NOTE: The hanger cap is REVERSE • 6mm Allen key THREADED. Be careful not to strip out the • Grease Hanger tool faces. The cap is marked with a tighten direction arrow. Inspect the frame around the hanger seat for any suspicious damage any time you replace 01. - Page 9 Your rear brake and shifter housing should run parallel around the left side of the head tube. Run the shifter The SB4.5 is designed to use an internally routed dropper post. The housing should be routed form the post housing and the brake housing into the individual ports at the head tube and thread them down into the forward.
- Page 10 The instructions denote whether to • Pink (222) Loctite use a Loctite compound or grease. All the parts you’ll need to get your SB4.5 frame Slip washers onto and apply blue (242) Loctite • Torque wrench assembled. Please refer to to the exploded view to the 4 bolts that secure the Switch Infinity Link later in this manual for more information.
- Page 11 ASSEMBLY ASSEMBLY Place the keyed alloy collet axle nut into its Apply a small amount of grease to the bearings Prep the inside of the collet axle and the threads Prepare the swing arm by inserting the alloy corresponding inset in the frame. on the smaller end of the link to help hold the link of the collet wedge bolt with grease.
- Page 12 ASSEMBLY ASSEMBLY Lightly grease the upper link bearings to stick the Apply blue Loctite (242) to the threads and grease Finish the rear shock install by threading the Ti Torque the upper link collet axle to 8Nm. Grease upper link pivot spacers in place while you slide on the shaft of the upper link collet axle.
-
Page 13: Exploded Views
EXPLODED VIEW Extra Grommet Kit 5.18 Grease Loctite 5.4.1 5.13 5.4.2 5.4.3 5.14 5.15 5.12 5.13 5.14 5.13 5.9.2 5.9.1 5.12 5.9.3 5.11 5.4.3 5.1.2 5.1.1 5.10 5.4.1 5.4.2 5.1.3 5.1.2 5.1.2 5.1.4 5.1.2 5.17 5.16 5.16 5.17 5.17 5.16 5.16 5.17 2.2.2... - Page 14 EXPLODED VIEW PARTS LIST ITEM# PART # DESCRIPTION ITEM# PART # DESCRIPTION SB4.5 FRONT TRIANGLE ASSEMBLY 5.1.4 300030282 SPACER 10MM X 6.0MM 300020049 INNER RACE EXTENDER 10MM SB4.5 FRONT TRIANGLE 300040484 COLLET AXLE 10X53.5X13.0 M10X1.0 300070006 ICE AXE HEAD BADGE...
-
Page 15: Rebuild Kits
COLLET-WEDGE ASSEMBLY GEN2 300040486 COLLET WEDGE ASSEMBLY - M10 300040474 BLANK PORT GROMMET 300040483 AXLE COLLET 10X30.5SX9T 200020231 FOX LINEAR BEARING 74.0MM SB4.5 300040484 AXLE COLLET 10X53.5SX13T 200020201 FOX LINEAR BEARING 74.0MM ASSE 300040485 AXLE COLLET 15X52.5SX13T 300030057 BOLT CAP M6X1X20... - Page 16 SB4.5 CABLE GUIDE KIT 300040474 BLANK PORT GROMMET 300040491 SLOT PORT GROMMET SB4.5 MISCELLANEOUS PARTS 200020248 LINK SB4.5 W/BEARING GLOSS 16 200020259 LINK SB4.5 W/BEARING MATTE 16 300060073 12X148 HANGER STD KIT GEN3 BLACK 300060077 12X148 HANGER STD KIT GEN3 TU...
-
Page 17: Warranty
YETI LIMITED (5) FIVE YEAR FRAME WARRANTY DISCLAIMER (applies to SB5.5 / SB4.5 / SB5 / Beti SB5 / SB5+ / SB6 / Infinity Link) YETI Cycles is not responsible for any damages to you or others arising from riding, transporting or other use of your bicycle.
Need help?
Do you have a question about the SB4.5 and is the answer not in the manual?
Questions and answers