Table of Contents
Advertisement
Quick Links
INSTALLATION & USER INSTRUCTIONS
WALL MOUNTED HIGH EFFICIENCY GAS FIRE
Focal Point Fires plc.
Christchurch, Dorset BH23 2BT
Tel: 01202 499330
Fax: 01202 499326
www.focalpointfires.co.uk
e : sales@focalpointfires.co.uk
Questions or problems with your appliance?
Don't take it back to the store
Just give us a call on
or email 3g@focalpointfires.co.uk
We're here to help
Lines open between 9am and 5pm, Monday to Friday
IN THE UK ALWAYS USE A GAS SAFE REGISTERED ENGINEER TO INSTALL, REPAIR OR SERVICE THIS APPLIANCE
Please note : Except where otherwise stated, all rights, including copy-
right in the text, images and layout of this booklet is owned by Focal
Point Fires plc. You are not permitted to copy or adapt any of the con-
tent without the prior written permission of Focal Point Fires plc.
MODELS COVERED BY THESE INSTRUCTIONS
L23 CHESHIRE
L23 PURIST
L23 SERIF/ FERIS
P23 MONET
P23 EBONY
P23 OXFORD
01202 588601
L23 CHESHIRE
All instructions must be handed to the user for
safekeeping.The products covered by this booklet
are protected under patent GB2275331C.
1
GB IE
Revision F - 03/16
©
2016 Focal Point Fires plc.
Advertisement
Table of Contents

Related Manuals for FocalPoint L23 Series


Summary of Contents for FocalPoint L23 Series
- Page 1 INSTALLATION & USER INSTRUCTIONS WALL MOUNTED HIGH EFFICIENCY GAS FIRE MODELS COVERED BY THESE INSTRUCTIONS L23 CHESHIRE GB IE L23 PURIST L23 SERIF/ FERIS P23 MONET P23 EBONY Focal Point Fires plc. P23 OXFORD Christchurch, Dorset BH23 2BT Tel: 01202 499330 Fax: 01202 499326 www.focalpointfires.co.uk e : sales@focalpointfires.co.uk...
-
Page 2: Table Of Contents
I N S T A L L A T I O N I N S T R U C T I O N S GB IE Section Contents Page No. Section Contents Page No. Important Notes Testing and Commissioning Appliance Data Operating the Appliance Installation Requirements Operating pressure... -
Page 3: Appliance Data
2.0 APPLIANCE DATA GB IE Operating Pressure Country of Max Energy Input (kW) Min Energy Input (kW) Model Cat Gas Type (±2.0 mbar) Destination G25 G30 G31 Gross Gross I 2H P23 Natural Gas Models GB - IE Natural I 3P P23 LPG models GB - IE Propane... -
Page 4: Ventilation
4.0 SITE REQUIREMENTS GB IE (CONTINUED) The minimum clearance to the ceiling above the appliance is 800mm (31.5”) measured from the top of the appliance glass panel. Combustible materials should not be positioned directly in front of the appliance within a distance of one metre. Under no circumstances should any electrical equipment e.g. -
Page 5: Gas Supply Routes
GB IE 6.0 GAS SUPPLY ROUTES There are four possible entry points for the gas supply pipework to enter the appliance firebox. These entry points are ‘knock out’ type holes. Non-concealed gas connections may be made using the entry points at either end of the firebox or the one in the bottom of the firebox. -
Page 6: Checking The Burner & Spark Gap
7.0 FIXING THE APPLIANCE GB IE (CONTINUED) lower wall plugs through the corresponding fixing holes in the lower part of the back panel. Do not tighten fully. Before tightening the wall mounting screws fully, at this stage it is recommended to check the horizontal alignment of the appliance with a spirit level, as small adjust- ments can still be made if necessary. -
Page 7: Fitting The Decorative Frame
8.3 FITTING THE DECORATIVE FRAME GB IE All models : Ensure all/any protective film is removed as the facia may be damaged if the fire 1. Insert the is lit with the facia in position whilst still covered in film. screws into the threaded P23 &... -
Page 8: Briefing The Customer
9.0 BRIEFING THE CUSTOMER GB IE All instructions must be handed to the user for safekeeping. Show the customer how to light and control the fire. After commissioning the appliance, the customer should be instructed on the safe use of the appliance and the need for regular servicing. -
Page 9: Pilot Assembly
10.2 PILOT ASSEMBLY GB IE Remove the burner unit as detailed in section 10.1, then remove the lint arrestor and pilot unit by using a screwdriver to remove the retaining screws. Clean the pilot assembly with a soft brush and blow through. Check the aeration holes are free of any dirt or lint. -
Page 10: Troubleshooting Guide
11.0 TROUBLESHOOTING GUIDE Fire sparks but pilot does not light • No gas to fire, check isolators are open and gas supply is on. • Pipework blockage, clean out. • Air not fully purged, re purge supply or wait longer. •... -
Page 11: Outlet Openings
U S E R I N S T R U C T I O N S GB IE Section Content Page No Important Notes Clearances to Combustibles Fireguards Ventilation & Room Size Operating Instructions Combustion Monitoring System Cleaning Servicing List of Replacement Parts 10.0 Installation Details 11.0... -
Page 12: Clearances To Combustibles
2.0 CLEARANCES TO COMBUSTIBLES - GB IE (CONTINUED) Clearances to combustible materials (continued) Under no circumstances should any electrical equipment e.g. plasma/LCD screen TV sets etc. be positioned on the wall above the appliance. The appliance is designed to be wall mounted alone and not in conjunction with any type of combustible fire surround. No combustible shelves should be positioned on the wall above the appliance. -
Page 13: Combustion Monitoring System
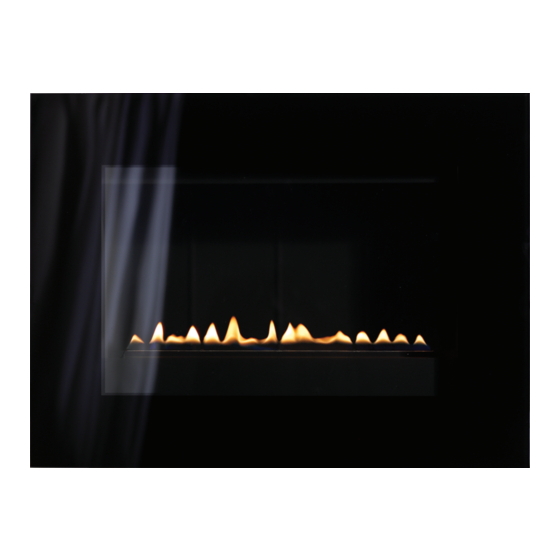
5.0 OPERATING THE APPLIANCE GB IE The control knob is located on the lower right hand side of the outer case. It is marked as shown in figure 5. ‘OFF’ position • All models : The pilot is visible behind the left hand side of the burner.Push in and turn the control knob to the SPARK position, and hold there for a few seconds. -
Page 14: Service History
11.0 SERVICE HISTORY GB IE Date of service Serviced by (name): GAS SAFE No. : Contact details of Engineer 12.0 GUARANTEE - TERMS AND CONDITIONS The 3 year guarantee only covers products purchased on or after 1st February 2009. For all gas fires purchased the 3 year guarantee commences from the date of purchase, provided that the following 3 terms and conditions are adhered to: Registration is not required.
Need help?
Do you have a question about the L23 Series and is the answer not in the manual?
Questions and answers