Advertisement
Table of Contents
Advertisement
Table of Contents

Subscribe to Our Youtube Channel
Related Manuals for BROSA Elizabeth Sideboard


Summary of Contents for BROSA Elizabeth Sideboard
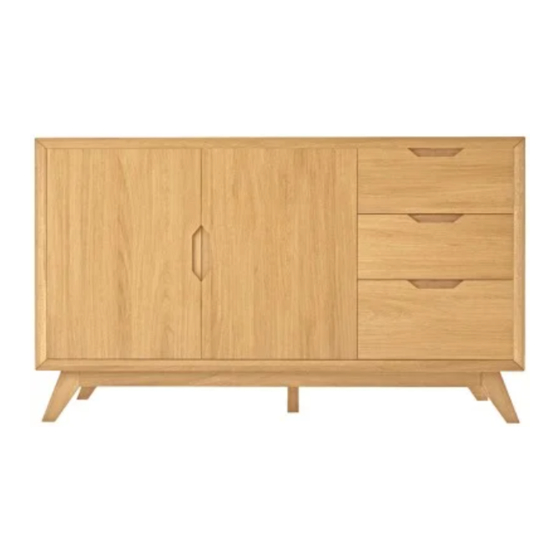
- Page 1 ASSEMBLY GUIDE Elizabeth Sideboard...
- Page 2 Components Upon unpacking your sideboard from its delivery box, you should have the separate pieces shown below. Follow the steps on the next pages to assemble your new sideboard. Leg x 2 Sideboard x 1 Leg x 2 Leg x 1 Shelf x 1 Hardware What you need...
- Page 3 Step 1 Insert a cross dowel into the hole at the top of each leg (2 & 3) making sure it sits facing the correct way. Insert a threaded bolt into the hole on the side of each leg (2 & 3) screwing it tightly in place.
- Page 4 Step 2 Align a leg (2 or 3) to the underside of the sideboard making sure the threaded bold protruding from the leg ts into the hole in the frame. Fit a at washer to the bolt followed by a lock washer and a using the spanner to tighten the nut in...
- Page 5 Step 3 With another person, gently lift the sideboard and place upright on a level surface. Insert a shelf supporter into each desired hole inside the unit, making sure that they are all level. G x 4 Tilt the shelf to a suitable angle and slide it into the unit, rst making sure that the holes on the shelves are facing down so that the pins on the shelf...
- Page 6 Step 4 e following steps are to instruct how to adjust the hinges if needed. Lateral adjustment by screw adjustment. Front-to-Back by slackening and retightening the hinge-arm mounting screw. Vertical adjustment via slots on mounting plate by slackening and retightening the screws on the mounting plate.
- Page 7 Step 5 e following steps are to instruct how to vertically adjust the drawers if needed. Both of the drawers have (give or take) a 2.5mm gap on top and bottom of each drawer. To vertically adjust, twist the third tab inside the drawer to move the front panel up or down.
- Page 8 Step 6 e following steps are to instruct how to apply the anti tip kit (which is optional, but recommended). Align the mounting bracket (aa) to the back of the sideboard and secure in place with the screws (cc). aa x 2 At the location the sideboard will be placed, mark out two holes on the wall for the other bracket (aa)
Need help?
Do you have a question about the Elizabeth Sideboard and is the answer not in the manual?
Questions and answers