Advertisement
Quick Links
Advertisement

Related Manuals for zortrax M300 Dual


Summary of Contents for zortrax M300 Dual
- Page 1 Unpacking & Setting Up SOURCE: https://support.zortrax.com/m300-dual-unpacking-setting-up/...
- Page 2 Table Of Content In the Box Unpacking Setting Up...
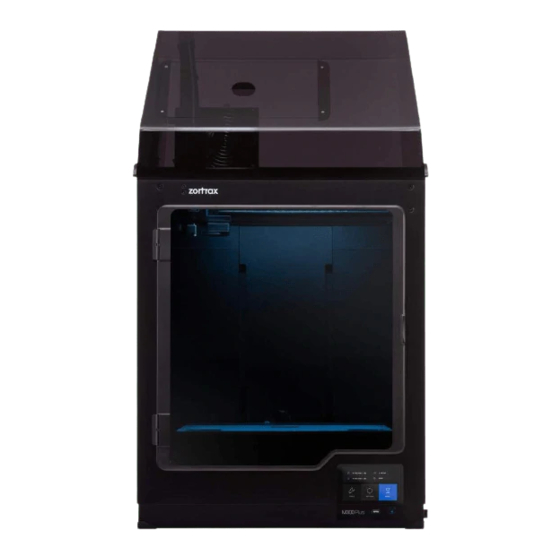
- Page 3 In the Box The graphic shows the whole box content.
- Page 4 Unpacking Open the box. Remove the upper cushioning and boxes with accessories. Take the 3D printer out of the box. When lifting or moving the printer, do not grab:...
- Page 5 Due to the printer's weight, Zortrax M300 Dual should be taken out of the box or moved by two people. Place the 3D printer on a flat and stable surface.
- Page 6 Remove the foil. Remove the shipping clips and the belts securing the foams with accessories.
- Page 7 Remove the foams with accessories.
- Page 8 Setting Up Lower the heatbed mount by pressing the place marked with an arrow. Next, install the build platform onto the bolts marked in the graphic. Remember to install the platform with the perforated plate directed up.
- Page 9 Plug the heatbed cable into the platform and into the adapter placed in the Z-axis cover. Unpack the material box and secure it to the back of the printer with the two screws. Next, attach the material guide to the material B endstop.
- Page 10 Attach the extruder cable clamps at the back of the printer. Place the extruder cable in the clamps. Remove the extruder top cover by pulling it upwards (A) and remove the front cover (B). Plug in the extruder cable (C). Place the front cover in its place and reattach the top...
- Page 11 cover. Remove the protective cap from the camera inside the printer. Next, install all side covers. For more details, see the manual: side covers installation. Next, plug in the power cable.
- Page 12 Attach the two spool holders at the back of the printer. Next, attach the two material guides to the extruder and to the material endstops. Secure the two guides to the extruder cable using the material guide clamps. Place the spools on the holders. The spools should rotate anti-clockwise. Feed the...
- Page 13 materials into the extruder through the material endstops and the material guides. To calibrate the platform, select TOOLS, PLATFORM, and then AUTOMATIC CALIBRATION or MANUAL CALIBRATION (requires preparing paper in the A4 size) from the menu. Follow the instructions displayed on the screen.
- Page 14 Load the material using options from the MATERIALS menu. Next, carry out NOZZLE ALIGNMENT calibration. Follow the instructions displayed on the screen.
Need help?
Do you have a question about the M300 Dual and is the answer not in the manual?
Questions and answers