Advertisement
cardboard/
cloth material
Figure 1
approximate
location to
drill
Figure 3
retaining
clip
screwdriver
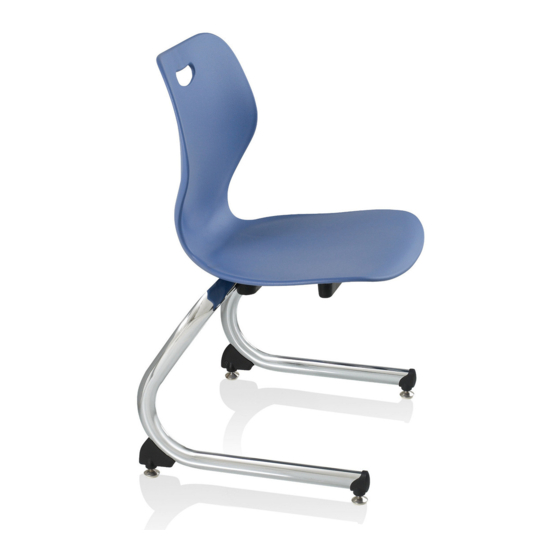
Intellect
Wave
Chair
Figure 5
Repair & Replacement Instructions
Intellect Wave
Intellect
Wave Chair
1
/ "
4
drill bit
Figure 2
front of
toe glide
cantilever
glide
weighted
rubber
mallet
Figure 4
weighted
rubber
retaining
clip
Figure 6
Chair & Desk Frame
®
Cantilever Glides Removal & Installation
February 2018
cordless
Intellect
drill
Wave Chair
toe
glide
toe glide
(drilled hole)
Intellect
Wave
Chair
toe
glide
Intellect
mallet
toe
glide
Assemble units as described herein only. To do otherwise
may result in instability. All screws, nuts and bolts must be
tightened securely and must be checked periodically after
assembly. Failure to assemble properly, or to secure parts
may result in assembly failure and personal injury.
Overview
When replacing the cantilever glides,
the toe and heel glides remove
differently from the frame. Replacing the
toe glide is more time consuming due
to the glide being press-fit into the foot,
which requires drilling first in order to
be removed. The heel glide slips onto
the steel heel plate of the leg and is
secured with a screw. Approximate time
to remove and replace four glides per
frame unit is five minutes, depending on
the field technician.
Required Tools
•
Drill driver
•
/
" drill bit (or something close)
1
4
•
#2 Phillips hand screw driver
•
#2 Phillips screw driver bit for
drill driver
•
Weighted rubber mallet
(not hard steel)
•
Cardboard or cloth material
(to catch plastic shavings)
Toe Glide Removal & Installation
1. Place frame onto a soft protective
surface on its back side, and position
cardboard or cloth material under the
frame to catch plastic shavings when
drilling (Figure 1).
2. Use a
/
" drill bit in a drill driver and
1
4
bore a hole in the front, lower portion
of the glide as illustrated in figure 2.
Drill from the center, but aim the drill
bit slightly off to the side to avoid
the screw in the middle. Drill out
enough material to disrupt the inside
structure of the toe glide
(Figure 2 & 3).
3. Using a weighted rubber mallet,
pound the glide out as illustrated
(Figure 4).
4. After the glide is removed, some
Wave
material such as the round, steel
Chair
retaining clips may remain inside.
Use a screwdriver to pry out all
remaining material. The bottom
right corner of figure 5 shows the
components that come out of the
drilled-out toe glide.
5. Carefully align the new toe glide onto
the foot as illustrated and pound
on the front of the glide using a
weighted rubber mallet. Carefully tap
enough times to fully seat the glide,
so it does not come out during use
(Figure 6).
Advertisement
Table of Contents

Related Manuals for KI Intellect Wave Chair


Summary of Contents for KI Intellect Wave Chair
- Page 1 Repair & Replacement Instructions Intellect Wave Chair & Desk Frame ® Cantilever Glides Removal & Installation Overview When replacing the cantilever glides, the toe and heel glides remove differently from the frame. Replacing the February 2018 toe glide is more time consuming due to the glide being press-fit into the foot, which requires drilling first in order to be removed.
- Page 2 Intellect Wave Chair Intellect Wave Chair Figure 3 Figure 4 1330 Bellevue Street • P .O. Box 8100 • Green Bay, WI 54308-8100 • Tel 1-800-424-2432 • www.ki.com © 2018 Krueger International, Inc. All Rights Reserved • Code KI-RR-000006/KI/PDF/0218...
Need help?
Do you have a question about the Intellect Wave Chair and is the answer not in the manual?
Questions and answers