
Subscribe to Our Youtube Channel
Related Manuals for ROBINHOOD SWAL60X


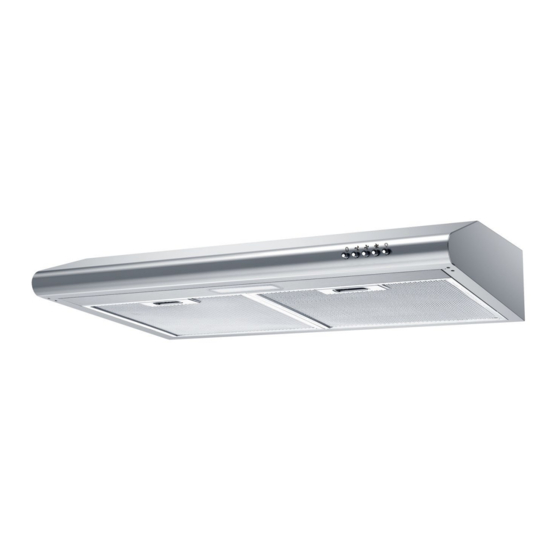
Summary of Contents for ROBINHOOD SWAL60X
- Page 1 Installation and Operating Instructions Issue: 2 Description: ROBINHOOD 60CM SLIMLINE WALL MOUNTED RANGEHOOD Model Number: SWAL60X SWAL60W SWAL60X SWAL60W...
-
Page 2: Table Of Contents
Due to continual product development, Robinhood reserves the right to alter specifications or appearances without notice. Important Safety Instructions..........................1 Appliance Details .............................. -
Page 3: Important Safety Instructions
Important Safety Instructions IMPORTANT: Read the assembly instruction section and safety precautions of this booklet carefully before removing the contents of this carton. 1. In certain circumstances electrical appliances may be a safety hazard. 2. This appliance is not intended for use by persons (including children) with reduced physical, sensory or mental capabilities, or lack of experience or knowledge, unless they have been given supervision or instruction concerning the use of the appliance by a person responsible for their safety. -
Page 4: Appliance Details
Appliance Details Voltage & Frequency: 220-240V 50Hz Lamp Max: All Models: 1 x 2W LED Rated Input Power: All Models: 202W General Information Before installing and operating the rangehood, carefully read the following important information regarding installation safety and maintenance. Keep this information booklet accessible for further consultations. -
Page 5: Installation
Installation Preparation Ensure that the rangehood is not connected to the power supply until after installation is complete. If you have an outlet leading outside, you can connect your rangehood, according to the image below, by means of an extraction duct (enamel, aluminium, flexible pipe or inflammable material) with an interior diameter of 120mm. The rangehood must be placed at least 65cm above the cooking surface. - Page 6 Installation Vertical Exhaust: Ensure that you pay attention to the exhaust setting during installation. Refer to image as below. Use a tool to remove the round cover on the top of the unit. Installation Method 1 Ø8mm on a suitable surface. These holes should be 510mm apart. Insert the To install onto the wall, drill two holes of nut into the holes and screw the screws tightly into the nuts.
- Page 7 Installation Installation Method 2 Drill four 6mm diameter holes at the bottom of the hanging cupboard. • Attach the one-way valve to the rangehood and then install the rangehood underneath the cupboard. • Affix the rangehood with the four screws supplied. •...
-
Page 8: Operating Instructions
Operating Instructions On / Off Button Push to turn the fan on / off. Low Speed Push to set the fan to low speed. Medium Speed Push to set the fan to medium speed. High Speed Push to set the fan to high speed. Light Button Push to turn the light on / off. -
Page 9: Troubleshooting
Troubleshooting Fault Possible Cause Solution The fan blade is Light on, but fan Switch off the unit and have repaired jammed. does not work by qualified service personnel. The motor is damaged. Light bulb burnt out. Replace the bulb with correct rating. Neither the light nor the fan work Power cord loose. -
Page 10: Warranty Certificate (New Zealand)
The following conditions apply in respect of the warranty given in this certificate: Monaco Corporation Limited (“Monaco”) warrants the following Robinhood products against manufacturing defects and faulty materials, under normal use and subject to the exclusions in this certificate, for a period of: Rangehood, Ovens, Cooktops, Dishwashers, Refrigeration - 24 months from date of original purchase for domestic •... -
Page 11: Warranty Certificate (Australia)
• The product was used outdoors. All Robinhood Rangehoods are suitable for indoor use only and not suitable over BBQs or charcoal cookers designed for outdoor use. In addition, this warranty does not extend to damage or defects which in our opinion, directly or indirectly arise from or are due to: exposing the product to acidic or corrosive materials or chemicals such as dyes, solvents, denture cleaner or acetone;...
Need help?
Do you have a question about the SWAL60X and is the answer not in the manual?
Questions and answers