Advertisement
Advertisement
Table of Contents

Related Manuals for FuzzDog Axis Fuzz


Summary of Contents for FuzzDog Axis Fuzz
- Page 1 Axis Fuzz Fuzzy Silicon Screaming Beasty PedalParts.co.uk...
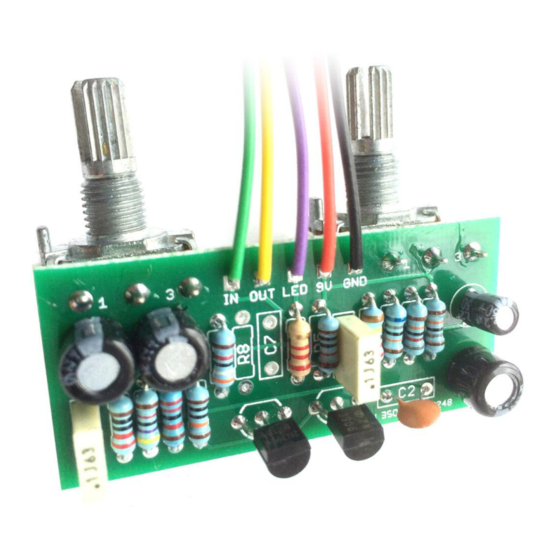
- Page 2 Schematic 680K 820K 180K 100n 220R 470p 220R 2.2u 2N3906 100K 100n 2N3904 DRIVE 2K2* 50KA According to the good people over at Fuzz Central the circuit will sound better without R8 and C7 (in red on schematic). I wouldn’t like to say, but since you have the parts anyway why not try with and without? you can always just snip them out.
- Page 3 Pots mount on the rear of the PCB, opposite side to the components. Wiring shown overleaf will disconnect the battery when you remove the jack plug from the input, and also when a DC plug is inserted. Snap the little metal tag off the pot to mount it flush in the box. You should use some kind of heat sink on the legs of the transistors when soldering.
- Page 4 Test the board! A A T Once you’ve finished the circuit it makes sense to test is before starting on the switch and LED wiring. It’ll cut down troubleshooting time in the long run. If the circuit works at this stage, but it doesn’t once you wire up the switch - guess what? You’ve probably made a mistake with the switch.
- Page 5 Wire it up BOARD BOARD INPUT BOARD BOARD BOARD BOARD LED+ BOARD BOARD BATTERY The Board GND connections don’t all have to directly attach to the board. You can run a couple of wires from the DC connector, one to the board, another to the IN jack, then daisy chain that over to the OUT jack.
Need help?
Do you have a question about the Axis Fuzz and is the answer not in the manual?
Questions and answers