Sign In
Upload
Download
Table of Contents
Contents
Add to my manuals
Delete from my manuals
Share
URL of this page:
HTML Link:
Bookmark this page
Add
Manual will be automatically added to "My Manuals"
Print this page
×
Bookmark added
×
Added to my manuals
Manuals
Brands
ABI Attachments Manuals
Farm Equipment
RASCAL Series
Owner's manual
ABI Attachments RASCAL Series Owner's Manual
Hide thumbs
Also See for RASCAL Series
:
Owner's manual
(60 pages)
1
Table Of Contents
2
3
4
5
6
7
8
9
10
11
12
13
14
15
16
17
18
19
20
21
page
of
21
Go
/
21
Contents
Table of Contents
Troubleshooting
Bookmarks
Table of Contents
Table of Contents
Safety
Safety Labels
Unpacking Instructions
Setup
Operartion Guide
Components
Parts Description
Replacement Parts
Options
Troubleshooting & Faqs
Maintenance
Footnotes
Advertisement
Quick Links
1
Parts Description
2
Replacement Parts
Download this manual
Form No. 10-80081 | Rev A | 9/7/2021
Owner's Manual
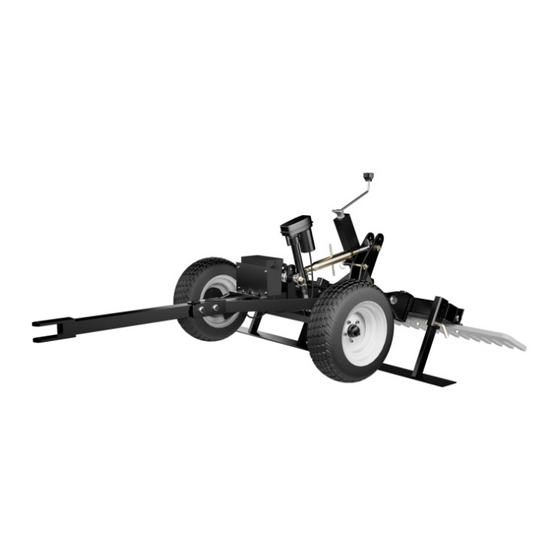
RASCAL Series Models
Arena Pro | Gravel Pro
NOTE: This Owner's Manual covers several models. Features may vary by model. Not all features in this manual are applicable to
all models and the model depicted may differ from yours.
Table of
Contents
Previous
Page
Next
Page
1
2
3
4
5
Advertisement
Table of Contents
Need help?
Do you have a question about the RASCAL Series and is the answer not in the manual?
Ask a question
Questions and answers
Related Manuals for ABI Attachments RASCAL Series
Farm Equipment ABI Attachments RASCAL Series Owner's Manual
(60 pages)
Farm Equipment ABI Attachments ABI Arena Rascal Pro Setup Manual
(14 pages)
Farm Equipment ABI Attachments ABI RASCAL Instructions Manual
Wheel axle replacement (8 pages)
Farm Equipment ABI Attachments ABI Force Z-23 Owner's Manual
Self-propelled, zero-turn, multi-task vehicle (34 pages)
Farm Equipment ABI Attachments Infield Rascal Pro Setup Manual
(9 pages)
Farm Equipment ABI Attachments TR35.5 Setup Manual
(17 pages)
Farm Equipment ABI Attachments TR3E Setup Manual
(16 pages)
Farm Equipment ABI Attachments TR3 Rake Setup Manual
(16 pages)
Farm Equipment ABI Attachments TR3 COMMAND Series User Manual & Setup Instructions
(8 pages)
Farm Equipment ABI Attachments TR3-E Series Owner's Manual
(21 pages)
Farm Equipment ABI Attachments Arena Pro Owner's Manual
(21 pages)
Farm Equipment ABI Attachments Force Z-23 Product Instruction Sheet
Rear rake attachment (5 pages)
This manual is also suitable for:
Arena pro
Gravel pro
Table of Contents
Save PDF
Print
Rename the bookmark
Delete bookmark?
Delete from my manuals?
Login
Sign In
OR
Sign in with Facebook
Sign in with Google
Upload manual
Upload from disk
Upload from URL


Need help?
Do you have a question about the RASCAL Series and is the answer not in the manual?
Questions and answers