Table of Contents
Advertisement
Quick Links
Advertisement
Table of Contents

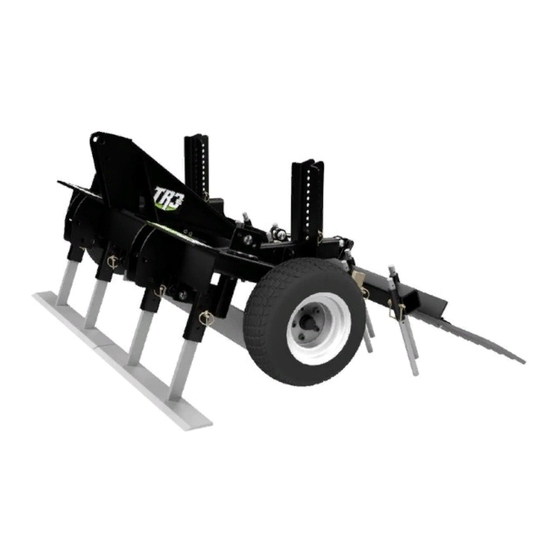
Summary of Contents for ABI Attachments TR3E
- Page 1 Set Up Guide © Copyright 2018 ABI Attachments, Inc.
-
Page 2: Model And Serial Number
Be sure that no one is near the machine prior to engaging or while the machine is working. Be sure the tractor is in neutral before starting the engine. After striking an obstacle, shut the tractor off, remove key and thoroughly inspect for damage before restarting. © Copyright 2018 ABI Attachments, Inc. - Page 3 Injury prevention and work safety, aside from the features on our tools, are very much due to the responsible use of the equipment. It must always be operated prudently following with great care, the safety instructions laid out in this manual. © Copyright 2018 ABI Attachments, Inc.
- Page 4 Please consult your tractor owner’s manual to confirm. Before you set up your tool, confirm that the wheels are set in the standard operating position (lower hole). © Copyright 2018 ABI Attachments, Inc.
- Page 5 The more closed the speed control valve is, the slower the rake will pivot. Likewise, the more open the speed control valve is, the faster the finish rake will pivot. © Copyright 2018 ABI Attachments, Inc.
- Page 6 During daily arena mainte- nance, the scarifiers can be pinned up and out of play. Excess wear will be created by using them during daily grooming. © Copyright 2018 ABI Attachments, Inc.
- Page 7 The finish rake breaks up clumps of material and leaves a beautiful signature finish in the arena. The finish rake is adjustable by extend- ing or contracting the hydraulic cylinder. This allows the rake to pivot up to 125 degrees. © Copyright 2018 ABI Attachments, Inc.
- Page 8 Line up the holes in the rail blade with the holes in the square tube on the grooming rod assembly and insert the included hitch pin to secure the rail blade in place. © Copyright 2018 ABI Attachments, Inc.
- Page 9 It may be helpful to take a number of photos of the footing depth for reference during the grading process for after you pull your flags or cover your markings. © Copyright 2018 ABI Attachments, Inc.
- Page 10 3 point arms as you approach your low spots to drop in the material. Continue this process until the arena is relatively even. You can then finish with setting up your tool for arena grooming. © Copyright 2018 ABI Attachments, Inc.
-
Page 11: Maintenance
All of your ground engaging components are considered wear parts and will need to be replaced as they wear out from use. You can refer to the scarifier tip guide on the following page to gauge wear on your scarifying components. To reorder, please contact the ABI Support department at 855.211.0598. © Copyright 2018 ABI Attachments, Inc. - Page 12 The tip bolted on a standard 9” shank. The shank is held on to the TR3-E Trevor Brazile Edition by a bent pin (#1) and a lynch pin (#2). © Copyright 2018 ABI Attachments, Inc.
-
Page 13: Troubleshooting/Faq
Trouble steering If your tractor is not following your front tires or you’re lacking front-end traction, you might need to add front end weights. Check the weight requirements in your tractor’s owner’s manual. © Copyright 2018 ABI Attachments, Inc. -
Page 14: Specifications
Specifications © Copyright 2018 ABI Attachments, Inc. - Page 15 © Copyright 2018 ABI Attachments, Inc.
- Page 16 Warranty Information and Return Policy - Warranty and return policy information can also be found on the ABI support page under each tool. For additional questions regarding warranty or return policy, contact the ABI customer support team at 855.211.0598. © Copyright 2018 ABI Attachments, Inc.


Need help?
Do you have a question about the TR3E and is the answer not in the manual?
Questions and answers