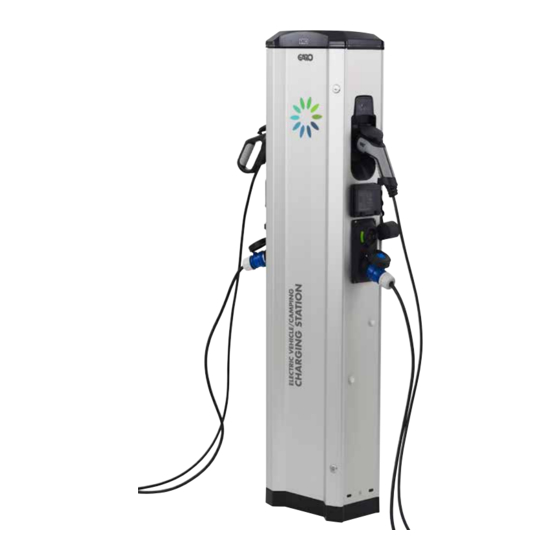
Summary of Contents for GARO Castra
- Page 1 GARO Castra Userguide (EN) GARO AB Box 203, SE–335 25 Gnosjö Phone: +46 (0) 370 33 28 00 info@garo.se garo.se...
-
Page 2: Table Of Contents
TABLE OF CONTENT Information Connect mobile/tablet/computer to Castra webinterface Main menu Energy menu Settings WiFi Settings Ethernet settings RFID settings G-Cloud settings Software / Identification Update Castras software Service information Troubleshooting... -
Page 3: Information
• An electrified Castra campingstation in webbrowser addressfield. Note: It can take up to 3 minutes after power on before Castra is ready for connection to a mobile device. Castras default setting is “accesspoint” and in this case, search for the SSID (wifi network name) in your device. -
Page 4: Main Menu
Main menu Choose language. Click to adjust Castra internal clock. Doubleclick to see more information . Status for Type 2-outlets. Energy menu Choose right or left side of Castra. Choose a period of time. -
Page 5: Settings
Settings Castra information Click ”+” to see options. WiFi Settings Wifi-settings – More information show Castras wifi MAC address. Choose Local accesspoint or Connected to Router. Password field, here you can set your own password. Save after any change of settings. -
Page 6: Ethernet Settings
Click Save to save the wifi settings. Ethernet settings Castra can connect to a local network via the RJ45 ethernetport. In Ethernet menu, choose “Obtain IP automatically” or “static IP”. Static IP address option require ip-address, network mask and Gateway ip address to be filled in. -
Page 7: Rfid Settings
2 EV outlets. The function is not activated by default. To activate, tick the box “Activate RFID check. Register the wanted tags per side of Castra by clicking “Add new tag” and follow the instructions. RFID-number is written on each tag. -
Page 8: Software / Identification
• Checking the door locking mechanism. • Function check of Type2 sockets with test instruments. 2. Update via file (for Castra that is not connect to internet) • Checking the RFID function (in cases where RFID is activated). Download the update-file: •... -
Page 9: Troubleshooting
Flashing yellow light The charging socket lock is not in the locked position socket lock Shifting red/green/yellow DC detection hardware error. Contact servicepartner Flashing purple Castra overheating, charging has stopped. Indication Meaning Action White fast flash Search light indication Solid blue light RFID accepted - waiting to start charging.


Need help?
Do you have a question about the Castra and is the answer not in the manual?
Questions and answers