Advertisement
Quick Links
Advertisement

Related Manuals for Riello BeSMART


Summary of Contents for Riello BeSMART
- Page 1 BeSMART Wi-Fi Thermostat...
- Page 2 The installation is made in 3 steps Install the BeSMART thermostat Install the Wi-Fi box Download the BeSMART App...
- Page 3 Preparation Before installation Refer to the appliance manual to ensure that the BeSMART thermostat is compatible with your • boiler The BeSMART wireless thermostat can be installed almost everywhere within the home, however • please refer to the adjacent diagrams for guidance when deciding on a suitable location.
- Page 4 Attention: The BeSMART thermostat is a wireless control. Isolate any redundant wiring and ensure it does not interfere with the fitment of the BeSMART control. If its intended to re-use any existing wiring; you should refer to the appliance manual to ensure compatibility .
- Page 5 BeSMART Installation Insert two ‘AA’ type batteries Re-attach the BeSMART thermostat to the wall plate by (supplied), into the battery compartment . aligning and then pressing firmly around the outer edges. Attention: insert the batteries, observing the correct polarity as indicated.
- Page 6 Wi-Fi Box Installation In the case of a wireless BeSMART installation, connect the (supplied) Attach the Wi-Fi Box to the appliance casing, using USB Wi-Fi Box cable to the boiler OT-Bus connection (for specific the magnetic pad located on the rear of the Wi-Fi boilers) or to the boiler room thermostat connection (TA or ON/OFF).
- Page 7 Installation and configuration of smartphone app Download and install the Create a user account MAC : 000000000000 BeSMART App on a following the steps indicated on ID Wi-Fi : 0000000000000 smartphone or tablet. the app. Wi-Fi LED button Link the user account to the ‘ID...
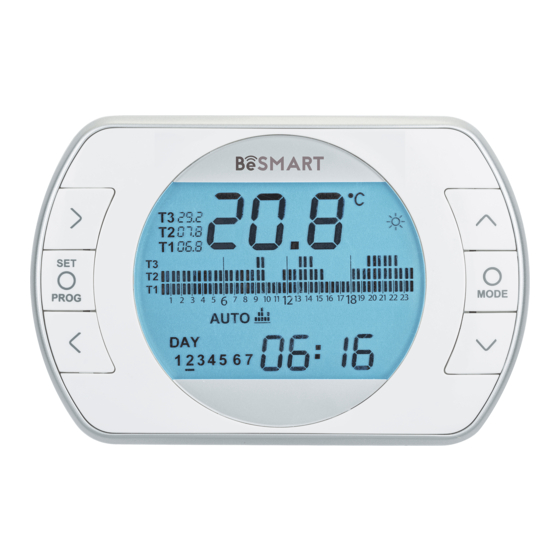
- Page 8 BeSMART display and (Batteries/distance) (check connections) (not reparable) (refer to boiler manual) (not reparable) suggested corrective actions. BeSMART is a RIELLO GROUP brand More info and technical support on the following website: www.besmart-home.com Via Ing. Pilade Riello, 7 37045 Legnago - Italy...
Need help?
Do you have a question about the BeSMART and is the answer not in the manual?
Questions and answers