Table of Contents
Advertisement
Quick Links
Sand paper can be used to gently clean any joints.
A sharp modelling knife will be required to remove sections from the sprue. Please use knives with due care and
remember to cut away from yourself at all times.
During the construction of this model, you may find it convenient to use pegs / elastic bands to hold pieces in place while
you allow glue to dry.
Remove the four inner walls and base from the sprue.
At this point it is a good idea to glue a weight to the
inside of the box to help the minarets stability. We
have used a number of Uk 2p coins.
Glue to the doorway arch to the box, so that its right
hand side is flush with the edge and it sticks out by
about 2mm on the left hand side.
Take the sides of the tower, two supports and the
end caps from the sprue.
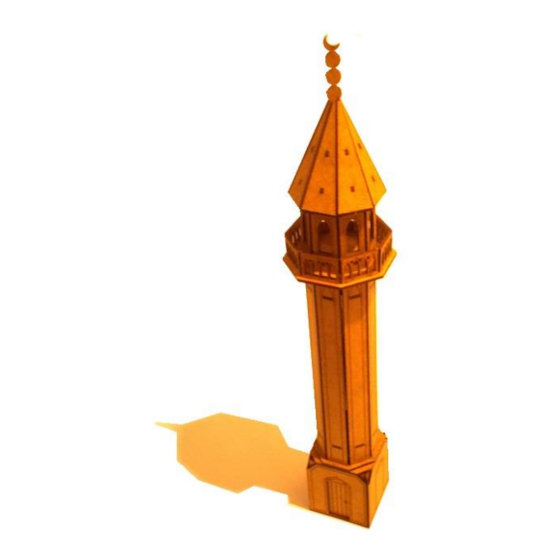
28mm Middle Eastern Building #10
B28-ME-010
Please read these instructions fully before starting construction.
PVA or equivalent glue will be required to stick sections together.
Glue them together as shown to form an open-top
box.
Glue the "lid" in place.
Move around the box, adding the other outer wall
pieces. Leave this sub-assembly to dry.
Glue the four walls with lugs on the ends to the
supports, ensuring that all have the long lug at the
same end..
Advertisement
Table of Contents

Related Manuals for BLOTZ B28-ME-010


Summary of Contents for BLOTZ B28-ME-010
- Page 1 28mm Middle Eastern Building #10 B28-ME-010 Please read these instructions fully before starting construction. PVA or equivalent glue will be required to stick sections together. Sand paper can be used to gently clean any joints. A sharp modelling knife will be required to remove sections from the sprue. Please use knives with due care and remember to cut away from yourself at all times.
- Page 2 Glue the end caps on – the cap with only 4 holes goes The larger end cap goes at the other end. at the end with the long lugs (which will protrude through it) Attach the other wall sections - making sure all the Glue this assembly on top of the base as shown, using wall sections are the same way round.
- Page 3 ..and glue them around the cap on the tower as Take the roof and roof supports from the sprue. shown. Glue a support to the back of each roof piece. Glue each roof support to the roof, making sure they When all are in position, you should have a small are straight.
- Page 5 10mm 3x2 Residential Foyer B10-MW-100 Please read these instructions fully before starting construction. PVA or equivalent glue will be required to stick sections together. Sand paper can be used to gently clean any joints. A sharp modelling knife will be required to remove sections from the sprue. Please use knives with due care and remember to cut away from yourself at all times.
- Page 6 10mm 3x2 Residential Middle B10-MW-150 Please read these instructions fully before starting construction. PVA or equivalent glue will be required to stick sections together. Sand paper can be used to gently clean any joints. A sharp modelling knife will be required to remove sections from the sprue. Please use knives with due care and remember to cut away from yourself at all times.
- Page 7 10mm 3x2 Residential Roof B10-MW-200 Please read these instructions fully before starting construction. PVA or equivalent glue will be required to stick sections together. Sand paper can be used to gently clean any joints. A sharp modelling knife will be required to remove sections from the sprue. Please use knives with due care and remember to cut away from yourself at all times.
Need help?
Do you have a question about the B28-ME-010 and is the answer not in the manual?
Questions and answers