
Related Manuals for BLOTZ B28-OW-108


Summary of Contents for BLOTZ B28-OW-108
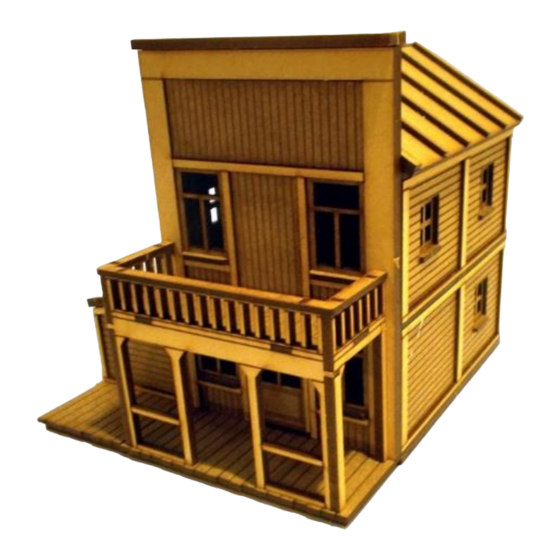
- Page 1 28mm Old West Store #1 B28-OW-108 Assembly Instructions Designed and made in the UK. This is a model kit and is not intended for persons under 14 years old. Requires assembly. Supplied unpainted.
- Page 2 28mm Old West High Front #1 B28-OW-420 Please read these instructions fully before starting construction. PVA or equivalent glue will be required to stick sections together. Sand paper can be used to gently clean any joints. A sharp modelling knife will be required to remove sections from the sprue. Please use knives with due care and remember to cut away from yourself at all times.
- Page 3 Take the door and supports from the sprue. Glue the lower support into place. Allow to dry. Place the lower lug of the door into the lower support, Apply some glue to the upper support and then slide then sit the upper support onto the top lug before it completely into position.
- Page 4 28mm Old West Rear #4 B28-OW-503 Please read these instructions fully before starting construction. PVA or equivalent glue will be required to stick sections together. Sand paper can be used to gently clean any joints. A sharp modelling knife will be required to remove sections from the sprue. Please use knives with due care and remember to cut away from yourself at all times.
- Page 5 Add the small side and front walls to the extension. Take the frame pieces from the sprue. Glue the frames into position (see pic). The main insert pieces. The thinner part of the frame (with the sprue points on it) should be at the bottom. The extension insert pieces.
- Page 6 Glue the stripts into place. Place (do not glue) the roof onto the extension. The completed rear.
- Page 7 28mm Old West Upper #1 B28-OW-520 Please read these instructions fully before starting construction. PVA or equivalent glue will be required to stick sections together. Sand paper can be used to gently clean any joints. A sharp modelling knife will be required to remove sections from the sprue. Please use knives with due care and remember to cut away from yourself at all times.
- Page 8 The window sills. Glue a sill below each window. The completed upper section.
- Page 9 28mm Old West Roof #5 B28-OW-604 Please read these instructions fully before starting construction. PVA or equivalent glue will be required to stick sections together. Sand paper can be used to gently clean any joints. A sharp modelling knife will be required to remove sections from the sprue. Please use knives with due care and remember to cut away from yourself at all times.
- Page 10 Glue the strips into place. The completed roof.
- Page 11 28mm Old West Porch #3 B28-OW-652 Please read these instructions fully before starting construction. PVA or equivalent glue will be required to stick sections together. Sand paper can be used to gently clean any joints. A sharp modelling knife will be required to remove sections from the sprue. Please use knives with due care and remember to cut away from yourself at all times.
Need help?
Do you have a question about the B28-OW-108 and is the answer not in the manual?
Questions and answers