
Related Manuals for ROBINHOOD RWE3CL6SS


Summary of Contents for ROBINHOOD RWE3CL6SS
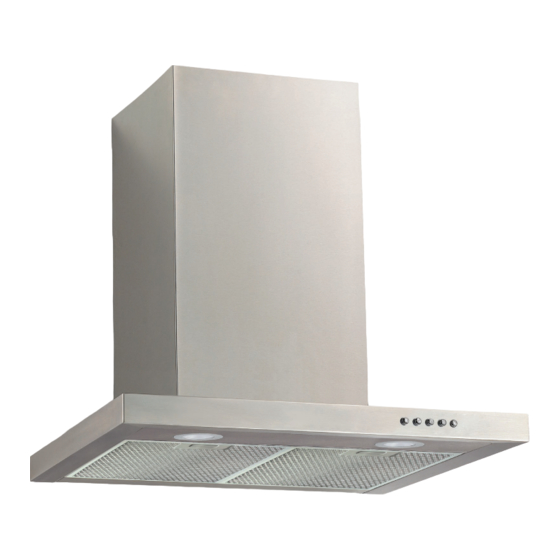
- Page 1 Installation and Operating Instructions Model Numbers: RWE3CL6SS RWE3CL9SS Description: Wall Canopy Rangehood Pictured: RWE3CL6SS...
-
Page 2: Table Of Contents
It is important that you retain these instructions and your proof of purchase along with any other important documents about this product for future reference. Due to continual product development, Robinhood reserves the right to alter specifications or appearances without notice. Important Safety Instructions..........................1 Appliance Details .............................. -
Page 3: Important Safety Instructions
Important Safety Instructions IMPORTANT: Read the assembly instruction section and safety precautions of this booklet carefully before removing the contents of this carton. In certain circumstances electrical appliances may be a safety hazard. This appliance is not intended for use by persons (including children) with reduced physical, sensory or mental capabilities, or lack of experience or knowledge, unless they have been given supervision or instruction concerning the use of the appliance by a person responsible for their safety. -
Page 4: Appliance Details
Appliance Details Voltage & Frequency: 220‐240V 50Hz RWE3CL6SS: 2 x 2W LED Lamp Max: RWE3CL9SS : 2 x 2W LED RWE3CL6SS: 194W Rated Input Power: RWE3CL9SS : 194W General Information Before installing and operating the rangehood, carefully read the following important information regarding installation safety and maintenance. -
Page 5: Pre-Installation
Extra lengths and/or bends may be required, depending on the length required and whether there is any structural material in the run e.g. rafters. Please note that this chart is designed as a guide. Please consult Robinhood customer services if unsure. For NZ phone (09) 415 6000 or www.robinhood.co.nz. For AUS phone 1800 648 556 or www.robinhood.com.au. - Page 6 Pre-Installation Installation Position A. Vertical height from bottom of Rangehood to Fixing Plate mounting screws: 302mm. B. Set height from the hob surface to the underside face of the rangehood at 750mm for electric hob or gas hob. Please check that the length of your chimney assembly will reach your ceiling before securing the rangehood to the wall.
-
Page 7: Installation
Installation Mounting to a stud is recommended. However, if fitted to other wall linings (plasterboard, concrete etc) suitable fixings will be required. Before drilling any holes check that the wall and ceiling are clear of any electrical cables, pipes etc. Pre drill pilot holes in the positions given. - Page 8 Installation Using screws supplied, fix the lower chimney bracket onto lower chimney. Remove the protective plastic covering from all parts including the filters. Hang the rangehood onto the mounting bracket. Connect to the power supply and switch on the power to the rangehood. Check the functions and operations of the switches.
-
Page 9: Operating Instructions
Operating Instructions Controls Power On / Off Speed 1 Speed 2 Speed 3 Lights On / Off Light The light can be operated independently from the fan and is controlled in accordance with the graphics printed above. The fan is operated by turning the power switch on. It can be run at three different speeds (Speed 1 / Speed 2 / Speed 3) depending on the cooking requirements and is controlled in accordance with the graphics printed above. -
Page 10: Chimney Extensions
Chimney Extensions Note: When the maximum chimney height is to be used on the extensions, there will be a minimum of 25mm overlap required for top and bottom chimney assembly. -
Page 11: Warranty Certificate (New Zealand)
The following conditions apply in respect of the warranty given in this certificate: Monaco Corporation Limited (“Monaco”) warrants the following Robinhood products against manufacturing defects and faulty materials, under normal use and subject to the exclusions in this certificate, for a period of: •... -
Page 12: Warranty Certificate (Australia)
The product was used outdoors. All Robinhood Rangehoods are suitable for indoor use only and not suitable over BBQs or charcoal cookers designed for outdoor use. In addition, this warranty does not extend to damage or defects which in our opinion, directly or indirectly arise from or are due to: exposing the product to acidic or corrosive materials or chemicals such as dyes, solvents, denture cleaner or acetone;...
Need help?
Do you have a question about the RWE3CL6SS and is the answer not in the manual?
Questions and answers