Sign In
Upload
Download
Table of Contents
Contents
Add to my manuals
Delete from my manuals
Share
URL of this page:
HTML Link:
Bookmark this page
Add
Manual will be automatically added to "My Manuals"
Print this page
×
Bookmark added
×
Added to my manuals
Manuals
Brands
ROBINHOOD Manuals
Ventilation Hood
RWD3CL6SS
Installation and operating instructions manual
ROBINHOOD RWD3CL6SS Installation And Operating Instructions Manual
Wall canopy rangehood
Hide thumbs
1
Table Of Contents
2
3
4
5
6
7
8
9
10
11
12
page
of
12
Go
/
12
Contents
Table of Contents
Bookmarks
Table of Contents
Table of Contents
Appliance Details
Important Safety Instructions
Pre-Installation
Installation
Operating Instructions
Cleaning and Maintenance
Replacing the Lights
Warranty Certificate (New Zealand)
Warranty Certificate (Australia)
Advertisement
Quick Links
Download this manual
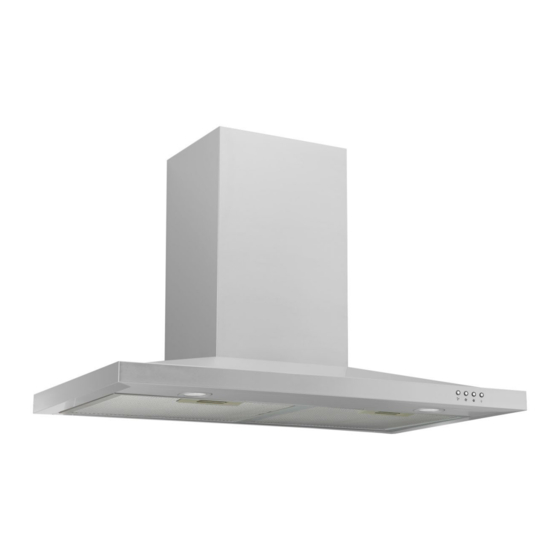
Installation and Operating Instructions
Model Numbers: RWD3CL6SS and RWD3CL9SS
Description: Robinhood Wall Canopy Rangehood
Pictured: RWD3CL6SS
Table of
Contents
Previous
Page
Next
Page
1
2
3
4
5
Advertisement
Table of Contents
Need help?
Do you have a question about the RWD3CL6SS and is the answer not in the manual?
Ask a question
Questions and answers
Related Manuals for ROBINHOOD RWD3CL6SS
Ventilation Hood ROBINHOOD RWD3CL9SS Installation And Operating Instructions Manual
Wall canopy rangehood (12 pages)
Ventilation Hood ROBINHOOD RWD3CL6SSDC Installation And Operating Instructions Manual
Wall canopy stainless steel rangehood (13 pages)
Ventilation Hood ROBINHOOD RWD3CL9SSDC Installation And Operating Instructions Manual
Wall canopy stainless steel rangehood (13 pages)
Ventilation Hood ROBINHOOD RWD3CL75DXDC Installation And Operating Instructions Manual
Wall canopy rangehood dark stainless steel dc motor 75cm (13 pages)
Ventilation Hood Robinhood RWH3CH6SS Installation And Operation Instructions Manual
Wall canopy (11 pages)
Ventilation Hood ROBINHOOD RWC3CH6SS Installation And Operating Instructions Manual
Wall canopy (11 pages)
Ventilation Hood ROBINHOOD RWV3CL6G Installation And Operating Instrictions
Wall canopy curved glass 90cm vetro (9 pages)
Ventilation Hood ROBINHOOD RWV3CL9G Installation And Operating Instrictions
Wall canopy curved glass 90cm vetro (9 pages)
Ventilation Hood ROBINHOOD RWJ3CL9BK Installation And Operating Instructions Manual
Wall canopy (11 pages)
Ventilation Hood ROBINHOOD RWC3CL6SS Installation And Operating Instructions Manual
Wall canopy rangehood (12 pages)
Ventilation Hood ROBINHOOD RWE3CL6SS Installation And Operating Instructions Manual
Wall canopy rangehood (12 pages)
Ventilation Hood ROBINHOOD RWCT90XCOM Installation And Operating Instructions Manual
Wall canopy rangehood (10 pages)
Ventilation Hood ROBINHOOD RWC60XCOM Installation And Operating Instructions Manual
Wall canopy rangehood (10 pages)
Ventilation Hood ROBINHOOD RWC90XCOM Installation And Operating Instructions Manual
Wall canopy rangehood (10 pages)
Ventilation Hood ROBINHOOD RWK3CL6G Installation And Operating Instructions Manual
Curved glass canopy rangehood 60/90cm (13 pages)
Ventilation Hood ROBINHOOD RWE3CL6SSDC Installation And Operating Instructions Manual
(13 pages)
This manual is also suitable for:
Rwd3cl9ss
Table of Contents
Print
Rename the bookmark
Delete bookmark?
Delete from my manuals?
Login
Sign In
OR
Sign in with Facebook
Sign in with Google
Upload manual
Upload from disk
Upload from URL


Need help?
Do you have a question about the RWD3CL6SS and is the answer not in the manual?
Questions and answers