Table of Contents
Advertisement
Quick Links
LUXOMAT
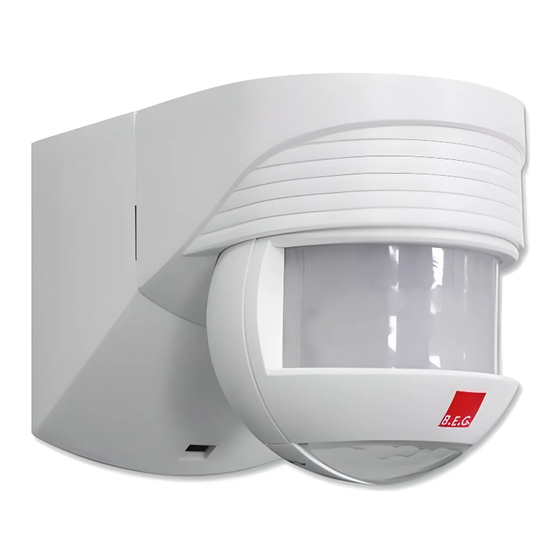
Installation and Operation Instruction motion detector B.E.G. – LUXOMAT
1. Montagevorbereitung
1
2
Caution: have all work involving the
1)
230 V mains supply carried out by a
qualified electrician! Before starting
disconnect the mains! Please be aware,
that the LUXOMAT
LC-Click 140/200 is
®
not suitable as an intrusion detector, since
it is not equipped with a tamper contact.
2) Socket base corner mounting
The device is not suited for safe disconnection
of the mains supply.
Important: The LUXOMAT
LC-Click
®
140/200 has to be mounted in such a way,
that the adjusting elements / rotary regulators
are always pointed downward.
Caution: Do not connect more than2 LUXOMAT
LC-Click in one circuit, to avoid any erroneous
switching.
8. Putting into operation / Settings
Self test cycle
After mounting and connecting the 230 VAC supply
voltage, the LED flashed for 1 min. to show a self testing
unit. Then the unit is ready for operation and the set-
tings can be made manually or with remote control.
40
10
130
1000
2 Lux
1) If possible mount unit on a safe place
(wall or ceiling mount)
®
2. Wall mounting
Mount the plug-in socket with two screws and
the enclosed seal rings on a firm base.
(Pay attention to inserting of the connection
cable, see point 3)
3. Inserting of the connection cable
1
1) Cable entry points
2) Terminal markings
®
20
4
sec
130
1.2
50
1000
6
20
4
sec
10
min
2) Influence of weather reduces the lifetime of
the unit. Please take care to mount correctly.
LC-Click 140 / 200
4. Sensor head optics
By swinging the sensor head horizontally (ca.
90°) and vertically (ca. 85°) detection area
can be changed.
2
1.2
50
6
Follow-up time
4sec. ... 10Min.
10
min
40
10
Lux value
Night operation...Dusk...Day operation
(Day operation: light sensor inactive, switching at
2 Lux
any brightness value)
> 1m
3) Minimum distance to switched lighting,
frontally or laterally to device: 1 m
4) Never mount the connected lights below
the motion detector!
LC-Click 140 and LC-Click 200
®
5. Exclude sources of interference
If necessary, the lens segment(s) corresponds
to unwanted detection zones may be masked
of vision.
6. Mounting types
1
1) Wall mounting
9. Range of Coverage
2,50 m
3
2
1
Walking Towards
2
Walking across
3
Anti-creep
2,50 m
3
2
1
Walking Towards
2
Walking across
Anti-creep
3
1
1
Advertisement
Table of Contents

Subscribe to Our Youtube Channel
Related Manuals for B.E.G. LUXOMAT LC-Click 140


Summary of Contents for B.E.G. LUXOMAT LC-Click 140
- Page 1 LC-Click 140 / 200 LUXOMAT ® Installation and Operation Instruction motion detector B.E.G. – LUXOMAT LC-Click 140 and LC-Click 200 ® 1. Montagevorbereitung 4. Sensor head optics 5. Exclude sources of interference 2. Wall mounting Mount the plug-in socket with two screws and By swinging the sensor head horizontally (ca.
- Page 2 11. Wiring diagrams Standard mode with 1-channel motion detector Standard mode with 1-channel motion detector with Standard mode with 1-channel motion permanent light function detector with NC pushbutton L‘ L‘ L‘ optional: S1 = switch for permanent light RC = RC-suppression kit if required T 1 = NC button Parallel connection with 1-channel motion detectors...
Need help?
Do you have a question about the LUXOMAT LC-Click 140 and is the answer not in the manual?
Questions and answers