Advertisement
Quick Links
LUXOMAT
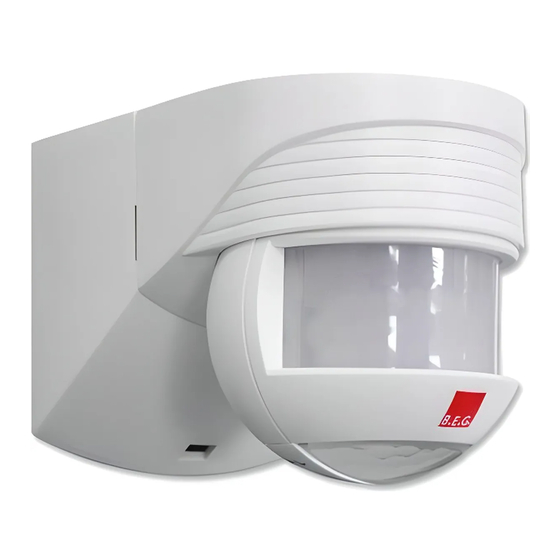
Installation and Operation Instruction motion detector B.E.G. – LUXOMAT
1. Mounting preparations
1
2
Caution: have all work involving the
1)
230 V mains supply carried out by a
qualified electrician! Before starting
disconnect the mains! Please be aware,
that the LUXOMAT
LC-Click 140/200 is
®
not suitable as an intrusion detector, since
it is not equipped with a tamper contact.
2) Socket base corner mounting
The device is not suited for safe disconnection
of the mains supply.
Important: The LUXOMAT
LC-Click
®
140/200 has to be mounted in such a way,
that the adjusting elements / rotary regulators
are always pointed downward.
Caution: Do not connect more than 2 LUXOMAT
LC-Click in one circuit, to avoid any erroneous
switching.
7. Putting into operation / Settings
Self test cycle
After mounting and connecting the 230 VAC supply
voltage, the LED flashed for 1 min. to show a self testing
unit. Then the unit is ready for operation and the set-
tings can be made manually or with remote control.
80
1.2
50
20
6
260
20
4
2000
2 Lux
sec
10
min
80
20
260
2000
2 Lux
1) If possible mount unit on a safe place
(wall or ceiling mount)
2. Wall mounting
Mount the plug-in socket with two screws and
the enclosed seal rings on a firm base.
(Pay attention to inserting of the connection
cable, see point 3.)
3. Inserting of the connection cable
1
1) Cable entry points
2) Terminal markings
®
1.2
50
6
20
4
sec
10
min
2) Influence of weather reduces the lifetime of
the unit. Please take care to mount correctly.
LC-Click 140 / 200
®
4. Sensor head optics
By swinging the sensor head horizontally (ca.
90°) and vertically (ca. 85°) detection area
can be changed.
2
1.2
50
6
20
Follow-up time
4 sec. ... 10 min.
4
sec
10
min
80
Lux value
20
260
Night operation...Dusk...Day operation
(Day operation: light sensor inactive, switching
2000
2 Lux
at any brightness value)
3) Minimum distance to switched lighting,
frontally or laterally to device: 1m
4) Never mount the connected lights below
the motion detector!
LC-Click 140 and LC-Click 200
®
5. Exclude sources of interference
If necessary, the lens segment(s) corresponds
to unwanted detection zones may be masked
with the enclosed covers to reduce the field
of vision.
6. Mounting types
1) Wall mounting
8. Range of Coverage
4
1 :
1 .
5
0 .
2 5
0 .
P t
2 4
o k
o
B
r a
t u
F u
> 1m
GB
1
2.50 m
1
2
1
Walking Towards
2
Walking across
2.50 m
1
2
1
Walking Towards
Walking across
2
Advertisement

Subscribe to Our Youtube Channel
Related Manuals for B.E.G. LUXOMAT LC-Click 140


Summary of Contents for B.E.G. LUXOMAT LC-Click 140
- Page 1 LC-Click 140 / 200 LUXOMAT ® Installation and Operation Instruction motion detector B.E.G. – LUXOMAT LC-Click 140 and LC-Click 200 ® 1. Mounting preparations 2. Wall mounting 4. Sensor head optics 5. Exclude sources of interference Mount the plug-in socket with two screws and By swinging the sensor head horizontally (ca.
- Page 2 9. Wiring diagrams Standard mode with 1-channel motion detector Standard mode with 1-channel motion detector with Standard mode with 1-channel motion permanent light function detector with NC pushbutton L‘ L‘ L‘ optional: S1 = switch for permanent light RC = RC-suppression kit if required T 1 = NC button Parallel connection with 1-channel motion detectors Standard mode with 1-channel motion detector...
Need help?
Do you have a question about the LUXOMAT LC-Click 140 and is the answer not in the manual?
Questions and answers