Advertisement
Scan for full manual
Step 1: Check what's in the box
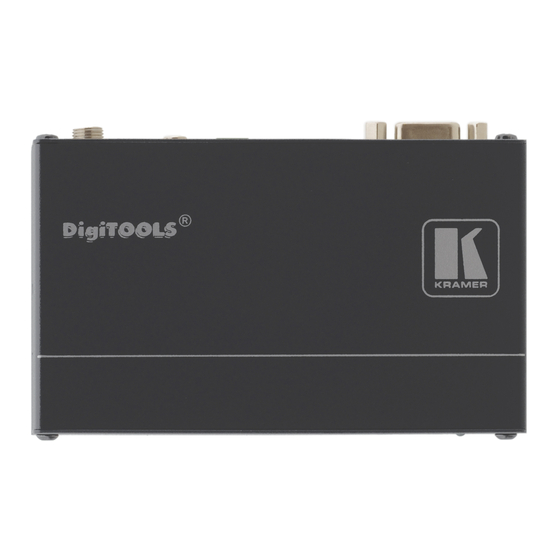
TP-121EDID, TP-123EDID, TP-125EDID, PT-110EDID XGA/TP Transmitter
1 Power supply (12V DC)
Step 2: Get to know your TP-121EDID, TP-123EDID, TP-125EDID, PT-110EDID
#
Feature
1
EDID
CAPTURE Button
2
STATUS LED
3
ON LED
4
XGA IN 15-pin HD (F) connector
5
LINE OUT RJ-45 connector
6
AUDIO IN 3.5mm mini jack
7
12V DC
#
Feature
1
EDID
CAPTURE Button
2
STATUS LED
3
ON LED
4
XGA IN 15-pin HD (F) connector
5
LINE OUT RJ-45 connector
6
RS-232 terminal block connector
7
AUDIO IN 3.5mm mini jack
8
12V DC
TP-121EDID, TP-123EDID, TP-125EDID, PT-110EDID
Quick Start
TP-121EDID, TP-123EDID, TP-125EDID,
PT-110EDID Quick Start Guide
This guide helps you install and use your
time.
Go to
www.kramerav.com/downloads/TP-121EDID
firmware upgrades are available.
Figure 1: TP-121EDID XGA/Audio Line Transmitter
Function
Press to capture the EDID information from the display
Illuminates during normal operation; flashes when acquiring the EDID
Illuminates when receiving power
Connects to the XGA source
Connects to the LINE IN RJ-45 connector on a receiver
Using a CAT 5 cable with RJ-45 connectors at both ends
Connects to the audio source
+12V DC connector for powering the unit
Figure 2: TP-123EDID XGA/Audio/Data Line Transmitter
Function
Press to acquire the EDID information from the display
Illuminates during normal operation; flashes when acquiring the EDID
Illuminates when receiving power
Connect to the XGA source
Connects to the LINE IN RJ-45 connector on the TP-124 XGA/Audio Line Receiver
Use a CAT 5 cable with RJ-45 connectors at both ends
Connects to the PC or the Remote Controller
Connects to the audio source
+12V DC connector for powering the unit
TP-121EDID, TP-123EDID, TP-125EDID, PT-110EDID
to download the latest user manual and check if
4 Rubber feet
1 Quick start guide
P/N: 2 9 0 0 - 3 0 1 2 7 2 QS
for the first
Rev: 4
Advertisement
Table of Contents

Summary of Contents for Kramer TP-121EDID
- Page 1 Step 1: Check what’s in the box TP-121EDID, TP-123EDID, TP-125EDID, PT-110EDID XGA/TP Transmitter 4 Rubber feet 1 Power supply (12V DC) 1 Quick start guide Step 2: Get to know your TP-121EDID, TP-123EDID, TP-125EDID, PT-110EDID Figure 1: TP-121EDID XGA/Audio Line Transmitter Feature Function EDID...
- Page 2 H SYNC to NORMAL polarity By default, both switches are set down (for normal V SYNC and H SYNC polarity) ON LED Illuminates when receiving power Step 3: Mount TP-121EDID, TP-123EDID, TP-125EDID, PT-110EDID Install TP-121EDID, TP-123EDID, TP-125EDID, PT-110EDID using one of the following methods: •...
- Page 3 Brown / White Brown The shielding must be connected/soldered to the connector shield. To achieve specified extension distances, use the recommended Kramer cables available at www.kramerav.com/product/TP-121EDID. Using third-party cables may cause damage! Step 5: Connect power Connect the power cord to TP-121EDID, TP-123EDID, TP-125EDID, PT-110EDID and plug it into the mains electricity.
- Page 4 Step 6: Operate TP-121EDID, TP-123EDID, TP-125EDID, PT-110EDID The transmitter can acquire the EDID information from the connected display or it can acquire the default EDID. To acquire the display EDID, do the following: Using a short cable, connect the XGA INPUT 15-pin HD connector of the transmitter to the XGA input connector of the display.


Need help?
Do you have a question about the TP-121EDID and is the answer not in the manual?
Questions and answers