Advertisement
Quick Links
888-230-2225
help@manhattancomfort.com
Vernon 62.99
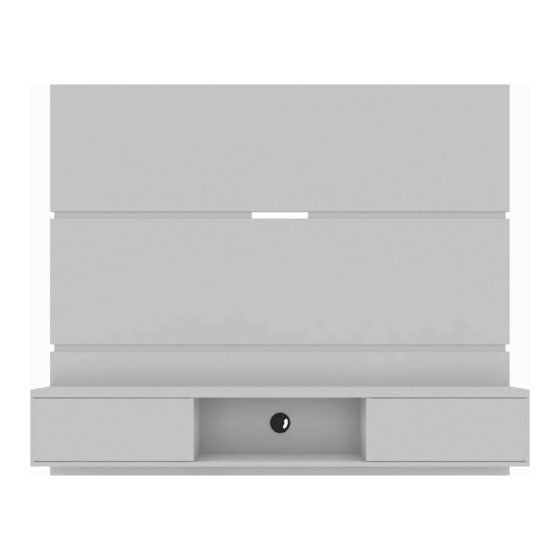
Floating Entertainment Center / Agencement Meuble TV Suspendu
Model # 236BMC12, 236BMC6, 236BMC9, 236BMC98
44
lb
11
lb
8
lb
8
8
lb
lb
The indicated values consider static weights and evenly distributed over the parts.
Les valeurs indiquées tiennent compte des poids statiques et uniformément répartis sur les pièces.
Ed. 002, 2020/10 - Manhattan Comfort.
Advertisement

Subscribe to Our Youtube Channel
Related Manuals for Manhattan Comfort Vernon 62.99


Summary of Contents for Manhattan Comfort Vernon 62.99
- Page 1 Floating Entertainment Center / Agencement Meuble TV Suspendu Model # 236BMC12, 236BMC6, 236BMC9, 236BMC98 The indicated values consider static weights and evenly distributed over the parts. Les valeurs indiquées tiennent compte des poids statiques et uniformément répartis sur les pièces. Ed. 002, 2020/10 - Manhattan Comfort.
- Page 2 INCLUDED IN THE PACKAGE / INCLUS DANS LE PACKAGE REAR VIEW / VUE ARRIÈRE For fixing behind the panel. Pour fixation derrière les panneaux. For fixing behind the panel. Pour fixation derrière les panneaux. For fixing on the wall. Pour fixation au mur. For fixing on the wall.
- Page 3 TOOLS NEEDED / OUTILS NÉCESSAIRES Manual screwdriver. Simple hammer. Level indicator. Electric drill and electric Tournevis manuel. Marteau simple. Indicateur de niveau. screwdriver with drill bit Ø1/2 inch and phillips tips. Perceuse électrique et tournevis électrique avec foret Ø1/2 pouce et pointes phillips.
- Page 4 STEP 1 / ÉTAPE 1 Preparing the Doors (10): • Fix the hinges (K) on the Doors (10) with the bolts (L), as shown in the DETAIL 1. Préparation des Portes (10): • Fixez les charnières (K) aux deux Portes (10) avec des vis (L), comme indiqué...
- Page 5 STEP 4 / ÉTAPE 4 Rear face Face arrière • Fix the Rear Bars (06) behind the Panels (02) and (03) with the bolts (C), in the positions shown in the drawing and with the beveled edge down and forward (for the panels). Fixez les Barres arrière (06) derrière les Panneaux (02) et (03) avec des vis (C), dans les positions indiquées...
- Page 6 STEP 6 / ÉTAPE 6 • Install the set of parts (07), (08), (09), (10) and (11), assembled in the STEP 2, fixing the Lower Shelf (07) and Middle Shelf (11) in the Lower Panel (01) with the dowels Ø6 x 30mm (G) and with the bolts 5.0 x 50mm (M).
- Page 7 STEP 8 / ÉTAPE 8 • With the panel already assembled, fit the Rear Bars (06) fixed behind the panel in the Bars (12) fixed on the wall Avec le Panneau déjà assemblé, monter les Barres (06) fixée derrière le panneau Fixed on the wall.
Need help?
Do you have a question about the Vernon 62.99 and is the answer not in the manual?
Questions and answers