Table of Contents
Advertisement
Quick Links
888-230-2225
help@manhattancomfort.com
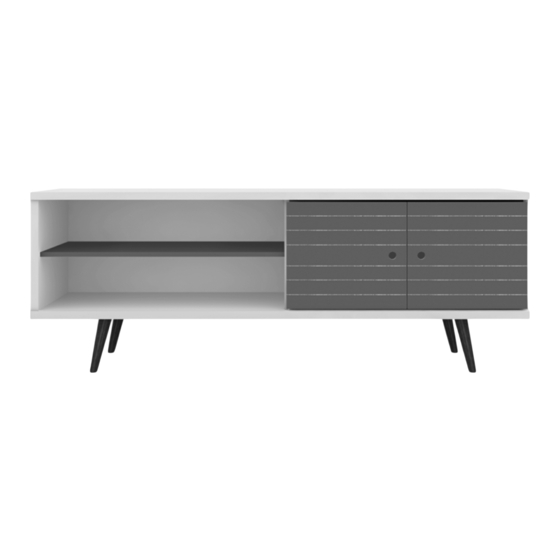
Liberty TV Stand 62.99
Model # 201AMC6, 201AMC63, 201AMC64, 201AMC67, 201AMC69,
201AMC8, 201AMC9, 201AMC93, 201AMC94, 201AMC96, 201AMC97
44
lb
11
lb
22
lb
22
lb
The indicated values consider static weights and evenly distributed over the parts.
Ed. 006, 2019/08 - Manhattan Comfort.
Advertisement
Table of Contents

Related Manuals for Manhattan Comfort Liberty 62.99 201AMC6


Summary of Contents for Manhattan Comfort Liberty 62.99 201AMC6
- Page 1 888-230-2225 help@manhattancomfort.com Liberty TV Stand 62.99 Model # 201AMC6, 201AMC63, 201AMC64, 201AMC67, 201AMC69, 201AMC8, 201AMC9, 201AMC93, 201AMC94, 201AMC96, 201AMC97 The indicated values consider static weights and evenly distributed over the parts. Ed. 006, 2019/08 - Manhattan Comfort.
-
Page 2: Included In The Package
INCLUDED IN THE PACKAGE REAR VIEW FRONT VIEW n.° ID Parts Identification (Description) Quantity Base Top Panel Left Side Panel Shelf Partition Right Side Panel Door Back Panel Wood Feet... -
Page 3: Tools Needed
TOOLS NEEDED INCLUDED IN THE HARDWARE... - Page 4 STEP 1 • Fix the feet (9) under the Base (01) with bolts (A). • Apply the protective felt (K) on the bottom of the feet (09). • Apply the plastic covers (B) on top of the bolts (A). STEP 2 •...
- Page 5 STEP 4 • Connect Back Panel (08) with nails (H). STEP 5 Preparing the Doors (07): • Insert the plastic ring (N) in the Doors (07). • Fix the hinges (I) in the two Doors (07) with bolts (J), as shown in DETAIL 2.
- Page 7 888-230-2225 help@manhattancomfort.com Liberty Panel 62.99 Model # 221BMC1, 221BMC12, 221BMC2, 221BMC21, 221BMC6, 221BMC8, 221BMC9, 221BMC94 The indicated values consider static weights and evenly distributed over the parts. Ed. 002, 2019/07 - Manhattan Comfort.
-
Page 8: Parts Identification (Description)
INCLUDED IN THE PACKAGE REAR VIEW n.° ID Parts Identification (Description) Quantity Upper Panel Lower Panel Rear Column Upper Rear Bar Upper Shelf Bar for wall... - Page 9 TOOLS NEEDED Simple and phillips Simple hammer. Level indicator. Drilling machine and electric screwdriver with screwdriver. drill bit Ø1/2 inche and phillips tips. INCLUDED IN THE PACKAGE...
- Page 10 STEP 1 DETAIL 1 • Line the floor with the foam mantle of the packing to protect the parts and arrange the Panels (01) and (02) with the rear face upwards , correctly checking the position of each according the holes and as the drawing. •...
- Page 11 STEP 3 Rear face • Fix the Upper Shelf (05) in the Upper Panel (01) with dowels (B) and bolts (G). Rear face STEP 4 Minimum fixing distance of the Bar (06) to the panel installation close to walls corner. 1/2 inche hole in the wall Kap Toggle...
- Page 12 STEP 5 Fixed on the wall. Fixed behind • With the Panel already the panel. assembled, fit the Bar (04) fixed behind the panel in the Bar (06) fixed on the wall. STEP 6 • At the end of the installation, apply the security bolts (F) into the indicated holes, to fix the Panel (01) in the Bar (06)
Need help?
Do you have a question about the Liberty 62.99 201AMC6 and is the answer not in the manual?
Questions and answers