Advertisement
Turn the chair upside down and place the seat on the corner of a table. Using a Phillips
screwdriver bit, remove the four screws from the seat bottom. Remove the seat shroud
from the chair assembly. Remove two screws, one screw in each of the front two legs.
Turn the chair back over to the upright position.
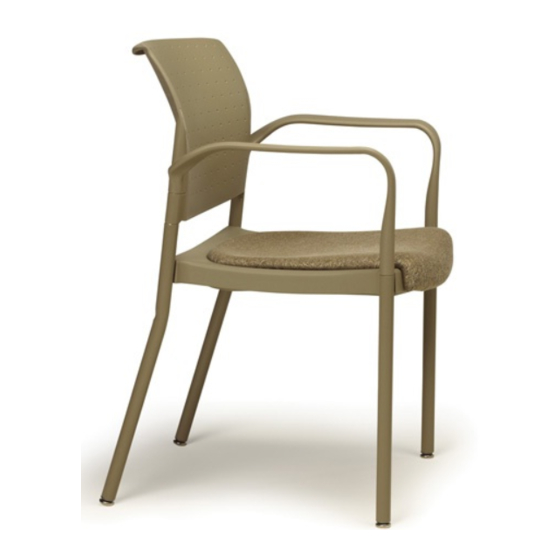
Pull the front of the arms out of the frame tube. Turn the left and right arms 90°, away
from the seat of the chair. Pull the backrest and arms up away from the frame and seat.
The backrest only needs to be pulled up until the arm can be pulled away from the chair
assembly.
Remove Screws
from Front Legs
Remove Screws
from Seat Shroud
Advertisement
Table of Contents

Related Manuals for KI Rapture Stack Chair


Summary of Contents for KI Rapture Stack Chair
- Page 1 Remove Screws from Front Legs Remove Screws from Seat Shroud Turn the chair upside down and place the seat on the corner of a table. Using a Phillips screwdriver bit, remove the four screws from the seat bottom. Remove the seat shroud from the chair assembly.
- Page 2 Arm Placement Cutout Area Scrap the old arms or return them to KI. Fetch the new arms and place them in the backrest cutout arm area. When both left and right arms are in position, slide the backrest and arms down onto the frame tubes, towards the seat.
- Page 3 Replace Screws in Legs Replace Four Screws to Hold Seat Shroud to the Frame Turn the chair upside down and place the seat on the corner of a table. Place in the original holes, one screw in each of the two front legs. Put the seat shroud onto the bottom of the frame.
Need help?
Do you have a question about the Rapture Stack Chair and is the answer not in the manual?
Questions and answers