Table of Contents
Advertisement
Quick Links
Weather Tech
Installation Instructions
Thank you for purchasing the WeatherTech ® Pet Barrier. Please read
this installation guide to thoroughly familiarize yourself with the
steps necessary to install the Pet Barrier. If you have any questions,
please call our Customer Service Department at 800-441-6287.
E
S
Instrucciones de instalacion
Gracias por comprar la barrera para mascotas WeatherTech
familiarizarse por completo con los pasos necesarios para instalar la barrera para mascotas. Si desea
realizar alguna pregunta, llame al departamento de servicio al cliente al 800-441-6287.
T
Instructions d'installation
R
Nous vous remercions d'avoir achete la barriere pour animaux WeatherTech
guide d'installation pour bien vous familiariser avec les etapes d'installation de la barriere pour
animaux. Si vous avez des questions, veuillez appeler notre service a la clientele au 1 800 441 -6287.
NOTES
This product is not to be used as a cargo barrier.
Any use of this product other than it's intended
use voids the warranty and all liability. Check the
adjustments occasionally on the Pet Barrier to
make sure it remains securely in place.
View Easy Installation Video • Ver video sobre instalacion sencilla • Visionner une video d ' installation facile
. Lea esta gui'a de instalacion para
®
. Veuillez lire le present
®
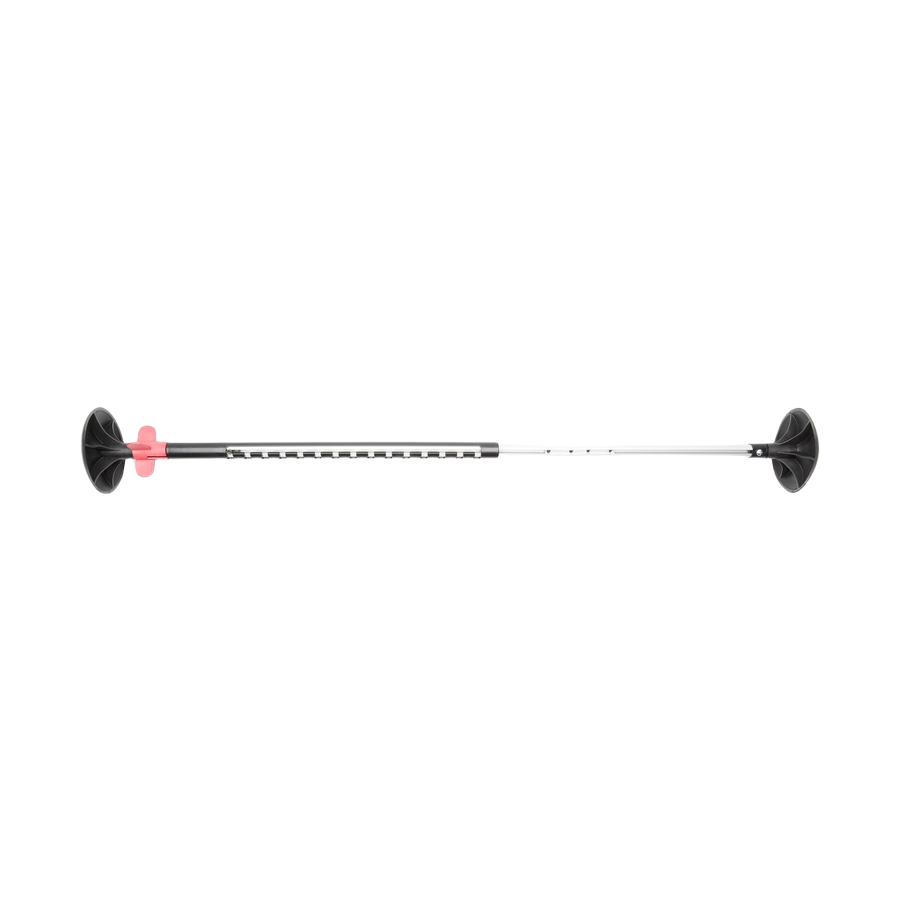
Parts List
Remove all parts from the box
and verify that all parts have
been received.
A. (2) Vertical Bars
B. (2) Horizontal Bar Sets
C. (4) Feet
D. (2) Horizontal Bar
Mounting Clips
ADVERTENCIA
ES
Este producto no se debe utilizar como barrera para carga. Si
este producto se utiliza con un fin distinto al del uso previsto,
la garanti'a y toda responsabilidad quedaran anuladas.
Verifique los ajustes de la barrera para mascotas de vez en
cuando para asegurarse de que permanezca firme en su lugar.
WeatherTech.com/install
Pet Barrier
Lista de piezas
£
Retire todas las piezas de la
Videz la boite et verifiez qu'il ne
caja y verifique que no falte
manque aucune piece.
ninguna.
A. (2) Barres verticales
A. (2) Barras verticales
B. (2) Ensembles de barres
B. (2) Juegos de barras
horizontales
C. (4) Pieds
C. (4) Bases
D. (2) Attaches de fixation pour
D. (2) Grapas de montaje de
las barras horizontales
AVERTISSEMENT
FR
Ce produit ne peut faire office de grille de separation. Si ce
produit remplit d'autres fonctions que celles qui sont prevues,
la garantie et les obligations qui y sont liees s'annulent. Verifiez
les reglages de la barriere pour animaux de temps a autre afin
de vous assurer qu'elle demeure fermement en place.
Made in the USA
R
Liste des pieces
horizontales
les barres horizontales
Advertisement
Table of Contents

Related Manuals for WeatherTech 8APB01


Summary of Contents for WeatherTech 8APB01
- Page 1 Pet Barrier Made in the USA Installation Instructions Thank you for purchasing the WeatherTech ® Pet Barrier. Please read this installation guide to thoroughly familiarize yourself with the steps necessary to install the Pet Barrier. If you have any questions, please call our Customer Service Department at 800-441-6287.
- Page 2 Place Feet on stable surface. Insert one end of the Vertical Bar Coloque las bases sobre una superficie estable. Inserte un extremo de la barra vertical en la abertura de tubo de la base y empujela hacia abajo hasta que la barra into the tube opening of a Foot and push down until the bar se encastre firme en la base.
- Page 3 Gire la barra de aluminio para desbloquear el pasador de posicion de altura. Twist the Aluminum Bar to unlock the Height Position Pin. When Una vez que el pasador este en la posicion desbloqueada debe ser visible en el in the unlocked position, the pin should be seen in the open area del canal abierto y el montante negro debe deslizarse libremente hacia arriba channel area and the black upright should be able to slide freely y hacia abajo.
- Page 4 Rotate and set the second Vertical Bar to the same height and Tome la segunda barra vertical y gh'ela para copiar la altura y posicion de bloqueo de la primera barra vertical. lock position as the first Vertical Bar. Faites tourner le montant de l'autre barre verticale et reglez-la a la meme hauteur que la premiere barre verticale.
- Page 5 If Necessary Si necesario Si necessaire Installing Horizontal Bar Set to Lower Vertical Bars Como instalar barras horizontales sobre el sector inferior de la barra vertical Installation des barres horizontales sur la partie inferieur des barres verticales To install Horizontal Bars to the Lower Vertical Bars, first Para instalar las barras horizontales sobre el sector inferior de la barra vertical, remove the upper Foot on the Vertical Bar by loosening primero retire la base superior de la barra vertical aflojando el tornillo de cabeza...
- Page 6 Fije la barra horizontal superior mas arriba de la barra horizontal inferior Attach the second Horizontal Bar Set above the first Horizontal Bar Set by following the procedure outlined in Step 6. siguiendo el procedimiento detallado en el paso 6. Attachez la barre horizontale superieure au-dessus de I'autre barre horizontale en suivant l'etape 6.
- Page 7 With Thumbnuts loose, make any final adjustments by sliding Horizontal Realice los ajustes finales en las barras horizontales deslizando hacia arriba Bar Sets up and down. We recommend even spacing between all y hacia abajo las tuercas de mariposa y alineandolas segun las ubicaciones exactas de su eleccion.
- Page 8 WeatherTech.ca For warranty information, please visit Pour plus d'informations sur la garantie, visitez www.WeatherTech.ca/fr/warranty ou contactez www.WeatherTech.ca/warranty or contact our Made in the USA notre service a la clientele au customer support team at (888) 905-6287 (888) 905-6287 ou (905) 549-2761...
Need help?
Do you have a question about the 8APB01 and is the answer not in the manual?
Questions and answers