Table of Contents
Advertisement
Quick Links
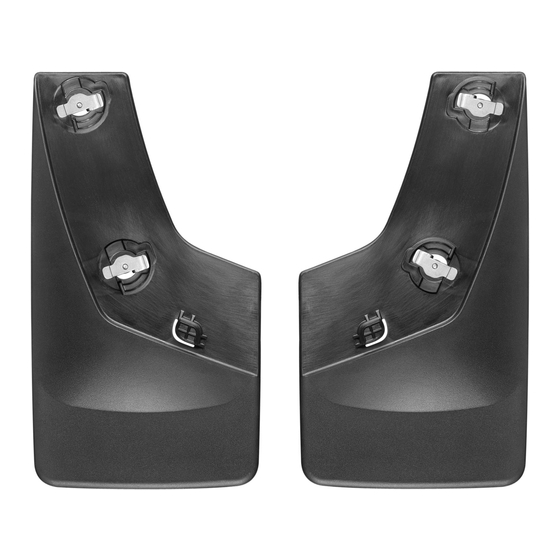
No-Drill MudFlaps
Installation Instructions
Instrucciones de instalación
ES
Instructions d'installation
FR
1
Start by thoroughly washing your vehicle. Take
care to remove all dirt, debris, and stains from
each fender in the areas corresponding to
where the MudFlaps will be installed.
Comience por lavar bien el
ES
vehículo. Asegúrese de quitar
completamente la suciedad,
los desechos y las manchas
de cada defensa en las
áreas donde se instalarán
las Loderas.
What you Need
Ratchet and Socket Set*
*Not included
48MF573 Parts Kit x4:
(8) Hex Head Screws
(8) U-Clips
48MF597 Parts Kit x4:
(8) Push-Lock Fasteners
48MF567 Parts Kit:
(1) #2 Phillips Bit
Commencez par bien laver
FR
votre véhicule. Assurez-vous
d'enlever toute la poussière,
tous les débris et toutes les
taches de chaque aile dans
les zones correspondant
à l'endroit où les bavettes
garde-boue seront installées.
Lo que necesita
ES
Juego de matraca y dados*
*No incluido
Juego de piezas 48MF573 × 4:
(8) tornillos de cabeza hexagonal
(8) grapas U
Juego de piezas 48MF597 × 4:
(8) Sujetadores con bloqueo
a presión
Juego de piezas 48MF567:
(1) punta Phillips n.º 2
2
Park the vehicle on level ground. Begin with the
driver's side MudFlap installation.
ES
Estacione el vehículo en
terreno plano. Comience
con la instalación de
la Lodera del lado
del conductor.
Matériel nécessaire
FR
Trousse de douilles et rochet*
* Matériel non compris.
4 trousses de pièces 48MF573 :
(8) vis à tête hexagonale
(8) agrafes en U
4 trousses de pièces 48MF597 :
(8) attaches poussoirs
Trousse de pièces 48MF567 :
(1) embout cruciforme n
2
o
FR
Stationnez le véhicule sur
un terrain nivelé. Commencez
par l'installation de la bavette
garde-boue côté conducteur.
Advertisement
Table of Contents

Related Manuals for WeatherTech No-Drill MudFlaps


Summary of Contents for WeatherTech No-Drill MudFlaps
- Page 1 No-Drill MudFlaps Installation Instructions Instrucciones de instalación Instructions d’installation What you Need Lo que necesita Matériel nécessaire Ratchet and Socket Set* Juego de matraca y dados* Trousse de douilles et rochet* *Not included *No incluido * Matériel non compris. 48MF573 Parts Kit x4: Juego de piezas 48MF573 ×...
- Page 2 Locate the hex head screw as indicated. Using the Locate the (6) six plastic fasteners that retain the OEM appropriate socket and a ratchet, remove this screw. splash guards as indicated. Remove the plastic fasteners It will be reused. by delicately unscrewing the centers and prying out the body.
- Page 3 While firmly pressing the MudFlap to seat it properly Install (4) four supplied U-Clips on the threads of the on the fender, install (4) four supplied hex head screws screws installed in step 7, by reaching into the bumper through the MudFlap holes as indicated. Turning the hex and threading them on.
- Page 4 Install the passenger side MudFlap marked “RH,” Congratulations! Your new WeatherTech® No-Drill MudFlaps have been repeating steps 3-10. installed! Your WeatherTech® No-Drill MudFlap carries a Repita los pasos 3 al 10 para Installez la bavette garde-boue Lifetime Limited Warranty against defects in materials and instalar la Lodera del lado del du côté...
Need help?
Do you have a question about the No-Drill MudFlaps and is the answer not in the manual?
Questions and answers