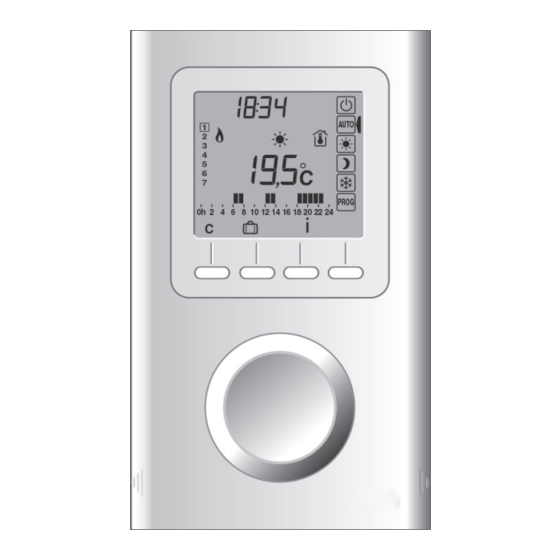
Summary of Contents for DELTA DORE TYBOX BUS OT
- Page 1 TYBOX BUS Noti ce d’installati on Installati onsanleitung Installati on instructi ons Instrucciones para la instalación...
-
Page 2: Table Of Contents
TECHNICAL CHARACTERISTICS CONTENT • Supply by the OT bus (5 mA to 23 mA supplied by the boiler) 1/ Location • Clock backup during mains power failure: 2/ Mounting 3 hours (by capacitor) • Class III insulation 3/ Connection • Controls: 4/ Mounting the thermostat 1°- PWM thermostat 5/ ... -
Page 3: 1/ Location
1/ LOCATION 2/ MOUNTING Switch off the mains power before handling Since the temperature measurement sensor is inside the box, you must install the thermostat flush-mounting box: the device. ❶ - On an accessible wall at a height of 1.50 m - away from heat sources (fireplaces, sunlight) and draughts ❶... -
Page 4: 3/ Connection
3/ CONNECTION Boiler terminal example The diagrams provided are simplified for greater clarity. Protections and other accessories required by standards are not illustrated. - Standard NF C15-100 and good practice must be 4 3 2 1 complied with. Connected or nearby units must not generate excessive interference. -
Page 5: 4/ Mounting The Thermostat
4/ MOUNTING THE THERMOSTAT ❶ Fit the thermostat onto the tab of the base ❷ Secure it with the clamp screw. ❸ Replace the cover on the thermostat ❹ Your thermostat is ready for acti vati on. Back-lighti ng is disabled for 1 minute ❶... -
Page 6: 5/ User Configuration
5/ USER CONFIGURATION The thermostat must be in shutdown mode (Turn the selector knob AUTO to Off). ❶ Press and hold the 2nd button from the left for 5 seconds. The PROG screen shows the thermostat version. ❷ Press OK. The screen displays the CF01 menu. >5s - 5°C ->... - Page 7 5/ USER CONFIGURATION Comment: the greyed-out sections of the tables correspond to default values. CF05 - Clock display type CF01 - Correcting the temperature measured Adjustable from -5°C to +5°C. The default setting is 0°C. 12 h 12 h display (AM/PM) Example: If the temperature displayed by the unit is 19°C and the actual temperature (thermometer) is 20°C, set +1°C.
-
Page 8: 6/ Installer Configuration
6/ INSTALLER CONFIGURATION The thermostat must be in shutdown mode. (Turn the selector knob to Shutdown. AUTO ❶ Press and hold the 2nd button from the left for 5 seconds. The PROG screen shows the thermostat version. ❷ Press and hold OK for 10 seconds. The screen displays the PI01 menu. - Page 9 6/ INSTALLER CONFIGURATION PI05 - DHW management Comment: the greyed-out secti ons of the tables correspond to default values. PI06 - DHW excepti on (if PI05 = 1) PI01 - Control type Thermostat Absence mode Outdoor with no Thermostat compensati on Shutdown mode Outdoor with Thermostat compensati on Absence mode and Shutdown mode...
-
Page 10: 7/ Boiler Factory Settings
7/ BOILER FACTORY SETTINGS Description Value The boiler's factory settings cannot be changed from the thermostat. They can PU01 Manufacturer AUTO only be viewed. Values given by the manufacturer PU02 Type of the boiler. PROG The thermostat must be in shutdown mode By default : 0 PU03 Version... -
Page 11: 8/ Return To Initial Settings
8/ RETURN TO INITIAL SETTINGS 8.1 PARTIAL INITIALISATION 8.2 ALL SETTINGS INITIALISED AUTO This mode resets all the configuration Turn the selector knob to Shutdown ( ). AUTO settings, settings, and programming. PROG Only the date and time are kept. ❶ Press the left button and the button simultaneously for 10 seconds PROG... - Page 12 www.deltadore.com...


Need help?
Do you have a question about the TYBOX BUS OT and is the answer not in the manual?
Questions and answers