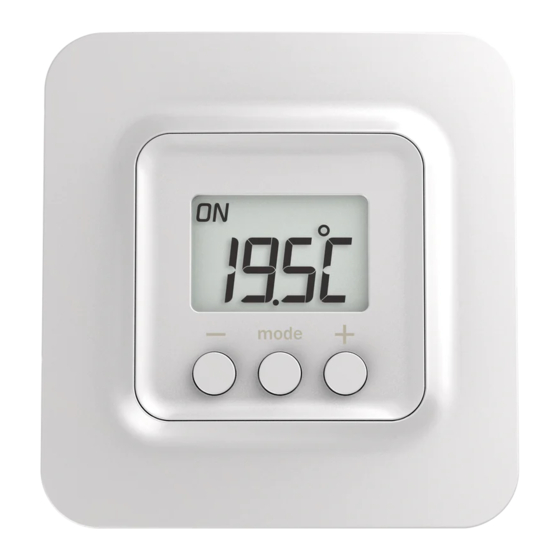
DELTA DORE TYBOX 5000 Installation Instructions Manual
Hard-wired room thermostat for boiler
Hide thumbs
Also See for TYBOX 5000:
- Installation instructions manual (20 pages) ,
- Instructions for use manual (7 pages) ,
- Instructions for use manual (6 pages)
Summary of Contents for DELTA DORE TYBOX 5000
- Page 1 TYBOX 5000 Hard-wired room thermostat for boiler Drahtgebundenes Raumthermostat Kamerthermostaat met draad Installation instructions Installationsanleitung Installatie-instructies...
-
Page 2: Table Of Contents
TECHNICAL CHARACTERISTICS CONTENT • Contact output 2A (230V) - 1.C (brownout) • Ball test: 125 ° C • Rated surge voltage: 4000V • Powered by 2 lithium batteries 1.5 V, LR03/AAA 1/ Location (supplied), 5-year life under normal use 2/ Connection • Class II insulation • Radio frequency 868.7 MHz to 869.2 MHz 2.1 Circulator control • Maximum wireless power: <10 mW 2.2 Control of the thermostat input of •... -
Page 3: 1/ Location
1/ LOCATION 2/ CONNECTION Since the temperature measurement sensor is The diagrams provided are simplifi ed for greater inside the box, you must install the thermostat clarity. Protections and other accessories required fl ush-mounting box: by standards are not illustrated. - Standard NF - on an accessible wall at a height of 1.50 m C15-100 and good practice must be complied - away from heat sources (fi ... -
Page 4: Control Of The Thermostat Input Of The Boiler Or Heat Pump (Hp) No-Reversible
2/ CONNECTION 2.2 Control of the thermostat input of the boiler or heat pump (HP) no-reversible ❶ Remove the terminal, on 2A max. / 230V~ the back of the device, using a Boiler screwdriver. Thermostat Thermostat input input ❷ Connect the terminal to the control wire (circulator, boiler or heat pump thermostat input). 2A max. -
Page 5: 3/ Mounting
3/ MOUNTING 4/ CONFIGURATION ❶ Remove the thermostat cover by pushing the pin This menu is used to determine all the settings using a screwdriver. adapted to your installation. ❷ Attach the base by using suitable fixings for ❶To enter configuration mode, press the MODE mounting. Fit the cover back onto the thermostat. button for 10 seconds until the screen displays CF01. - Page 6 4/ CONFIGURATION CF05 - Type of temperature displayed in AUTO CF02 - Settings lock mode No locking (default setting) Temperature setting permanent display (default selection) Total locking Permanent display of the measured room Partial locking. Modification of the temperature. temperature setting at +/-2°C 1: Pressing the + or - button once displays and sets The screen will display '____' if it is locked the temperature setting (in ON mode).
- Page 7 4/ CONFIGURATION CF07 - Modification of the on/off regulation CF09 - Reversal of relay direction hysteresis The relay contact is normally open. It closes during Only displayed if menu CF06 = on/off a heating request. You can reverse the direction of Setting of 0.2°C to 2°C.
-
Page 8: 5/ Compatible Options
5/ COMPATIBLE OPTIONS 6/ TROUBLESHOOTING When you press a button, the screen displays: _ _ _ _ Association with a TYDOM home automation box Your TYBOX 5000 can be used as a connected Access to the settings is locked. thermostat, if it is associated with a TYDOM home To unlock, press and hold the + and - buttons for 10 automation thermostat. Remote control and programming seconds. from a tables or smartphone with the TYDOM application. - Page 9 www.deltadore.com...


Need help?
Do you have a question about the TYBOX 5000 and is the answer not in the manual?
Questions and answers