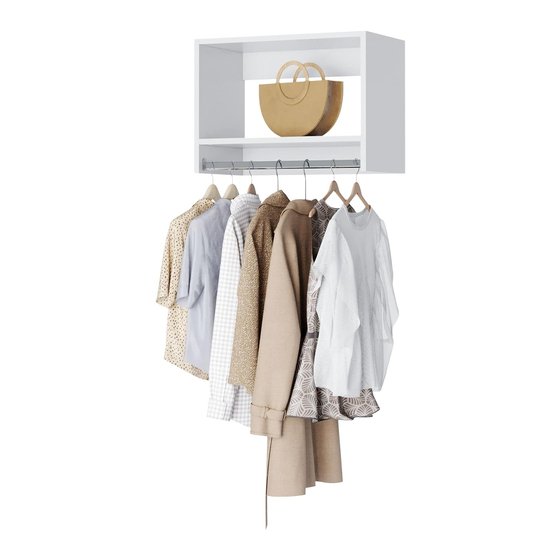
Summary of Contents for Modular Closets TALL HANGING UNIT
- Page 1 1-844-969-4247 support@modularclosets.com TALL HANGING UNIT ASSEMBLY AND INSTALLATION INSTRUCTIONS...
-
Page 2: Parts List
ASSEMBLY AND INSTALLATION INSTRUCTIONS TALL HANGING UNIT PARTS LIST BOX 1 BOX 2 FINISHED EDGE FINISHED EDGE Rear Hanging Cleat (Qty 2) Camlock (Qty 12) Set Shelf (Qty 2) Screw, 5/8" (Qty 2) Hanging Rod Screw, Square Drive, Rod Bracket (Qty 2) 2.5"... -
Page 3: Important Notes
ASSEMBLY AND INSTALLATION INSTRUCTIONS TALL HANGING UNIT 2.1 Install one Cam Post (G) into each of the eight holes on Left Side Panel (A) and Right Side Panel (B). Tighten until Cam Posts are seated against Side Panels. 3.1 Assemble Set Shelves (D) and Rear Hanging Cleats (C) onto Right Side Panel (B) by sliding the Shelves and Cleats onto the Cam Posts (G)on Right Side Panel. -
Page 4: Assembly And Installation Instructions
ASSEMBLY AND INSTALLATION INSTRUCTIONS TALL HANGING UNIT - 18" / 24" / 30" / 36" 3.1 Install Left Side Panel (A) onto assembled Set Shelves (C) and Rear Hanging Cleats (D). BE SURE dowel pins in Shelves and Cleats engage... -
Page 5: Installation
ASSEMBLY AND INSTALLATION INSTRUCTIONS TALL HANGING UNIT INSTALLATION Determine the mounting location for the unit. Using a stud finder, locate studs to which the unit will be secured. Mark stud STANDARD locations with a pencil. HEIGHT With the unit positioned at the desired location, level the unit, then drill pilot 84"... - Page 6 ASSEMBLY AND INSTALLATION INSTRUCTIONS TALL HANGING UNIT 8.1 Install one Rod Bracket (F) on Left Side Panel (A) and Right Side Panel (B) and secure each Bracket with one screw (I). NOTE: Use care when installing Hanging Rod (E) to avoid scratching finish inside unit.


Need help?
Do you have a question about the TALL HANGING UNIT and is the answer not in the manual?
Questions and answers