Table of Contents
Advertisement
Quick Links
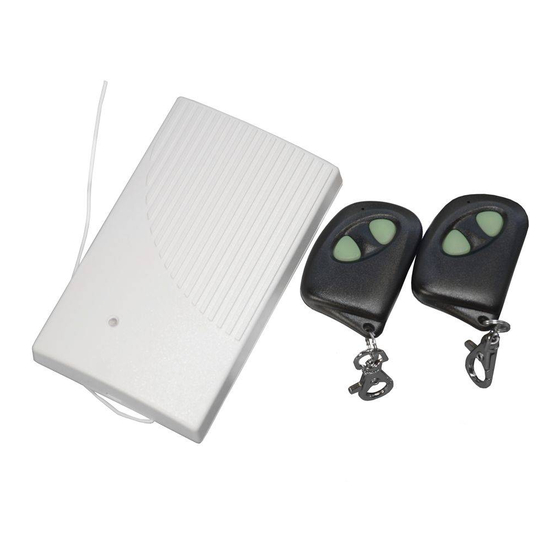
RX-2K • RX-4K
RADIO REMOTE CONTROLLER
The RX-2K / RX-4K controller allows you to use keyfobs to control devices connected to relay
outputs. Because it is designed for use with the alarm system, it has inputs supervising the
state of the alarm system, as well as an output for indication of arming / disarming / alarm
clearing.
1. Features
2 [RX-2K] or 4 [RX-4K] control channels.
Support for up to 340 keyfobs.
Transmissions secured by KeeLoq code hopping.
Configurable from a computer with DLOAD10 program installed.
2 [RX-2K] or 4 [RX-4K] relay outputs.
2 OC type outputs:
indication of low keyfob battery,
indication of arming / disarming / alarm clearing in the alarm system.
2 inputs to supervise the state of the alarm system:
armed mode information,
alarm information.
LED indicator.
Tamper switch activated by cover removal.
2. Electronics board
bicolor LED indicator:
ON in green – power OK,
ON in red – transmission has been received from keyfob,
Fig. 1. Electronics board of the RX-4K controller.
rx24k_en 04/18
Advertisement
Table of Contents

Related Manuals for Satel RX-2K


Summary of Contents for Satel RX-2K
- Page 1 RADIO REMOTE CONTROLLER rx24k_en 04/18 The RX-2K / RX-4K controller allows you to use keyfobs to control devices connected to relay outputs. Because it is designed for use with the alarm system, it has inputs supervising the state of the alarm system, as well as an output for indication of arming / disarming / alarm clearing.
- Page 2 DLOAD10 program. The PRG1 button can be used to restore the factory default settings. Note: The RX-2K controller has no MODE3 / MODE4 pins and PRG3 / PRG4 buttons. Terminals - NC type tamper output (opening the tamper switch opens the output). You can connect the TMP output to the appropriately programmed output of the alarm control panel.
- Page 3 T-1 – 1-button keyfob, P-4 – 4-button keyfob, P-2 – 2-button keyfob. The RX-2K controller is delivered with two P-2 keyfobs, and the RX-4K controller – with one P-4 keyfob. 3.1 Keyfob battery replacement The battery life depends on how the keyfob is used. The more frequently the buttons are pressed, the faster the battery drains.
- Page 4 5.1 Preparation for configuring using the DLOAD10 program Connecting the computer to the controller To make the connection, use the USB-RS converter offered by SATEL. The controller has no RS port connector, therefore you must use the PIN3/RX adapter, which is delivered with the converter.
- Page 5 SATEL RX-2K • RX-4K 7. Press again and hold down the PRG2 [RX-2K] / PRG4 [RX-4K] button. 8. When the LED starts flashing (in a repeating “red – green – OFF” sequence), release the button. The controller is ready to establish communication with the DLOAD10 program.
- Page 6 RX-2K • RX-4K SATEL Note: The button on the MPT-300 keyfob is not used when working in conjunction with the controller. Keyfob button Controller Channels controlled from button a keyfob PRG1 PRG2 RX-4K PRG3 PRG4 PRG1 RX-2K PRG2 Table 2.
- Page 7 SATEL RX-2K • RX-4K 5.3 Deleting a keyfob You can only delete individual keyfobs by using the DLOAD10 program. 1. Click “Read transmitter” to read the data of keyfobs enrolled in the controller. 2. Click on the keyfob you want to delete.
- Page 8 Dimensions ..................... 37 x 55 x 15 mm Weight..........................24 g Hereby, SATEL sp. z o.o., declares that this device is in compliance with the essential requirements and other relevant provisions of Directive 2014/53/EU. The declaration of conformity may be consulted at www.satel.eu/ce SATEL sp.
Need help?
Do you have a question about the RX-2K and is the answer not in the manual?
Questions and answers