Advertisement
Quick Links
Advertisement

Subscribe to Our Youtube Channel
Related Manuals for TOORX BRX45


Summary of Contents for TOORX BRX45
- Page 1 INSTRUCTION...
-
Page 2: Parts List
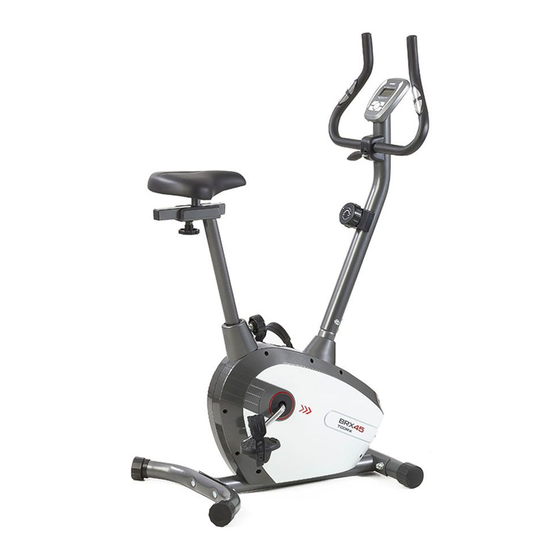
PARTS LIST Description Description Main Frame Hexagon Bolt M8×20 C r o s s P a n H e a d Tapping screw Handlebar ST4.2×25 Meter Post Tension Spring Φ20×39×δ3.2 Rear Stablizer Nylon Nut M8 Magnetic Wheel Φ180×25 Hexagon Bolt M6×20 Front Stabilizer Φ50×1.5 Pressure Plate Tension Control Knob... - Page 3 Flat Washer Φ8 Decorative cover for Seat post TOOLS Multi Hex Tool S19-S10- S13- S17 Multi Hex Tool with Phillips Screwdriver S13-S14-S15 Allen Wrench S6...
- Page 4 EXPLODED DRAWING ASSEMBLY INSTRUCTION...
- Page 5 1. Front and Rear Stabilizers Installation Attach the Front Stabilizer (6) and Rear Stablizer(4)onto the front curve of the Main Frame (1) with four M10 x 57 Bolts (35), four Φ10 Arc Washers (36) and four M10 Cap Nuts (34). Tighten cap nuts with the Multi Hex Tool provided. 2.
- Page 6 Connect the Sensor Wire (26) from the Main Frame (1) to the Extension Sensor Wire (59) from the Handlebar Post (3). Put the Cable end of resistance cable of Tension Control Knob (7) into the cable lock of Tension Cable (54). Pull the resistance cable of Tension Control Knob (7) up and force it into the slot of metal bracket of Tension Cable (54).
- Page 7 top of the Seat Post(25), attach with three removed Washers (38) and Nylon Nuts (42). Tighten nylon nuts with the Multi Hex Tool provided. Then secure the Seat Post(25) with Frame(1) with the Knob(8) Tool: Multi Hex Tool with Phillips Screwdriver 5.
- Page 8 Attach the Handlebar(2) onto the Meter Post(3) with T-Shape Bolt(66),Sleeve(65)and Decorative cover for Handlebar(64) 6. Meter Installation...
- Page 9 Remove two bolts (63) from back of Meter(10), connet the three wires from Meter(10)to the three wires from the top of meter post(3). Then secure the meter(10) to the meter post(3) with Bolts(63) Tool: Multi Hex Tool with Phillips Screwdriver...
-
Page 10: Maintenance
MAINTENANCE Cleaning The bike can be cleaned with a soft clean damp cloth. Do not use abrasives or solvents on plastic parts. Please wipe your perspiration off the x bike after each use. Be careful not get excessive moisture on the computer display panel as this might cause an electrical hazard or electronics to fail. -
Page 11: Key Functions
SPECIFICATIONS TIME--------------------------------------------------0:00~99:59MIN SPEED------------------------------------------------0.0~999.9ML/H (KM/H) DISTRANCE----------------------------------------0.00~999.9ML (KM) CALORIE--------------------------------------------0.0~999.9KCAL ODO(IF HAVE) ------------------------ 0.0~99.99ML (KM) PULSE (IF HAVE) ---------------------------------40~240BPM KEY FUNCTIONS: MODE: This key lets you to select and lock on to a particular function you want. The key to reset the value to zero by pressing the key for 4 seconds. FUNCTIONS: TIME : Press the MODE key until pointer lock in to TIME. - Page 12 GARLANDO SPA Via Regione Piemonte, 32 - Zona Industriale D1 15068 - Pozzolo Formigaro (AL) - Italy www.toorx.it - info@toorx.it...
Need help?
Do you have a question about the BRX45 and is the answer not in the manual?
Questions and answers