
Related Manuals for MasterCraft 055-6789-8


Summary of Contents for MasterCraft 055-6789-8
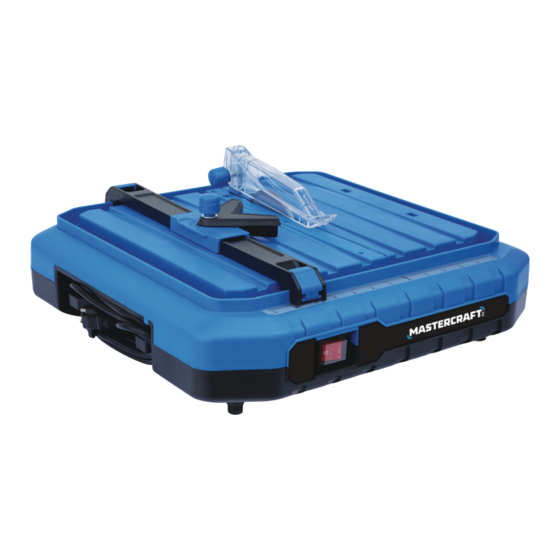
- Page 1 4 1/2" (11.5 cm) TABLETOP WET TILE SAW 055-6789-8 IMPORTANT: INSTRUCTION Please read this manual carefully before using this wet tile saw MANUAL and save it for reference.
- Page 2 055-6789-8 | contact us 1-800-689-9928 TABLE OF CONTENTS Quick Start Guide Specifications Safety Guidelines Know Your Wet Tile Saw Assembly Instructions Operating Instructions Maintenance Troubleshooting Exploded View Parts List Warranty NOTE: If any parts are missing or damaged, or if you have any questions, please call our toll-free helpline at 1-800-689-9928.
- Page 3 055-6789-8 | contact us 1-800-689-9928 SPECIFICATIONS (1) • Firmly push overflow drain (18) into hole in the bottom of the water reservoir. Motor 120 V AC, 60 Hz, 4.1A see page 22 Speed 5300 RPM (no load) Bevel cut range 0°, 45°...
- Page 4 055-6789-8 | contact us 1-800-689-9928 SAFETY GUIDELINES • MAKE WORKSHOP CHILDPROOF with padlocks, master switches or by removing starter keys. • DON'T FORCE TOOL. It will do the job better and safer at the rate for which it was designed.
- Page 5 055-6789-8 | contact us 1-800-689-9928 • Replace table insert when worn. be carefully checked to determine that it will operate properly and perform its intended function. Check for alignment of moving parts, binding of moving parts, breakage of parts, mounting and any other •...
- Page 6 055-6789-8 | contact us 1-800-689-9928 • Do not modify the plug provided – if it will not fit the USE SAFETY GOGGLES AND EAR PROTECTION: Three-prong plug outlet; have the proper outlet installed by a qualified ALWAYS WEAR EYE PROTECTION THAT CONFORMS WITH CUL REQUIREMENTS. FLYING electrician.
- Page 7 055-6789-8 | contact us 1-800-689-9928 Recommended size for extension cords AMPERAGE RATING OF THE TOOL TOTAL LENGTH OF THE EXTENSION CORD (120 V CIRCUIT ONLY) 25' (7.6 m) 50' (15.2 m) 100' (30.5 m) 150' (45.7 m) MORE THAN...
- Page 8 055-6789-8 | contact us 1-800-689-9928 4 1/2” (11.5 cm) Cutting wheel: PACKAGE CONTENTS A 4 1/2” (11.5 cm) cutting wheel is included with your wet tile saw. Description Qty. Illustration Bevel table: Bevelled 45° cuts can be made using the bevel table.
- Page 9 055-6789-8 | contact us 1-800-689-9928 INSTALLING THE BASE FOOT (Fig. 3) Description Qty. Illustration • Turn the saw upside down and insert the four base feet (8) into the openings on the underside of the wet tile Base foot saw.
- Page 10 055-6789-8 | contact us 1-800-689-9928 • Loosen screw (23) and pull off lower blade guard (19). • Place cutting wheel (13) onto arbour with arrows on the cutting wheel pointing to the front of saw (in the Flats Flats counter-clockwise direction).
- Page 11 055-6789-8 | contact us 1-800-689-9928 • Push the riving knife (14) through gap in the housing INSTALLING UPPER BLADE GUARD ASSEMBLY from below. Ensuring the L section is facing forwards, (Fig. 5a-5b) install screw (27) through the washer (28) and work table •...
- Page 12 055-6789-8 | contact us 1-800-689-9928 INSTALLING MITRE GUIDE (Fig. 7) APPLICATIONS • Place slot on underside of the mitre guide (11) on the • This tile saw shall be used only to cut tiles to a required size or shape. It shall not be used to cut inflammable, rip guide (1).
- Page 13 055-6789-8 | contact us 1-800-689-9928 FILLING RESERVOIR WATER (Fig. 10) USING RIP GUIDE (Fig. 12) Before cutting, the water reservoir must be filled with • Open the locking levers (7) (located on the two ends of water. the rip guide (1)).
- Page 14 055-6789-8 | contact us 1-800-689-9928 MAKING A DIAGONAL CUT (Fig. 15) • ALWAYS draw the line to be cut on the tile using a marker or grease pencil. If the tile is shiny and hard-to- mark, place masking tape on the tile and mark the tape.
- Page 15 055-6789-8 | contact us 1-800-689-9928 MAKING AN L-CUT (Fig. 17a-17b) MAKING A BEVEL CUT (Fig. 18a-18b) L-cuts are cuts that remove a piece of tile to fit in a corner, Bevelled 45° cuts can be made using the bevel table.
- Page 16 055-6789-8 | contact us 1-800-689-9928 WARNING! Problem Possible Causes Solution • When servicing, use only identical replacement parts. Use of any other parts may create a hazard Motor not running. • No power. • Check cable, plug, socket, and fuse.
- Page 17 055-6789-8 | contact us 1-800-689-9928 Description Qty. Description Qty. Carrying handle Mitre knob Lower cabinet Locking knob Cross screws ST4.2 x 16 Hex bolt Base foot Upper blade guard On/Off switch Cross screw M4 x 20 Riving knife Pin sleeve Cross screw ST2.9×16...
- Page 18 055-6789-8 | contact us 1-800-689-9928 3-Year Limited Warranty This Mastercraft product is guaranteed for a period of 3 years from the date of original retail purchase against defects in workmanship and materials, except for the following component: Component A: Accessories, which are guaranteed for a period of 1 year from the date of original retail purchase against defects in workmanship and materials.
Need help?
Do you have a question about the 055-6789-8 and is the answer not in the manual?
Questions and answers