Advertisement
Quick Links
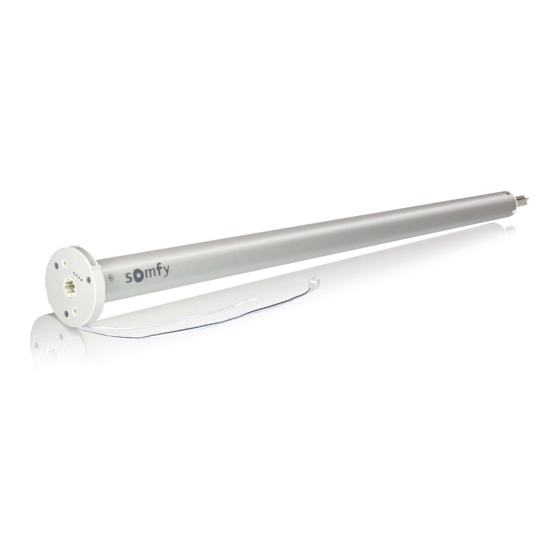
Sonesse 30 Programming & Operation Instructions
TM
Before you begin
Motors are shipped without limit switch settings and transmitter ID's
Steps (1-6) must be completed to ensure proper shade programming and functionality.
It may be necessary to disconnect shades from their respective power while programming
is in progress. While programming (step 4), shade should not be inactive for longer than
2 minutes or motor will exit programming mode.
Programming Instructions are for use with Telis 1&4, Decora 1&4 or Chronis Timer
The following illustrations and instructions represent the Telis
hand-held remote, and may also be applied to the Decora
wireless wall switch and Chronis Timer.
Connect Power to Motor
STEP ONE
1) Connect 24V DC power supply to the motor
Motor should already be installed in shade.
STEP TWO
Initiate Programming – (for use with Telis 1 & 4, Decora 1 & 4 or Chronis Timer)
For Single Channel Transmitters (Telis 1, Decora 1, or Chronis Timer)
1) On the transmitter, press and hold the UP and DOWN uttons simultaneously
until the shade jogs (shade operates in a short up and down movement).
For Multi-Channel Transmitters (Telis 4 or Decora 4)
1) Using the channel selector, select the desired channel.
2) On the transmitter, press and hold the UP and DOWN uttons simultaneously
until the shade jogs.
NOTE: This step cannot be performed if the transmitter has already been programmed
(memorized) to shade.
Solar Control, LLC
|
888-550-4836
b
b
SolarControlLLC.com
Decora 1
Telis 1 Transmitter
Telis 4 Transmitter
my
Chronis Timer
UP Button
MY (stop) Button
DOWN Button
Channel Selector
Press and
hold UP &
DOWN Button
Advertisement

Related Manuals for SOMFY Sonesse 30


Summary of Contents for SOMFY Sonesse 30
- Page 1 Solar Control, LLC 888-550-4836 Sonesse 30 Programming & Operation Instructions Before you begin Motors are shipped without limit switch settings and transmitter ID’s Steps (1-6) must be completed to ensure proper shade programming and functionality. It may be necessary to disconnect shades from their respective power while programming is in progress.
- Page 2 Solar Control, LLC 888-550-4836 Sonesse 30 Programming & Operation Instructions STEP THREE Check Polarity (Shade direction) MUST BE DETERMINED BEFORE SETTING SHADE LIMITS Press & Press and hold the DOWN utton and confirm the shade moves down. hold DOWN Button Press and hold the UP utton and confirm the shade moves up.
- Page 3 Solar Control, LLC 888-550-4836 Sonesse 30 Programming & Operation Instructions STEP FOUR Setting Limits (Shade Positions) continued. Once shade stops at previously set lower limit (shade position), press and hold the MY (stop) utton for 2 seconds until the shade jogs. This confirms both limits (shade positions).
- Page 4 Solar Control, LLC 888-550-4836 Sonesse 30 Programming & Operation Instructions Completing & Exiting Programming Mode STEP FIVE Program Program Program Using a paperclip, press and hold the PROGRAM utton Button Button Button on the back of the transmitter until the shade jogs.
- Page 5 Solar Control, LLC 888-550-4836 Sonesse 30 Programming & Operation Instructions STEP SIX Adding Additional Transmitters, Assigning or Deleting Channels (continued) Deleting Specific Channels/Transmitters 1) Using a paperclip, press and hold the PROGRAM utton on the previously addressed transmitter until the shade jogs.
- Page 6 Solar Control, LLC 888-550-4836 Sonesse 30 Programming & Operation Instructions Setting an Intermediate Position (IP) continued. OPTION ONE 2) Once the desired Intermediate position is reached, Press and hold the MY (stop) button on the transmitter until the shade jogs. Intermediate position is now added to memory Press &...
- Page 7 Solar Control, LLC 888-550-4836 Sonesse 30 Programming & Operation Instructions OPTION THREE Re-adjusting Lower Limit (DOWN Shade Position) 1) Press the DOWN directional button on the transmitter. Shade will travel to the pre-set DOWN limit. Press DOWN Button 2) Once shade stops at pre-set down limit, press and hold the UP and...
Need help?
Do you have a question about the Sonesse 30 and is the answer not in the manual?
Questions and answers