
Related Manuals for Spectra Logic 10K Library


Summary of Contents for Spectra Logic 10K Library
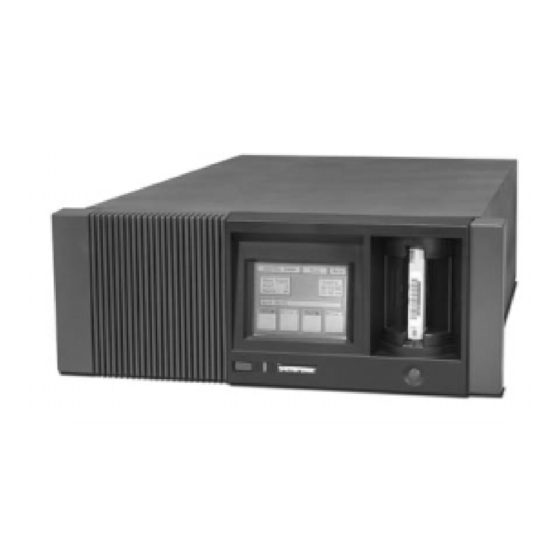
- Page 1 Spectra 10K Library ® Preventative Maintenance Guide SDOC 2001-1 Revision C Copyright © Spectra Logic Corporation. All rights reserved.
-
Page 2: Table Of Contents
Spectra 10K Library Preventative Maintenance Guide Contents About Preventative Maintenance..................3 Preparing the Library ....................... 4 Changing the Air Filter ..................... 5 Cleaning the Door Sensor ....................6 Internal Maintenance and Cleaning ................. 7 Cleaning the Drives ......................13 Final Testing........................15... -
Page 3: About Preventative Maintenance
Spectra 10K Library Preventative Maintenance Guide About Preventative Maintenance Purpose The preventative maintenance procedure is intended to provide the best possible operating results from the Spectra 10K library. Time Involved This procedure takes approximately two hours. Tools Needed A credit card or thin piece of plastic... -
Page 4: Preparing The Library
Spectra 10K Library Preventative Maintenance Guide Preparing the Library 1. Use your backup software to remove all tapes from the library, noting which tapes were in which slots. 2. Shut off all power to the library. 3. Shut down the host system and switch off the power. -
Page 5: Changing The Air Filter
Spectra 10K Library Preventative Maintenance Guide Changing the Air Filter 1. The front panel of the library has a grill on the left, and on the left end of the grill is a groove. Use a credit card or other piece of plastic to open the grill. -
Page 6: Cleaning The Door Sensor
Spectra 10K Library Preventative Maintenance Guide Cleaning the Door Sensor 1. Notice the four small holes in the top of the door for LED sensors: two holes toward the back of the door and two holes near the front of the door. If these holes are clogged with dust or other debris, the door sensors will fail to operate. -
Page 7: Internal Maintenance And Cleaning
Spectra 10K Library Preventative Maintenance Guide Internal Maintenance and Cleaning 1. Use a large flat head screwdriver to remove the thumbscrews on the back of the library. Caution: The library contains static sensitive devices. Please use a static dissipative wrist strap or other ESD equipment and tools for this process. - Page 8 Spectra 10K Library Preventative Maintenance Guide 4. Slide the drives as far back as they will go, without removing the drive cables. All drives in original positions. Drive 2 slid back. All drives slid back.
- Page 9 Spectra 10K Library Preventative Maintenance Guide 5. Use a #1 Phillips screwdriver with a long shaft to loosen the eight captive screws holding the carousel to the library chassis. Rear of Library Guide Pins A diagram showing how the carousel...
- Page 10 Spectra 10K Library Preventative Maintenance Guide Caution: Do not force the carousel out of the library. The base of the robotic arm is not a circle, and the carousel does not lift straight up and out. The carousel comes out easily if done correctly, as outlined in Step 7, below.
- Page 11 Spectra 10K Library Preventative Maintenance Guide 11. Before re-installing the carousel, make sure that the SCSI ribbon cable is not pinched or twisted, and that it stays out of the way of the carousel. 12. Re-install the carousel, making sure that all drives and cables are out of the way.
- Page 12 Spectra 10K Library Preventative Maintenance Guide Checking the Cables 1. Check the SCSI cables on the UCM board and verify that they have not come loose during the cleaning. 2. Make sure that boards are firmly seated on the base plate.
-
Page 13: Cleaning The Drives
Note: Although Sony AIT drives come with a built-in cleaning function, Spectra Logic recommends cleaning the drives every 100 hours of use. If this cleaning frequency does not address intermittent read and/or write errors, reduce the time between cleaning by half. - Page 14 Spectra 10K Library Preventative Maintenance Guide 2. On the Drive Info screen, select Clean Drive. 3. This brings up a window with the message Put cleaning tape in door. Insert the Sony AIT cleaning cartridge into the cartridge door and select OK.
-
Page 15: Final Testing
Spectra 10K Library Preventative Maintenance Guide Final Testing This procedure must be performed with the library powered on in stand alone mode (no host system connected to the library). 1. Attach SCSI cable connections to the back of the library. - Page 16 Spectra 10K Library Preventative Maintenance Guide 3. Select 1, 2, 3, then select OK. 4. Select R/W Confidence. 5. When prompted, place the scratch tape in the door and select OK.
- Page 17 For AIT-2 and AIT-3, the values should be less than 04.00 percent. Note: If the results on any drive are higher than the percentage listed above for your tape type, contact Spectra Logic Technical Support at (800) 227-4637 or at (303) 449-0160, or send an e-mail to support@spectralogic.com.
- Page 18 Spectra 10K Library Preventative Maintenance Guide 3. Select Diagnostics. 4. Select 1, 2, 3, then select OK. 5. Select Qualification Tests.
- Page 19 Spectra 10K Library Preventative Maintenance Guide 6. Select Confidence Test. After the test completes, a window appears that indicates Test Passed or Test Failed. 7. Select OK; the Qualification screen reappears.
- Page 20 Note: If any number in the first column (after the first four rows) is either a 1 or a 3, contact Spectra Logic Technical Support at (800) 227-4637 or (303) 449-0160, or send an e-mail to support@spectralogic.com. 9. Touch anywhere in the screen to exit the DSP trace window.
Need help?
Do you have a question about the 10K Library and is the answer not in the manual?
Questions and answers