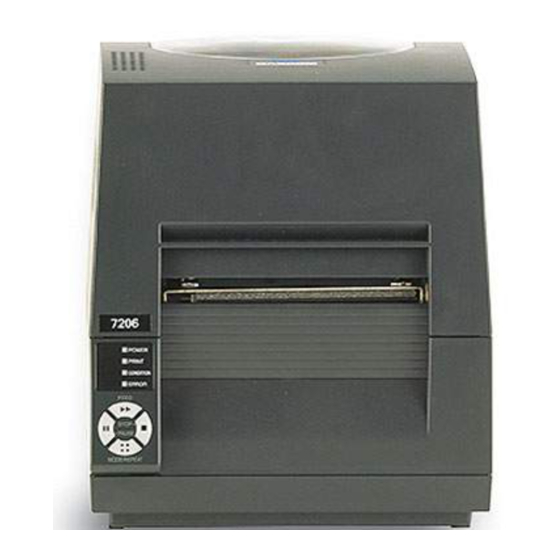
Tally Dascom 7106 Installation Manual/User Manual
Peeler unit
Hide thumbs
Also See for 7106:
- Installation manual (9 pages) ,
- Installation manual (8 pages) ,
- Installation and user manual (20 pages)
Table of Contents
Advertisement
Quick Links
Advertisement
Table of Contents

Subscribe to Our Youtube Channel
Related Manuals for Tally Dascom 7106


Summary of Contents for Tally Dascom 7106
- Page 1 Installation Guide 7106 7206 User Guide Peeler Unit – 1 –...
- Page 2 © August 2010 DASCOM Europe GmbH – 2 –...
- Page 3 Installation Guide The following installation shows a 7106 printer. The peeler installation for 7206 printers follows the same steps. Before installing the Peeler Unit 1-1 Remove the plastic front cover on the front side of the printer upward as shown below.
- Page 4 1-3 Remove the screw (M3 X8, for plastic) and take the connector cover out as shown below. Remove the screw and the connector cover Installing the peeler 2-1 While inserting the peeler cable in the space (A) between the paper feed motor and the printer housing, match the protruded pins of the peeler unit to the ho- les of the front of the mechanism unit.
- Page 5 2-2 Connecting the peeler unit cable Connect the peeler unit cable connector to the receptacle of the printer after setting the peeler cable in the printer housing. Note: Set the peeler cable (A) not to touch the print head-up spring (B) of the me- chanism unit.
- Page 6 Reinstalling the covers Reinstall the connector cover (M3 X 8, for Plastic) and the motor cover (M3 X 6). Note: Keep the front cover for future use which you remove the peeler unit. Motor cover Connector cover Note: Use specified screw for the covers. Do not use wrong type screw, otherwise the screw hole of the printer hou- sing will be damaged.
-
Page 7: Table Of Contents
User Guide Contents ・・・・・・・・・・・・・・・・・・・・・・・・・・・・・・・・・・・・・・・・・・・・・・・・・・・・・ Caution ・・・・・・・・・・・・・・・・・・・・・・・・・・・・・・・・・・・・・・・・・・・・・・・・・・ Outline ・・・・・・・・・・・・・・・・・・・・・・・・・・・・・・・ Exterior view and part names ・・・・・・・・・・・・・・・・・・・・・・・・・・・・・・・・・・・・・・・・・・・ How to operate ・・・・・・・・・・・・・・・・・・・・・・・・・・・・・・・・・・・・・・・・・・・・ 3-1 Operation ・・・・・・・・・・・・・・・・・・・・・ 3-1-1 Peeler door opening/closing ・・・・・・・・・・・・・・・・・・・・・・・・・・・・・・・・・・ 3-1-2 Media loading ・・・・・・・・・・・・・・・・・・・・・・・・・・・・・・・・・・ 3-1-3 Peeler setting ・・・・・・・・・・・・・・・・・・・ 3-1-4 Initial value of peeling position ・・・・・・・・・・・・・・・・・・・・・・・・・・・・・・... -
Page 8: Caution
Caution CAUTION Always use the peeler with the door closed except when the media is loaded into the peeler. Do not push down the door roughly when it is opened, which may cause damage to the hinge of the door. Use the media that meets standard requirements. -
Page 9: Outline
1 Outline/2 Exterior view and part names 1 Outline This peeler unit is designed to automatically remove the label from the liner. 2 Exterior view and part names Peeling Roller Top view of door opened Idle Roller (upper) Friction Roller (lower) Door Top view Peeling Sensor... -
Page 10: How To Operate
3 How to operate 3-1 Operation 3 How to operate 3-1 Operation 3-1-1 Peeler door opening/closing Opening Shift the release knob of the peeler to the left with the finger, and the peeler door will open. Closing Push down the left end of the peeler door until it clicks closed. 3-1-2 Media loading First peel off the labels with a length of 12cm (5 inch) or more on the top of the loading media, then load the media into the peeler where the first label comes to... -
Page 11: Initial Value Of Peeling Position
3 How to operate 3-1 Operation 3-1-4 Initial value of peeling position The paper position for peeling off the label can be adjusted in the printers menu. See an excerpt of the printer menu and the web panel. To adjust the peeling position, designate the feeding amount from the reference point to the peeling position with the command STX f or STX Kf. -
Page 12: Peeler Commands
3 How to operate 3-1 Operation 3-1-5 Peeler commands The following are the peeler commands. For details of each command, see the separate Command Reference. Peeling position designated command STX f, STX Kf This command designates the feeding amount from the reference point to the peeling position. -
Page 13: Peeler Specifications
4 Peeler specifications 4 Peeler specifications 1 − 4.65 in (25.4 − 118 mm) Width of liner (a) 1 − 4.72 in (25.4 − 120 mm) Length of label (b) Label: fine media/Thickness: 0.09 mm (including glue layer)/Rolled inwards Label must be positioned at 0.63 − 0.87in Minimum width of label (c) (16 −... - Page 14 For sales or technical support call The Printer Place Tel.: +1 800 243 3338 www.theprinterplace.com © August 2010 DASCOM Europe GmbH v1.0...
Need help?
Do you have a question about the 7106 and is the answer not in the manual?
Questions and answers