Table of Contents
Advertisement
Quick Links
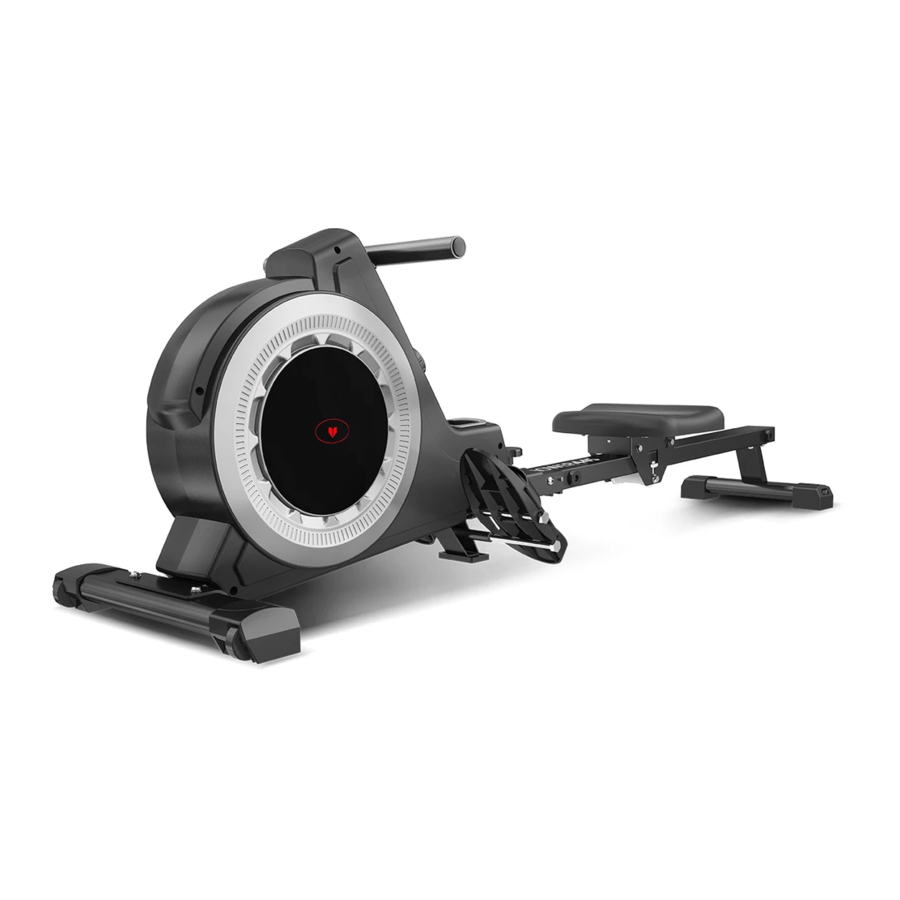
ROWER-445
USER MANUAL
Read all instructions carefully before using this product.
Retain this owner's manual for future reference.
IMPORTANT
All nuts and bolts are to be checked and tightened on a regular basis. This includes pedals and
other moving parts. Failure to do so may cause damage to your threads and void your warranty.
NOTE:
This manual should not be used to guide your purchasing decision. Your product, and the contents inside its carton, may vary
from what is listed in this manual. This manual may also be subject to updates or changes. Updated manuals are available
through our website at
www.lifespanfitness.com.au
Advertisement
Table of Contents

Related Manuals for LifeSpan ROWER-445


Summary of Contents for LifeSpan ROWER-445
- Page 1 ROWER-445 USER MANUAL Read all instructions carefully before using this product. Retain this owner’s manual for future reference. IMPORTANT All nuts and bolts are to be checked and tightened on a regular basis. This includes pedals and other moving parts. Failure to do so may cause damage to your threads and void your warranty.
-
Page 2: Table Of Contents
TABLE OF CONTENTS Important Safety Instructions ....... 03 II. Care Instructions ..........04 III. -
Page 3: Important Safety Instructions
I. IMPORTANT SAFETY INSTRUCTIONS WARNING: Read all instructions before using this machine. It is important your machine receives regular maintenance to prolong its useful life. Failing to regularly maintain your machine may void your warranty. Please keep this manual with you at all times. •... -
Page 4: Care Instructions
II. CARE INSTRUCTIONS • Lubricate moving joints with grease after periods of usage. • Be careful not to damage plastic or metal parts of the machine with heavy or sharp objects. • The machine can be kept clean by wiping it down using dry cloth. •... -
Page 5: Exploded Diagram
III. EXPLODED DIAGRAM ASSEMBLY INSTRUCTIONS |... -
Page 6: Parts List
IV. PARTS LIST Some items on this list may come pre-installed on your equipment. If you feel like you’re missing anything, please double check your equipment. Description Description 33 Computer Main frame 34 Bolt M5*15 Front foot tube frame 3 Rear foot tube frame 35 Bolt ST4.2*30 Slide tube frame 36 Screw ST4.2*19... -
Page 7: Assembly Instructions
V. ASSEMBLY INSTRUCTIONS BOLT PACK #19 S=5 1pc. #30 M10*95*25 1pc. #21 S13/14/15 1pc. #29 M8*55*20 2pcs. #18 S17-19 1pc. #32 M6*15 1pc. #64 ø25*18 1pc. #31 M8*20 4pcs. #37 ø12 1pc. #63 M12 1pc. #9 ø12*80 1pc. #39 ø8 6pcs. #10 ø8*112 1pc. - Page 8 TOOLS #19 Allen Wrench S=5 1pc. #18 Open end Wrench S17, 19 1pc. #21 Wrench with screwdriver S13, 14, 15 1pc. #39 ø8 - 2pcs #41 M8 - 2pcs. #29 M8*55*20 - 2pcs. STEP 1 1. Use the Bolt (29), Washer (39), Spring Washer (41) to secure the main frame (1) onto the Front foot tube frame (2).
- Page 9 #18 S17-19 - 1pc. #27 M12*160*20 - 4pcs. STEP 2 1. Lock the Pedal (48) and Bolt (27) into the hole marked A in the Main Frame (1) and repeat the same on right side. 2. Lock the Pedal (48) and Bolt (27) into the hole marked B, through the hole of Pedal (48) into the top hole of the Main Frame (1) and repeat the same on left side.
- Page 10 #21 S13/14/15 - 1pc. #9 ø12*80 - 1pc. #64 ø25*18 - 1pc. STEP 3 1. Put the Seat cushion (57) into the Slide tube (4). 2. Insert the Double-thread Bolt (9) into the hole of the Slide tube (4) and screw the Foot pad (64) tightly to Sliding tube (4).
- Page 11 #10 ø8*112 - 1pc. #38 ø6 - 1pc. #32 M6*15 - 1pc. #37 ø12 - 1pc. #30 M10*95*25 - 1pc. #63 M12 - 1pc. #19 S=5 - 1pc. #21 S13/14/15 - 1pc. STEP 5 1. Lock the Bolt (30) and the Flat washer (38) and Bolt (32) to the Sliding tube (4) and insert the Hanging ring bolt (10).
- Page 12 Loose Tense PEDAL ADJUSTMENT MOVING THE MACHINE The pedal strap is adjustable according To move the machine, lift-up the rear foot tube frame to the size of feet. The specific tightness until the transportation wheels on the front foot adjustment method is shown above. A tube frame touch the ground.
- Page 13 FOLDING INSTRUCTION FIGURE C FIGURE D CAUTION: After the sliding tube is folded up, ensure to lock it in place to avoid falling and causing injury. CAUTION: The seat cushion will slide down when the sliding tube is folded. As shown in the above figure, when the product is not used, the sliding tube can be fold up to save space.
-
Page 14: Display Manual
VI. DISPLAY MANUAL Button Function MODE: Press this button to select the function. ---- Keep pressing this button for 3 seconds to clear all time, times, and calories. SET: Press this key to set the time, number of times, and calories. RESET: Press this key to reset the time, number of times, and calories. - Page 15 Scope Description Every 6 seconds Scanning interval TIME 0:00—99:59 0—9999 times Function TIMES COUNT 0:0—999.9 CAL. CALORIES 0—9999 times Total number of times Battery 2 pieces of dry battery Working temperature 0—40 degree Storage Temperature -0 degree —+60 degree DISPLAY MANUAL |...
-
Page 16: Storage And Maintenance
VII. STORAGE AND MAINTENANCE • Keep the rowing machine in a clean dry place. • Grasp the frame to move the rowing machine. Do not use the seat to move it. The seat will move, and it may hurt your hand and fingers. •... -
Page 17: Exercise Guide
VIII. EXERCISE GUIDE PLEASE NOTE: Before beginning any exercise program, consult your physician. This is important especially if you are over the age of 45 or individuals with pre-existing health problems. The pulse sensors are not medical devices. Various factors, including the user’s movement, may affect the accuracy of heart rate readings. - Page 18 TRAINING ZONE EXERCISE After warming up, increase the intensity to your desired exercise program. Be sure to maintain your intensity for maximum performance. Breathe regularly and deeply as you exercise. COOL DOWN Finish each workout with a light jog or walk for at least 1 minute. Then complete 5 to 10 minutes of stretching to cool down.
-
Page 19: Warranty
Any claim against this warranty must be made through your original place of purchase. Proof of purchase is required before a warranty claim may be processed. If you have purchased this product from the Official Lifespan Fitness website, please visit https://lifespanfitness.com.au/warranty-form For support outside of warranty, if you wish to purchase replacement parts or request a repair or service, please visit https://lifespanfitness.com.au/warranty-form and fill in our Repair/Service... - Page 20 WWW.L IF ESPAN F ITNE S S . COM . A U...
Need help?
Do you have a question about the ROWER-445 and is the answer not in the manual?
Questions and answers