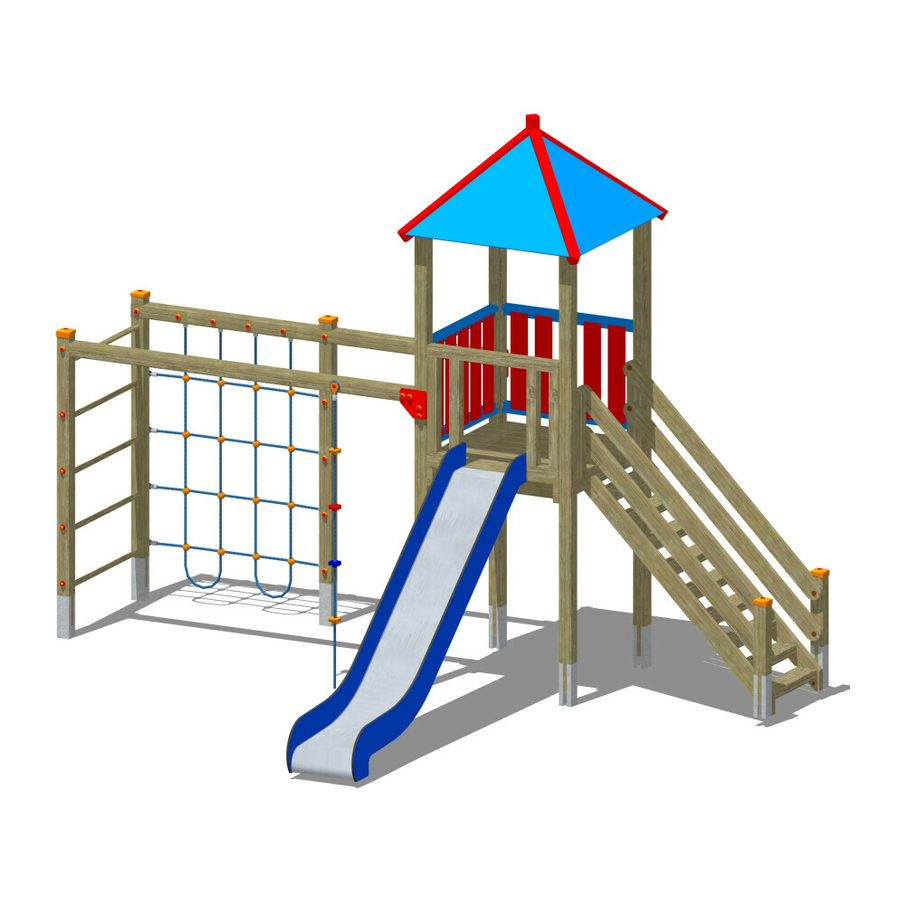
Summary of Contents for Holzhof MAX XM 100 LP PUR
- Page 1 MAX XM 100 LP PUR MAX XM 100 LP PUR MAX XM 100 LP PUR MAX XM 100 LP PUR line assembly line assembly line assembly line assembly instructions instructions instructions instructions...
-
Page 2: Assembly Sequence
ASSEMBLY SEQUENCE: 1. STRUTS AND PLATFORM 2. SLIDE 3. STEPS 4. PARAPETS 5. GYM 6. ROOF 7. UNDERGROUND LAYING/ ANCHORAGE OF THE STRUCTURE... - Page 3 NOTA BENE: it is recommended to fix the bolts definitively and only insert the caps once the Article fixing CODE N. NAME correct positioning of the elements has been num. verified. xpe11 Shaped PE nut protection cap xpe10 PE nut protection cap xpe116 PE cap ISO7089 Ø8 washer...
- Page 4 1. Position the parapet between the two struts at 7 cm Article Quantity CODE N. NAME num. in height from the platform 2. Check the correct parallelism and xpe10 PE nut protection cap verticality between struts and platform. IS07089 Ø8 washer UNI704 M8x80 TEL SCREW 3.
- Page 5 1. Fix the slide archway (2) to the struts via the M6x140 TORX screws, inserting them into the pre-drilled holes present. 1) M6x140 TORX SCREW (4x) 2) Max wooden slide archway (1x) NOTA NOTA NOTA NOTA B E N E : B E N E : B E N E : i i i i t is B E N E :...
- Page 6 1) M6x80 TORX screw (2x) 2) Max wooden slide body (1x) 1. Fix the slide (2) to the archway using the M6x80 TORX screws, to be inserted into the pre-drilled holes.
- Page 7 Article num. support CODE N. NAME 01/Quantity side panels with wooden steps assembled xpe10 PE nut protection cap xpe116 PE cap UNI4017 M8X150 HEX SCREW IS07089 Ø8 washer UNI7473 M8 self-locking nut xlls104 small strut for steps to be supported 1.
- Page 8 1. Position the steps small struts in the previously excavated holes, Article num. underground 02/ NAME moving the upper part of the steps towards the tower platform Quantity table (6). PE nut protection cap 2. Check that the angle brackets are in axis with the holes PE cap present on the table (6) and insert the bolts used for fixing as shown in the figure.
- Page 10 Article num. instruction CODE N. NAME Quantity Climbing frame strut Rope beam xpe10 PE nut protection cap xpe116 PE cap xpe116 PE cap IS07089 Ø8 washer xpe11 Shaped PE nut protection cap Climbing ladder UNI7473 M8 self-locking nut Climbing net beam UNI704 M8x70 TEL SCREW UNI4017 M8X120 HEX SCREW UNI4017 M8X120 HEX SCREW...
- Page 12 Article num. instruction CODE N. NAME Quantity xpe116 PE cap IS07089 Ø8 washer xpe11 Shaped PE nut protection cap UNI7473 M8 self-locking nut Gym climbing rope xpla30 Climbing net UNI4017 M8X120 HEX SCREW 1. Position the upper part of the climbing net (1), inserting the bolts necessary for fixing into the thimbles as indicated the figure, without fixing it completely and without positioning the caps.
-
Page 13: Support Structure
Article Quantity CODE N. NAME SUPPORT STRUCTURE num. M10 self-locking nut Ø10 washer xpe116 PE cap M10 self-locking screw anchor STRUCTURE TO BE POSITIONED UNDERGROUND SUPPORT: On the ground, mark the position of the hole for the rope thimble and make the hole for the M10 metal screw anchor (4). - Page 14 Article Article Quantity CODE N. CODE N. NAME NAME Article Article CODE N. CODE N. NAME NAME num. num. num. num. Max wooden roof xpe10 xpe10 xpe10 xpe10 PE nut protection cap PE nut protection cap PE nut protection cap PE nut protection cap 3 3 3 3 xpe116...
- Page 15 Concrete deck rubber safety flooring...
- Page 16 1. Excavate a hole with Ø 30 cm and depth of 60 cm 2. Cast a first layer of concrete with thickness of 10 cm.
- Page 17 3. When the concrete has set, position the slide bracket in the hole, checking the correct alignment of the lower part of the slide with the finished ground level.
- Page 18 4. Complete concrete casting as per layout. 5. When the concrete has set, fill the excavation hole by compacting the infill material up to the finished ground level.
- Page 19 1. Drill. 2. Clean the hole thoroughly using an air pump and small brushes. 3. Insert the anchor into the hole present on the bracket with the aid of a hammer. 4. Tighten using dynamometric wrench. rubber safety flooring rubber safety flooring rubber safety flooring rubber safety flooring 4 x M10x90 screw anchors...
- Page 20 Article Quantity CODE N. NAME num. xfe265 59x59x35 stainless steel angle bracket xpe10 PE nut protection cap xpe116 PE cap M10 self-locking nut M8x115 screw anchor Ø10 washer 1. Position the slide on the support surface, marking the position of the screw anchor. 2.


Need help?
Do you have a question about the MAX XM 100 LP PUR and is the answer not in the manual?
Questions and answers