Advertisement
Quick Links
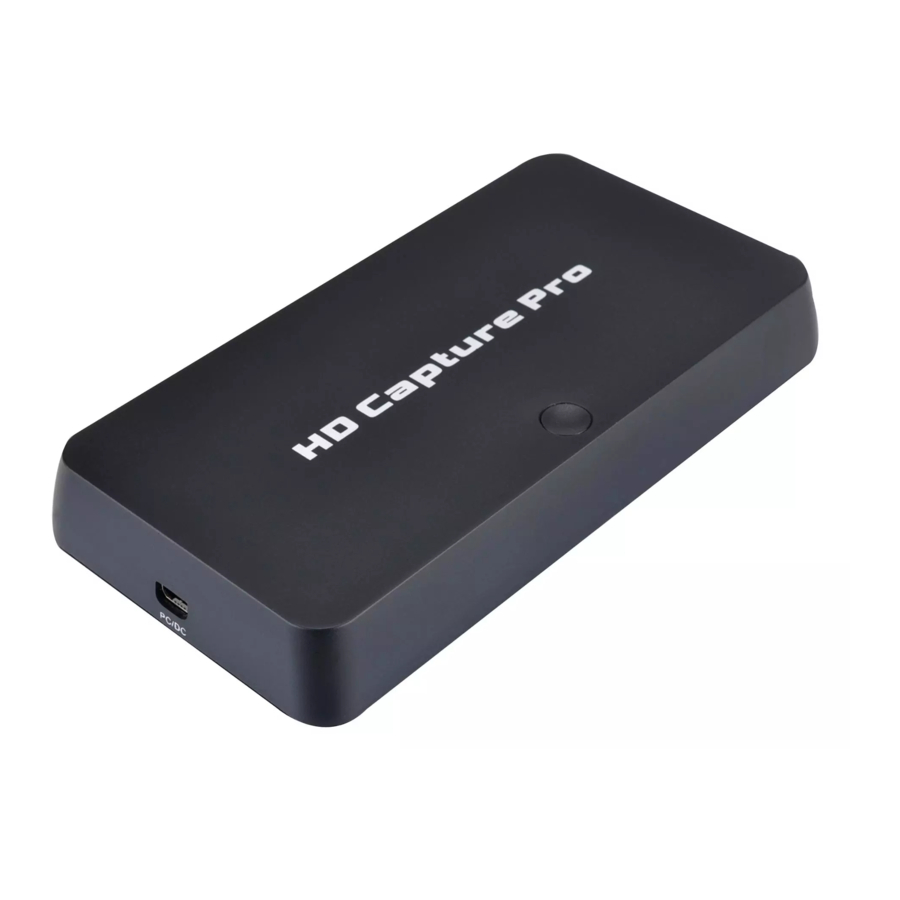
HD Video Capture Pro
Quick Start Guide
Thanks for purchasing ezcap295 HD Video Capture Pro. The following guides you how to set up.
Hope this device will bring you nice digital experience.
With this ezcap295 HD Video Capture Pro, you can capture up to 1080P video from HDMI ,Ypbpr
(component) or composite port, such as blue ray, set-top-box, computer, game box, VHS, etc. And
you can playback the record movie directly.
Ezcap295 has record and playback two function in one device, use remote controller to set to
playback mode. You can also set schedule recording, set recording quality, set split recording file or
not.
Features/ports and buttons:
1.PC/DC—DC 5V power supply,or connect to PC.
2. HDMI IN—HDMI input.
3. AV / YPBPR—Ypbpr component or composite input through adapter cable
4. MIC IN—For connect a microphone and record voice comments when play game.
5. LINE OUT—Audio output.
6. HDMI OUT—HDMI output, so can connect to monitor to pass through display the input video.
7. HOST—Plug a USB flash (or USB HDD) to save record video.
Advertisement

Related Manuals for EzCAP ezcap295 HD Capture Pro


Summary of Contents for EzCAP ezcap295 HD Capture Pro
- Page 1 HD Video Capture Pro Quick Start Guide Thanks for purchasing ezcap295 HD Video Capture Pro. The following guides you how to set up. Hope this device will bring you nice digital experience. With this ezcap295 HD Video Capture Pro, you can capture up to 1080P video from HDMI ,Ypbpr (component) or composite port, such as blue ray, set-top-box, computer, game box, VHS, etc.
-
Page 2: Remote Controller
8. Record button —Press button to record/stop record. Remote controller: Press to Power ON/OFF, ezcap295 is set to default Power On mode, and will memory the status before power disconnected. Press to capture a still image. (not effect on recording video mode.) select the source. - Page 3 Connections: Ezcap295 have 3 input modes: HDMI, component, composite. And it will automatically recognize the input video source. Connect with HDMI input source: 1, Connect power with DC adaptor 2, Plug an USB disk. 3, Use HDMI cable to connect HDMI video source, such as game player, set top box, etc. 4, With HDMI cable connect to monitor 5, The “LINE OUT”...
- Page 4 6, You can connect your microphone to record your comment when play game, it’s not necessary only if you need it. Connect with Ypbpr component video source (such as DVD player, PS3. Etc): 1, Use the adapter cable in the package to connect component (red, blue, green), just don’t mixed the red with the audio cable (the audio cable red and white will be separated with component) 2, The other connection will total same as HDMI connection above.
- Page 5 Connect with composite video source (such as camera, VHS, V8, Hi8, Etc): 1, Connect the composite (yellow cable and red white audio cable) to your video source with the adapter cable come with the package. 2, The other connections are all same as HDMI input connections above. Record: When power on ezcap295, it will be at default mode—Recording mode, the green LED will be on.
- Page 6 “No Signal” if there is no any video input. To record video is very simple --- press the REC button (or “REC” on remote controller), then you will see the indicator turns to red , you can also see “REC ACTIVE” words shows on monitor for a short time.
- Page 7 After set the schedule time, please click “select” to display the task detail in task subject. Set the recording video quality & split: Press “MENU” of remote controller, enter to following menu, “clock” to set the time of system, “REC” is schedule (same function as above), “REC Video Quality”...
- Page 8 Choose MOVIE: Use direction key of remote controller to choose movie then press playback the recorded video, or photos if you want see the snapshot pictures. You can press “DELETE” to delete the file you don’t need any more:...
-
Page 9: Other Settings
You can use to fast backward, fast forward, last, pause/play, next operation as usual. Other Settings: Press “MENU” enter menu operations, press direction keys to choose the settings you need: To set OSD Language Picture mode:... - Page 10 Sound mode: Firmware and others: Note: The device include two parts----”record part” and “playback part”, to update the firmware for them separately. 1, Update firmware for “record part”: Copy the firmware file (as jedi.img format) in to USB disk, power...
-
Page 11: Specifications
off the device (unplug power jack), plug USB disk to device, power on, the red REC indicator will flash 7~8 seconds, it means the update is finished. 2, Update firmware for “ playback part”: copy the firmware file (as MERGE.bin format) to USB disk, plug the disk to ezcap295, then press “MENU”... - Page 12 Component TV, gameplay, etc Composite Industry camera, Medical endoscope, TV, gameplay, etc Hardware Extra Codec Hardware H.264 encoder Record button, mode switch button. User Interface LED indicator for working status. infrared receiver Dimensions 142(L) × 73(W) × 26(H) mm. Weight 110g Package Contents Device...
- Page 13 Record Format Video: MP4, Audio: AAC Stereo Record Quality Max: 16Mbps@1080P 30fps Record File Max: 2GB / Per File, With RTC (Real Time Clock) Record Place Max: 140MB / Minute, 8.4GB / Hour Power Supply USB DC 5V / 2A 高清视频采集专业版...
- Page 14 1. PC/DC—5V 直流电源供电接口,还可以连接到电脑 USB 接 口通过软件采集视频。 2. HDMI IN—HDMI 输入。 3. AV / YPBPR—通过配备的转接线输入色差分量或 AV 视频信 号。 4. MIC IN—麦克风输入接口,实现麦克风与视频同时录制。 5. LINE OUT—音频线路输出接口,可连接耳机或音响系统等。 6. HDMI OUT—HDMI 输出,连接大屏幕电视机或显示器等来 显示输入视频影像。 7. HOST—插入 U 盘或 USB 移动硬盘,用于保存录制的视频文 件。 Record button —录制/停止按键,按下按键开始录制 或停止录制。 遥控器: 开关键。...
- Page 15 4 静音。 麦克风静音。 设定输出视频比例。 开始录制和停止录制视频。 菜单导航确认键, 左右键调节音量 上下键调节麦克风音量 MENU 为菜单键和返回 功能 EXIT 为退出功能 按下显示当前时间水印并被记录于录制视频文 件,再次按下则没有时间水印。 按下进入回放模式, 按 EXIT 按键或任意视频源按键 (HDMI/YPbPr/AV) 则返回预览模式。 设定预约影。 回放模式下的功能键。 “DELETE”可以删除选中 的文件。 设定输出和录制的视频分辨率。 连接: Ezcap295 有三种视频输入模式: HDMI, 色差分量和 AV(CVBS),设备可以自动识别输入的视频源。不 建议同时连接两种或三种视频源。 连接 HDMI 输入视频源:...
- Page 16 1, 连接配备的电源至 PC/DC 接口。 2, 插入 U 盘或 USB 移动硬盘至 HOST 接口。 3, 用 HDMI 线连接 HDMI 视频源和设备的 HDMI IN 接口,比如游戏机、机顶盒等,HDMI 线材需自行 购买。 4, 用 HDMI 线连接设备的 HDMI OUT 接口和电视机或显示器的 HDMI 输入接口, 同样 HDMI 线材需自 行购买。 5, “LINE OUT” 音频线路输出接口可以连接耳机或音响系统,如果没有必要则无需连接,因为设备的 HDMI OUT 连接至电视机同样有音频输出。...
- Page 17 1, 用包装内专配的视频转接线(红、蓝、绿为色差分量视频,一起的红白为音频左右声道)连接设备的 AV IN 接口和视频源的色差分量输出接口。 2,别的连接同上述 HDMI 视频源连接。...
- Page 18 连接 AV 视频源(比如摄像机、VHS、V8 等): 1, 用包装内专配的视频转接线(黄色为 AV 视频, 一起的红白为音频左右声道)连接设备的 AV IN 接口和 视频源的 AV(CVBS)输出接口。 2, 别的连接同上述 HDMI 视频源连接。 录制采集: ezcap295 高清视频采集专业版接上电源,设备会默认预览模式(录制模式),绿灯常亮。 完成上述所有的连接后,显示器一定会显示输入的视频影像,如果显示屏显示“No Signal” 则表示 没有视频源输入。 录制视频非常简单 – 按下设备上的录制按键或遥控器上的录制按键,你将会看到指示灯变红,同 时显示屏左上角会出现一下红色的录制图标然后会消失, 则表示设备在录制视频中。 再次按下设备的录 制按键或遥控器的停止按键,则设备会停止录制,指示灯会闪烁几下并变为绿色常亮。 使用遥控器上 抓图按键, 你可以实现抓图功能,但是这个功能仅仅在不录制期间有效。...
- Page 19 使用遥控器 左右键来调节音量大小。 如果你连接了麦克风来录制评论,你还可以使用遥控器 上下键来调节麦克风音量大小。 使用遥控器的 720P/1080P/PC 键来切换输出和录制的视频分辨率。 PC 对应的分辨率为 1366 * 768。 使用遥控器的 4:3/16:9 键切换视频比例。 使用遥控器的 WATERMARK 键增加时间水印,录制文件左上方则会显示时间水印,再次按下则 时间水印会消失。 因为一些原因可能会导致无法录制,你可以确认一下这些情形: 1, 没有连接好输入视频源。 2, U 盘没有足够容量。 3, U 盘格式不符合,比如 exFAT。 ezcap295 支持 FAT、FAT32 和 NTFS。 4, U 盘没有连接好。 5, U 盘还没有准备好,通常插上 U 盘需要等待 4~8 秒时间。 预约录影: 按下遥控器...
- Page 20 或移动硬盘有效。 注意 : 录制期间,或停止录制后但是指示灯还在闪烁时,请勿拔出 U 盘,否则可能会会损坏或丢失录制 文件。 一些时候你可能会发现一些录制文件有问题,那可能是因为你使用 NTFS 格式的 U 盘造成的。其主要 原因在于你从电脑上拔出 U 盘前没有使用安全退出后拔出 U 盘,而是直接将 U 盘拔出。 因此请使用 安全模式退出电脑,或将 U 盘格式为 FAT32 使用。 回放: 录制后你或许想确认录制文件, 请使用设备的回放功能。 按下遥控器的“PLAYBACK” 键进入回放模式, 你将会在显示屏上看到如下回放页面。 导航键选择 PHOTO 并按 OK 确认以播放抓图的图片文件,或选择 MOVIE 并按 OK 确认以播放录制 的视频文件:...
- Page 21 用遥控器导航键选择需要回放的录制文件,按下 播放键开始回放视频文件。 你还可以使用遥控器的 “DELETE” 键来删除你不想要的文件。 先用导航键指定到需要删除的文件, 按 OK 键确认选定该文件,按下 DELETE 键会出现如下提示,选择 Yes 删除该文件。 你还可以使用 这些遥控器功能键来实现通常播放器的...
- Page 22 快退、快进、上一个、播放/暂停、下一个这些常用功能。 其它设定: 按下遥控器的 “MENU” 键进入菜单操作,通过导航键来选择你需要设定的项目。 设定菜单语言。 图像模式。...
- Page 23 声音模式。 固件程序和其它:...
- Page 24 注意: 该设备包括两部分 – 录制部分 和 回放部分, 这两部分的固件程序升级是分开进行的。 1, 更新录制部分的固件程序: 复制固件程序文件(一般文件格式为 jedi.img)至 U 盘,断开电源,插上 U 盘,连接电源,此时红色指示灯会闪烁 7~8 秒后回到绿色常亮,表示升级完成,此时如果用 U 盘插 上电脑,会发现刚刚复制的文件消失了,这同样表示升级成功。 2, 更新回放部分的固件程序: 复制固件程序文件(一般文件格式为 MERGE.bin)至 U 盘,将 U 盘插上 设备,按遥控器的 “MENU”键和导航键选择”软件升级(USB)”,并按下 OK 键和左方向键升级。 升级后 请重新插拔电源。 规格参数: 接口界面 接口 USB 2.0 Host 数字: HDMI 视频输入...
- Page 25 应用场景 HDMI 工业高清相机,高清医疗内窥镜,高清机顶盒,游戏机等 色差分量 游戏机,机顶盒等 AV 视频(CVBS) 工业摄像机,医疗内窥镜等 硬件规格 编码器 H.264 硬件编码 录制按键 操作界面 工作状态指示灯 红外遥控器接收 尺寸 142(长) × 73(宽) × 26(高) 毫米 重量 110 克 包装内容 设备 ezcap295 高清视频采集盒增强版 配件 5V 直流电源,遥控器,视频转接线,说明书,软件光盘 标准 U 盘,USB 移动硬盘 存储媒介 最大容量: USB / 2T 注: 不支持...
- Page 26 采集 / 环出: 1280 x 720p(60p), 1366*768 (60p), 1920 x 1080 (30p) 录制格式 视频: MP4, 音频: AAC Stereo 录制质量 最佳: 16Mbps@1080P 30fps 录制文件 分段: 最大 1.95GB / 文件 录制空间 最大: 140MB / 分钟, 8GB / 小时 电源适配器 迷你 USB 直流 5 伏 / 2 安...
Need help?
Do you have a question about the ezcap295 HD Capture Pro and is the answer not in the manual?
Questions and answers