Advertisement
Quick Links
Advertisement

Related Manuals for Kozyard KMAHG1012


Summary of Contents for Kozyard KMAHG1012
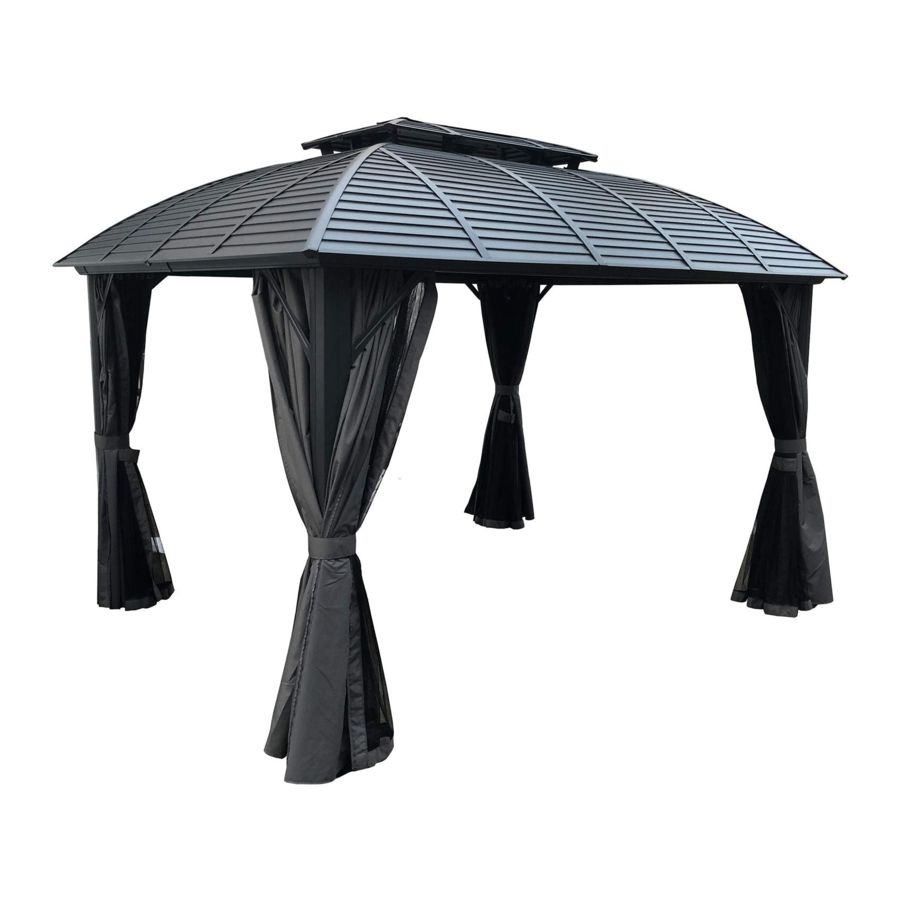
- Page 1 Assembly Manual...
- Page 2 5.Use the hex keys in the box. 1.Two or more people are required for assembly. 6.Please use a Phillips screwdriver. 2.You will need one or more stepladders. 7.Do not fully tighten screws prior to complete assembly. 3. Wearing protective gloves is recommended.
- Page 3 A x4 H x4 I x4 B x2 J x2 B1 x2 B2a x2 J1 x2 B2b x2 K x1 C x2 K1 x1 L1 x4 C1 x2 L2 x4 C2a x2 ITEM DESCRIPTION Pole C2b x2 Beam Beam Sidewall Track D x4 Sidewall Track Beam...
- Page 4 M2 x8 M1 x4 M3 x4 M4 x4 N3 x2 N2 x2 x104+6 M5 x88+5 R1 x2 N4 x2 N5 x2 R2 x2 W x4 P2 x2 P1 x2 P x2 W1 x4 P5 x2 P3 x2 P4 x2 R x56+2 ITEM DESCRIPTION Plate...
-
Page 5: Description Qty
W2 x1 O5 x2 O x2 Wa x2 Z x1 O1 x2 O2 x2 18 x1 ITEM DESCRIPTION Roof Panel O4 x2 O3 x2 Roof Panel Roof Panel Roof Panel Roof Panel S x 12+2 Roof Panel M6*47 Screws 12+2 64+7 Screws T x 64+7... - Page 6 Step 1: Parts Required: Set up poles (Part A) with stand plates (Part M1) using screws V as shown in diagram. M1 x4 A x4 page 4...
-
Page 7: Parts Required
Parts Required: D x4 C x2 C1 x2 B1 x2 B x2 V X24 Step 2 : Connect (Part B1) and (Part B) into one beam using union bar (Part D) with screws V. Connect (Part C) and (Part C1) into one beam using union bar (Part D) with screws V. - Page 8 Parts Required: x104 C2a x2 C2b x2 B2a x2 B2b x2 Step 3 : Put 7 hooks into each slot of sidewall track (Part B2a & Part B2b) B2a / B2b Tip: Put 6 hooks into each slot of sidewall track (Part C2a & Part C2b) C2a / C2b page 6...
- Page 9 Parts Required: F1 x2 F2 x2 F4 x2 F3 x2 V x80 B2a x2 B2b x2 C2a x2 C2b x2 Step 4 : F1 B2a F2 B2b F4 C2b F3 C2a Tip: Connect parts (B2a&B2b) to the finished beam (Part B1& Part B) using screws V as shown in diagram.
- Page 10 Parts Required: Step 5 : Use screws (U & X) to connect poles and beams together as shown in diagram. ① ① ② ② Tip: At least two people since this step. page 8...
- Page 11 Parts Required: L1 x4 L2 x4 Step 6: Affix the frame with corner solidifying bars (Parts L1 & L2) using screws V as shown in diagram. Tip: Please measure diagonally from corner to corner.If your structure is square, those two measurements will be the same distance.
- Page 12 Parts Required: W1 x4 W x4 ① ② Step 7: ① Affix middle beams using joint cover (Part W1) and screws Y Finish connecting beams using and V as shown in diagram. corner covers (Part W) and screws Y as shown ②...
- Page 13 Parts Required: Reminder: with silicone rubber to seal after finishing the assembly it will be better for no water leaking in heavy rain. page 11...
- Page 14 Parts Required: M2 x4 E x4 K1 x1 V x16 R1 x2 R2 x2 Step 8: Set up roof frame Connect the inside roof connect(Part K1) with the corner roof bar (Part E)using screws V. Attach corner roof bar(Part E) to main frame using screw V as shown in diagram Attach finishing bar (Part R1&R2)with Finish End (Part M2) using screws V...
- Page 15 Parts Required: ZS1 x2 E1 x4 ZS2 x2 Step 9: Upward View Attach roof bar(Part E1) to inside roof connector using screws V, Attach net frames (Part ZS1&ZS2) to finishing bars ① ① (Part R1 &R2) using screws V as shown in diagram.
- Page 16 Parts Required: K1 x1 U x1 Wa x2 Step 10 :Connect outside roof connctor (Part K) to inside roof (Part K1 )using screw U&Wa as shown in diagram. page 14...
- Page 17 Parts Required: Step 11: Cover metal bracket (Part D1&R) to roof panels as shown in diagram. Tip: Wearing protective gloves is recommended. page 15...
- Page 18 Parts Required: J1 x2 V x8 M2 x4 J x2 P1 x2 P2 x2 P3 x2 P4 x2 P5 x2 P x2 Step 12 Attach finishing bars (Part J1&J)to upper roof with finish end (Part M2) Push the roof panels using screws V as shown in diagram.
- Page 19 Parts Required: I x4 V x24 H x4 M4 x4 M3 x4 ② ② ① Step 13: Affix solidifying bars to roof corner Affix solidifying bars (Part H or I)together bar using iron angle (Part M4) and to roof bar using iron angle (Part M3) and screw V as shown in diagram.
- Page 20 Parts Required: D1 x8 R x48 N x2 N1 x2 N2 x2 N3 x2 N4 x2 N5 x2 N6 x2 N7 x2 O x2 O1 x2 O4 x2 O5 x2 O2 x2 O3 x2 Step 14: Cover metal bracket (Part D1&R) to roof panels as shown in diagram.
- Page 21 Overall roof assembly: Please put the panels on the frame anti-clockwisely Connect roof as below: Tip: Wearing protective gloves is recommended. page 19...
- Page 22 Parts Required: M5 x88 X1 x8 T x64 M6*23 M6*47 M6*23 M6*42 Step 15: Affix roof panels using screws and spacers (Part M5) as shown in diagram. Attention: Put on one roof panel and fasten it accordingly before attaching second roof panel. ②...
- Page 23 Parts Required: Curtain Secure curtain and netting Curtain Step 16 : Hang up mosquito sidewalls and solid sidewalls as shown in diagram. Curtain 302 cm Attention: In the end,Check all screws are fixed tightly before using. page 21...
Need help?
Do you have a question about the KMAHG1012 and is the answer not in the manual?
Questions and answers