HP TouchSmart IQ810 Series Product End-Of-Life Disassembly Instructions
Hide thumbs
Also See for TouchSmart IQ810 Series:
- Getting started manual (212 pages) ,
- Troubleshooting and maintenance manual (36 pages) ,
- Quick start manual (1 page)
Advertisement
Quick Links
Product End-of-Life Disassembly Instructions
Product Category: Personal Computers
Marketing Name / Model
[List multiple models if applicable.]
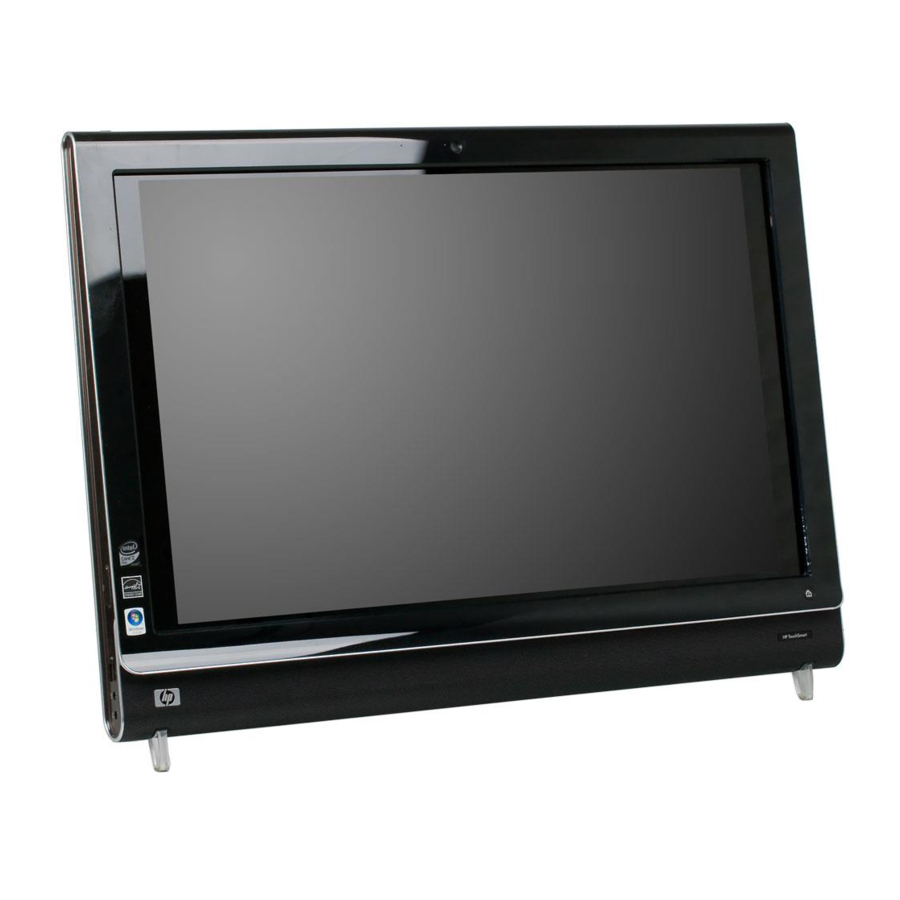
HP TouchSmart IQ810 PC Series
Purpose: The document is intended for use by end-of-life recyclers or treatment facilities. It provides the basic instructions
for the disassembly of HP products to remove components and materials requiring selective treatment, as defined by EU
directive 2002/96/EC, Waste Electrical and Electronic Equipment (WEEE).
1.0 Items Requiring Selective Treatment
1.1 Items listed below are classified as requiring selective treatment.
1.2 Enter the quantity of items contained within the product which require selective treatment in the right column, as
applicable.
Item Description
Printed Circuit Boards (PCB) or Printed Circuit
Assemblies (PCA)
Batteries
Mercury-containing components
Liquid Crystal Displays (LCD) with a surface greater
than 100 sq cm
Cathode Ray Tubes (CRT)
Capacitors / condensers (Containing PCB/PCT)
Electrolytic Capacitors / Condensers measuring
greater than 2.5 cm in diameter or height
External electrical cables and cords
Gas Discharge Lamps
Plastics containing Brominated Flame Retardants
weighing > 25 grams (not including PCBs or PCAs
already listed as a separate item above)
Components and parts containing toner and ink,
including liquids, semi-liquids (gel/paste) and toner
Components and waste containing asbestos
EL-MF877-00
Template Revision B
Notes
With a surface greater than 10 sq cm
All types including standard alkaline and lithium coin
or button style batteries
For example, mercury in lamps, display backlights,
scanner lamps, switches, batteries
Includes background illuminated displays with gas
discharge lamps
Include the cartridges, print heads, tubes, vent
chambers, and service stations.
PSG instructions for this template are available at
EL-MF877-01
Quantity
of items
included
in product
10
1
6
1
0
0
0
3
0
0
0
0
Page 1
Advertisement

Related Manuals for HP TouchSmart IQ810 Series


Summary of Contents for HP TouchSmart IQ810 Series
- Page 1 Purpose: The document is intended for use by end-of-life recyclers or treatment facilities. It provides the basic instructions for the disassembly of HP products to remove components and materials requiring selective treatment, as defined by EU directive 2002/96/EC, Waste Electrical and Electronic Equipment (WEEE).
- Page 2 Components, parts and materials containing refractory ceramic fibers Components, parts and materials containing radioactive substances 2.0 Tools Required List the type and size of the tools that would typically be used to disassemble the product to a point where components and materials requiring selective treatment can be removed.
- Page 3 Rotate unit, and put the unit on the shutter table .And upward totake off holder1 of cable slip and then Put stand upward , use 2#×10 5.0±0.5kgf/cm electrical take off IO insert cover to material box. downward to take off holder2. screw driver to disassemble screws then place it to materila box.
- Page 4 Take L/R low rear cover in temporary area. Disassemble 10 screws on rear cover and 1screw on IO insert as picture. Place screws in material box. use electrical screw driver to disassemble 4 screws on Attention: Becareful to move out speaker cable don't Pull aparts all hooks on plastic of main rear cover.
- Page 5 Tear cable routing tape for cable shielding L and put out use electrical screw driver to disassemble 2 screws on Take cable shielding R&cable shielding L off and those cables form cable shielding. cable shielding L then put upward off to cable put it in the right position.
- Page 6 1.Make sure there are no cable pressed by rear cover; Use electric screwdriver vertically download three 2. then disassemble rear shied metal parts from chassis. screws on FOOT R,put screw into material 3.put rear shied in box. box.Notice:Don't mix the screw Attention:1.Do not touch the electrical components &...
- Page 7 FRONT IO ODD SATA connect connect Use electric screwdriver vertically download 2 Cut 1 pcs tie-cable with nipper.and put it into the pull out the camera-mic cable from the M/B screws on FRONT IO. waste parts box; corresponding connect. CARD READER cable F_1394 cable Pull out FRONT IO cable( like mark1&2 shows) & Take front IO cable from unit to material box.
- Page 8 volume Button cable IR cable hot start cable Pull out hot start cable&IR cable&volume button Let hot start cable&IR cable&volume button Use electric screwdriver vertically download 2 cable from MB corresponding connect one by one. cable&card reader cable throught from inverter screws on card reader.
- Page 9 1.To pull apart the iron from the clasp as picture Push IO INSERT to right side and take it off; with hands,take out the iron from Card Attention: There are 7 hooks all outsert from unit and put it to material box reader,confirm the clasp not crack,not out of shape.
- Page 10 1.Take HDD cage,then push HDD upside until take out HDD from base pan. 2.Put HDD in parts stocks. Loose ODD screw with electrical screw driver. Take ODD POWER&ODD SATA&ODD Put the tape(in the yellow mark as the Pic) in the material Push ODD out from three hook as the Pic.
- Page 11 2 pcs screw bolt Take out the CPU H/S main power cable from Tear out cable routing tape; Pull LVDS cable Take the 7 screws as the above Pic with 2#×10 MB_Fan1 interface. out from MB side. Use electric screwdriver to unload two screws and put it into Unload seven screws fixed VGA H/S&VGA.Put screws into Take out the VGA H/S power cord from MB_Fan2(V) material box.
- Page 12 Take down the VGA card incline 30 from the M/B. Notice:Don't touch the electron component on the Take out AMB light-usb cable from USB-XP connect Take out MINI-PMD cable from USB-XP connect of card,don't strike. of MB. Take out VGA card into material box. Pull out Ambient Light Control cable from MB.
- Page 13 Pull out TS cable from MB side. Use electric screwdriver to unload 1pcs screw from Mini-PMD and 3pcs from B-CAS card. Put B-case shielding part to material box. Rout Mini-PMD cable out MB and base pan holf\der. And Turn around unit let AMP board side forward face. Attention: Do not bent finger.
- Page 14 Put system fan in material box. Disassemble 3pcs screws from system blower then put them to material box. Pull out system fun cable & inverter board cable from MB side;Pull inverter board cable from AMP card. Take out the TV terminal cable from the TV card. Take down the TV card incline 30 from the M/B.
- Page 15 Diaassemble AV-INPUT from rear braket metal part,disassemble 2 Route antenna cable fron BASE PAN Unlock 2pcs screws on WLAN card. screws connector.Tear 2pcs antenna . Take out the wireless net card,the aerial interface not put in inverter cover shielding screw box. block,check the surface not scrape,PCB not crack,iron not Pull out inverter cable from AMP card connect vertically..
- Page 16 Disassemble 6 screw on M/B vertically,put them in screw As pic,take MB from BASE PAN and put it in material Tear heat sink pad from base pan. box. temporary storage. Note:Don't touch component. Pull out speaker cable from AMP connector vertically. 1.Dissamble 4screws on left/right speaker vertically.
- Page 17 Tear as pic show 7pcs cable routing taps from base.put them in discarding box 2&3 Tear as pic show 6pcs cable routing taps from base. Take WEBCOVER from unit. Tear as pic show tap for antenna and camera cable...
- Page 18 Route antenna cable fron BASE PAN connector.Tear 2pcs antenna . 1.Check black antenna(left),confirm cable not Tear 2 tapeS on antenna,put them in discarding box(as red part). broken,no copper outside,connerctor&antenna small card OK. 2.Put it in material temporary storage. hook hook Disassemble 2 screw on camera vertically (as pic).Put Take shielding to material box 1.Take camera module from unit.
- Page 19 Disassemble 8 screws on right side cap(as pic).Put them in Pull Ambient LED from led holder Turn round shuttle table and let inverter board on screw box . right side. Note:Don't scratch plastic part. 1.Disassemble 2 screws on ambient light card vertically (as Take right side cap from LCD frame.
- Page 20 Disassemble 2 screws vertically on TPK and front Take left side cap from LCD frame. Turn round shuttle table and let inverter board on right side. bezel.(as pic) Disassemble 8 screws vertically on TPK and front bezel.(as pic).Put them in screw box .Note:Don't mix screws.
- Page 21 Hot start cable IR receiver 线 Attention: Rout IR receiver cable&Hot start cable, Do not Two operators hold as pic show loaction to put the TPK to shuttle table. scratch cables and do not pull out those cable from IR holder. hook hook Becareful to disassemble hooks from LCD bezel and take off bottom frame.
- Page 22 camera protective glass(down)&camera cushion(up) dust-proof dust-proof Take off camera protective glass to material box. Take bottom frame from LCD frame. Take 2 pcs MIC dust-proof&1PCS camera protective glass&1PCS camera cushion(as pic).Note:Don't scratch camera glass. 2.Put them in material temporary storage. 卡勾...
Need help?
Do you have a question about the TouchSmart IQ810 Series and is the answer not in the manual?
Questions and answers