Table of Contents
Advertisement
Quick Links
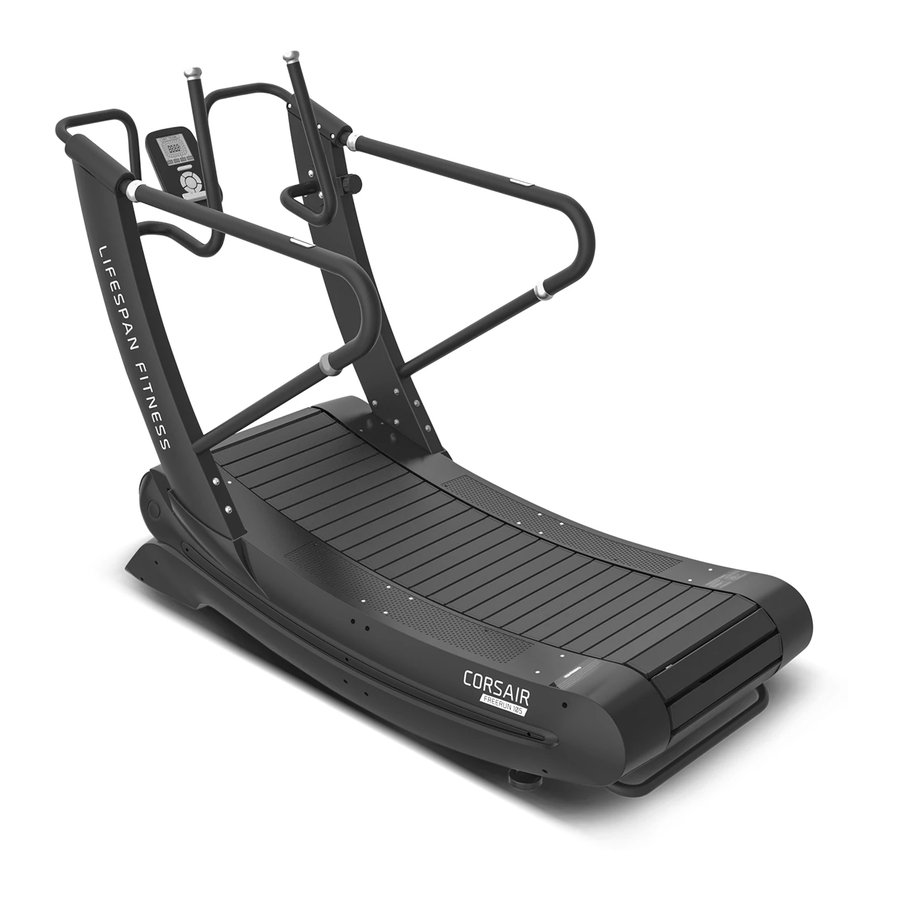
Corsair FreeRun 105
Product may vary slightly from the item pictured due to model upgrades.
Read all instructions carefully before using this product.
Retain this owner's manual for future reference.
NOTE:
This manual should not be used to guide your purchasing decision. Your product, and the contents inside its carton, may vary
from what is listed in this manual. This manual may also be subject to updates or changes. Updated manuals are available
through our website at
www.lifespanfitness.com.au
USER MANUAL
Advertisement
Table of Contents

Related Manuals for LifeSpan Corsair FreeRun 105


Summary of Contents for LifeSpan Corsair FreeRun 105
- Page 1 Corsair FreeRun 105 USER MANUAL Product may vary slightly from the item pictured due to model upgrades. Read all instructions carefully before using this product. Retain this owner’s manual for future reference. NOTE: This manual should not be used to guide your purchasing decision. Your product, and the contents inside its carton, may vary from what is listed in this manual.
-
Page 2: Table Of Contents
TABLE OF CONTENTS Important Safety Instructions ....... 03 II. Important Operating Instructions ......04 III. -
Page 3: Important Safety Instructions
A significant amount of technical knowledge is required for the safe and complete assembly of the unit. • Do not use accessory attachments that are not recommended by Lifespan Fitness. Such attachments may cause injuries. • Assemble and operate the treadmill on a solid, level surface. -
Page 4: Important Operating Instructions
• Do not operate the treadmill without the handrail installed. • Do not use the treadmill with walking poles or other devices not specifically approved by Lifespan Fitness. • Never jump onto the treadmill. Never jump from the treadmill. Never enter the treadmill from the front. -
Page 5: Machine Diagram
III. MACHINE DIAGRAM 1. Console Holder 2. Console 3. Handle 4. Stand Column 5. Running Belt 6. Foot Pedal 7. Carry Handle MACHINE DIAGRAM |... -
Page 6: Assembly Instructions
IV. ASSEMBLY INSTRUCTIONS User Manual of this section is designed to ensure that the treadmills can be assembled correctly and easily. • Considering the big size of the treadmill, please select the location where the treadmill will be placed and ensure there is enough space around it. •... - Page 7 Magnetic wire connecting (one wire only) ASSEMBLY STEP TWO Connect the magnetic induction line and assemble the console holder and handrail. Assembly instructions: 1. Connect the magnetic induction line of the console holder to those in the stand column. 2. Fix the console holder tightly with the stand column as shown in the picture below, using 2 pcs of (27).
- Page 8 Magnetic wire connecting (one wire only) ASSEMBLY STEP THREE Assembling the console and connecting the magnetic line. 1. Connecting the magnetic line of the console with the line in the holder console holder. 2. After connected the magnetic line, place the console at the joint of console holder and fasten it (as shown), using 4pcs of (13) and 4pcs of (14).
-
Page 9: Operation Guide
V. OPERATION GUIDE CONSOLE INTRODUCTION Console Input Supply Voltage: Four-cell Dry Battery TIME 0:00—99.59 DISTANCE 0.00—99.99 (km) CALORIES 0—999 (kcal) HEART RATE 60—300 (beats/min) ROTATING SPEED 0—90 (KM/H) Resistance Adjustment Level: 1—8 (at 1, the resistance is 0 and at 8, the resistance is maximum) This treadmill interface has only one main interface, with six buttons to achieve the purpose of use, the specific operation methods of the treadmill are as follows: 1. - Page 10 2. SIX BUTTON The main interface is used to display device name, time, distance, calories, speed. START/STOP BUTTON In standby mode, all data will start counting only when you click this button. Click this key while running, and all data will stop counting.
- Page 11 RESISTANCE KNOB OPERATION INSTRUCTION This treadmill uses a knob to adjust the resistance of the wire. As shown in the picture it is divided into 1-8 gears from left to right, and the resistance increases gradually. OPERATION GUIDE |...
-
Page 12: Parts List
VI. PARTS LIST Some items on this list may come pre-installed on your equipment. If you feel like you’re missing anything, please double check your equipment. 1. Main Frame Assembly 4. Console Welding Assembly 2. Right Side Stand Column Handrail 5. - Page 13 Item Description Item Description TZ03-SP03B-0008 M10X9t-S1 Fasten the Screw Nut Aluminum Handle M8X55 Carriage Bolts 039 Shock-absorbing M8X25 Carriage Bolts Positioning Block M6X14L-N2 Hexagon Round Screw TZ03-SP03-0326 M6 Nut Reinforced Casing M5X8L-J1 Set Screw GT009 M10x8t-S2 Nut FL005 Bearing Pedestal Ф20xФ11x1.0t-C1 Washer 6205 Bearing M8X25L-N1 Hexagon...
- Page 14 Item Description Item Description φ40 rubber TZ06-SP03-0616 Console TZ06-SP03-0609 Counter Magnet Left Side Trim Strip TZ06-SP03-0610 Left Side Protecting Case | PARTS LIST...
-
Page 15: Exploded Diagram
VII. EXPLODED DIAGRAM EXPLODED DIAGRAM |... -
Page 16: Exercise Guide
VIII. EXERCISE GUIDE PLEASE NOTE: Before beginning any exercise program, consult your physician. This is important especially if you are over the age of 45 or individuals with pre-existing health problems. The pulse sensors are not medical devices. Various factors, including the user’s movement, may affect the accuracy of heart rate readings. - Page 17 TRAINING ZONE EXERCISE After warming up, increase the intensity to your desired exercise program. Be sure to maintain your intensity for maximum performance. Breathe regularly and deeply as you exercise. COOL DOWN Finish each workout with a light jog or walk for at least 1 minute. Then complete 5 to 10 minutes of stretching to cool down.
-
Page 18: Maintenance Instructions
IX. MAINTENANCE INSTRUCTIONS Reasonable cleaning/lubricating should be made to extend the lifetime of this unit. Performance is maximized when the belt and mat are kept as clean as possible. WARNING: THE BELT/DECK FRICTION MAY PLAY A MAJOR ROLE IN THE FUNCTION AND LIFE OF YOUR TREADMILL AND THAT IS WHY WE RECOMMEND YOU CONSTANTLY LUBRICATE THIS FRICTION POINT TO PROLONG THE USEFUL LIFE OF YOUR TREADMILL. -
Page 19: Warranty
X. WARRANTY AUSTRALIAN CONSUMER LAW Many of our products come with a guarantee or warranty from the manufacturer. In addition, they come with guarantees that cannot be excluded under the Australian Consumer Law. You are entitled to a replacement or refund for a major failure and compensation for any other reasonably foreseeable loss or damage. - Page 20 WWW.LIFESPA NF ITN ES S.COM.AU...
Need help?
Do you have a question about the Corsair FreeRun 105 and is the answer not in the manual?
Questions and answers