Advertisement
Table of Contents
- 1 Unpacking Your Camera
- 2 Preparing Your Facility
- 3 Installing SDK3 and Coaxpress Drivers
- 4 Installing the Coaxpress (Pcie) Card
- 5 Connecting Your Camera and Switching It on
- 6 Troubleshooting
- 7 Camera Cooling Guidelines
- 8 Checking & Setting BIOS Options (for Pcs Not Supplied by Andor)
- Download this manual
Balor Quick Start Guide
1
Preparing your Facility
Handle the camera and accessories with care.
Observe anti-static precautions when
installing the controller card and camera.
Ensure 100 mm clearance around camera
vents (Flexi cooled version only) and
power supply vents.
Operation of the camera close to intense
pulsed sources (e.g. plasma and X-ray
sources) may compromise performance.
Keep dry, <70% humidity non-condensing.
Use the power supplies and cables provided.
Store between -10°C and 50°C.
Operate between -30°C and 30°C.
Liquid chiller unit must be attached and
running (ensure liquid is flowing) before
powering on the camera (Liquid Cooled
Only variant).
Refer to the hardware guide for further information.
2
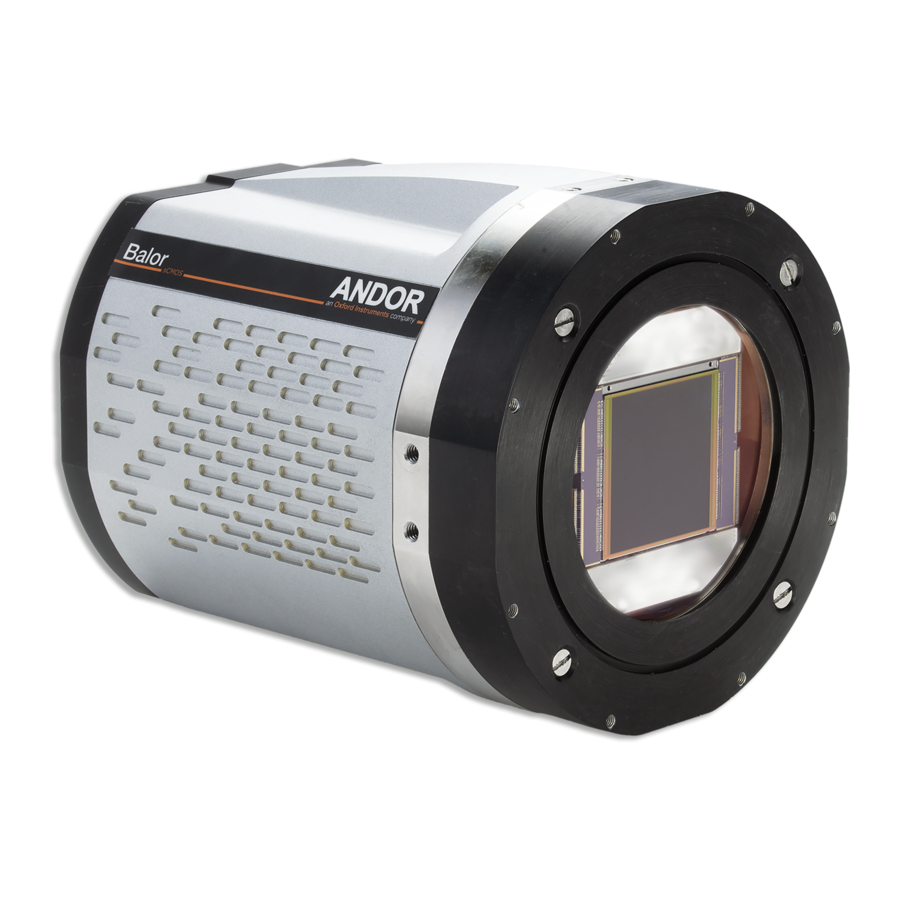
Unpacking your Camera
Camera
Accessories
Software or
Product
Driver CD(s)
Manuals CD
Balor Camera
CoaXPress Card
Power Supply
(with ext. trigger
(x2)
input)
1 x 15 V (Camera power)
1 x 24 V (Camera cooler)
3
Installing SDK3 and CoaXPress Drivers
You must have administrator access on your PC to perform this installation.
Windows:
• Switch on the PC and Run the setup.exe file on the CD or from download.
• Select the installation directory or accept the default when prompted by the installer.
• Click on the Install button to confirm and continue with the installation.
• During the installation a number of other windows will pop up as the SDK3 drivers and runtimes are
installed.
• Click on the Finish button when prompted.
• Power cycle PC.
Linux:
For detailed instructions on how to install the SDK3 and CoaXPress drivers on Linux. For further information please
refer to Section 1.1.7 in the pdf, Andor Software Development Kit, available on the Software CD.
Cables
Anti-Static Strap
Trigger Cable
CoaXPress
1 x BNC to D-type
Cable
Trigger Cable
2x Country
Coolant Pipes
1 x BNC to SMB
Specific Power
(hose inserts)
Cord
Please turn over
Advertisement
Table of Contents

Related Manuals for Oxford Instruments Andor Balor


Summary of Contents for Oxford Instruments Andor Balor
- Page 1 Balor Quick Start Guide Unpacking your Camera Camera Accessories Cables Software or Product Anti-Static Strap Trigger Cable CoaXPress Driver CD(s) Manuals CD 1 x BNC to D-type Cable Balor Camera Trigger Cable 2x Country CoaXPress Card Power Supply Coolant Pipes 1 x BNC to SMB Specific Power (with ext.
- Page 2 Installing the CoaXPress (PCIe) Card Connecting your Camera and Switching it on Please refer to the Balor Hardware Guide for mounting instructions. Ensure that the power to the Ensure your PC is powered off. Ensure anti-static precautions using anti-static strap provided.
Need help?
Do you have a question about the Andor Balor and is the answer not in the manual?
Questions and answers