Advertisement
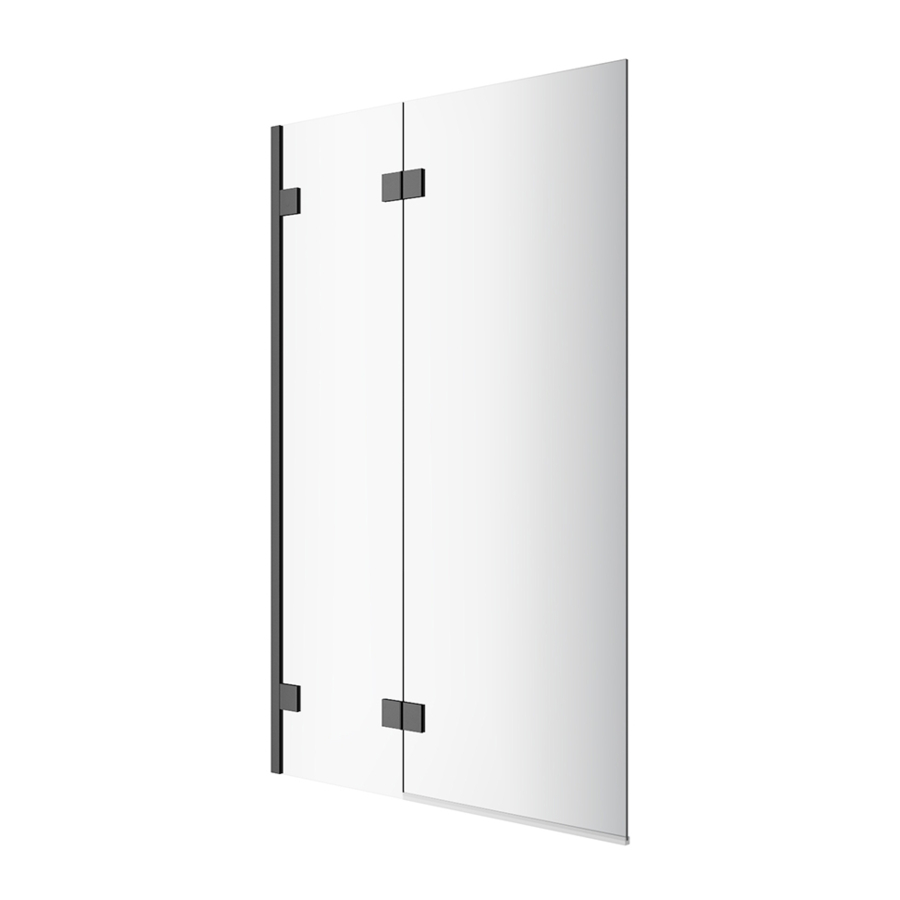
Hinged Bath Screen
INSTALLATION INSTRUCTIONS
www.aquadart.co.uk
www.aprilproducts.co.uk
www.aprilproducts.co.uk
Item Number:AQ6002
Tools Required
6
2.75
PH2 TYPE
IMPORTANT
This product should be installed by a suitably qualified and proficient person. The fitting instructions should be
followed carefully to ensure a proper and safe installation. Failure to follow these instructions could result in future
injury.
These instructions and list of parts assume that installation is done against solid/tiled walls.
Please check this product for damage prior to starting the installation. No claims can be made after the product has
been fitted.
PLEASE NOTE :The minimum and maximum adjustment sizes noted on the product brochures are based on
perfectly plumb walls and trays.
USE SAFETY EYE-WEAR WHEN DRILLING
Advertisement
Table of Contents

Related Manuals for Aquadart venturi 8 AQ6002

Summary of Contents for Aquadart venturi 8 AQ6002
- Page 1 Hinged Bath Screen INSTALLATION INSTRUCTIONS www.aquadart.co.uk www.aprilproducts.co.uk www.aprilproducts.co.uk Item Number:AQ6002 Tools Required 2.75 PH2 TYPE IMPORTANT This product should be installed by a suitably qualified and proficient person. The fitting instructions should be followed carefully to ensure a proper and safe installation. Failure to follow these instructions could result in future injury.
- Page 2 End cap B x2 False hinge x2 End cap A x2 Wall plug x5 Screw ST 4x30 x5 Middle hinge x2 IMPORTANT - Missing Components Please check this product for missing components prior to installation. For spare parts visit ww w.aquadart.co.uk...
- Page 3 Ф 6 drill bit 0-10mm Step 1: Position the wall profile (1) onto the bath, approximately 12-15mm from the outside bath edge. Level the profile with a spirit level, then mark the position through the 3 pre-drilled screw holes in the wall profile using a pencil.(A) Step 2:Drill the marked points using a 6mm masonry drill bit ,once this is done insert 3 wall plugs (14) into the wall holes then secure the wall profile using 3 x ST4X30 screws (15)(B).
- Page 4 INSIDE I-details...
- Page 5 Step 7: press the vertical seal B(9)(3 strips) into the wall profile to secure the fixed panel(2)(G). Step 8: Fit the middle hinge(5) onto the fixed panel(2)(H) Step 9: Push the bottom seal (10) onto the bottom of the door panel(3) then carefully lift it onto the bath to secure it onto the fixed panel(2)(I) Step 10:Fix the support arm onto the fixed panel(J,K) Step 11:Drop the silicone sealant onto the bottom corner of the bottom strip A(6) and platform of the end cap A(11),...
- Page 6 Riverside Business Park,Royd Ings Avenue,Keighley, West Yorkshire,BD21 4AF 01535 613830 Technical:01535 613830 Fax: 01535 613831...
Need help?
Do you have a question about the venturi 8 AQ6002 and is the answer not in the manual?
Questions and answers