Table of Contents
Advertisement
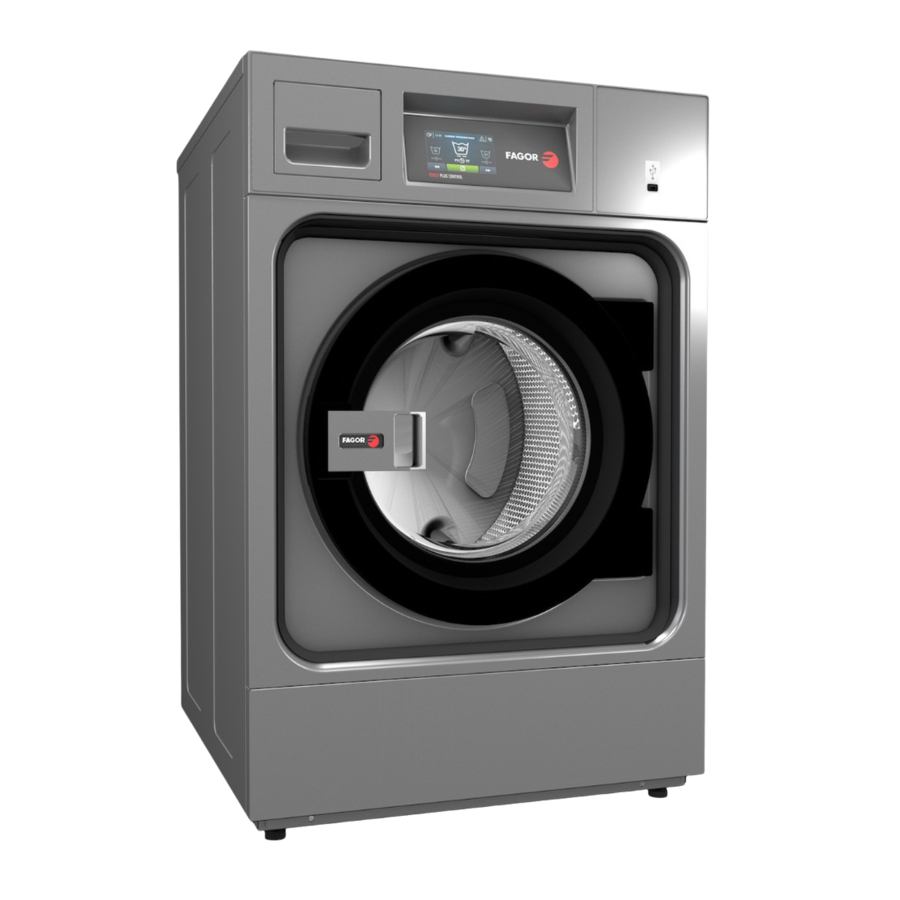
WASHING MACHINES
MAINTENANCE AND
CONFIGURATION MENUS TP2
FWS -25 / FWS -30 / FWS -40 / FWS -60 / FWS -80 / FWS -135
LA-11 / LA-14 / LA-18 / LA-25 / LA-35
LA-45 / LA-60 / LA-120
LR-11 / LR-14 / LR-18 / LR-25/ LR-35
LN-11 / LN-14 / LN-18 / LN-25 / LN-35 /LN-60
LAP-0820 / LAP-1025
FWH-25 / FWH -30 / FWH -40 / FWH -60 / FWH -80
FWH -100 / FWH -135 / FWH -275
FWR-25 / FWR -30 / FWR -40 / FWR -60 / WFR -80
LAP-08 / LAP-10
Advertisement
Table of Contents


Need help?
Do you have a question about the LAP-08 and is the answer not in the manual?
Questions and answers
Buenas tardes quisiera saber donde consigo soporte para una maquina FAGOR FWS-135 TP HW y para una FAGOR SR-60 MP E