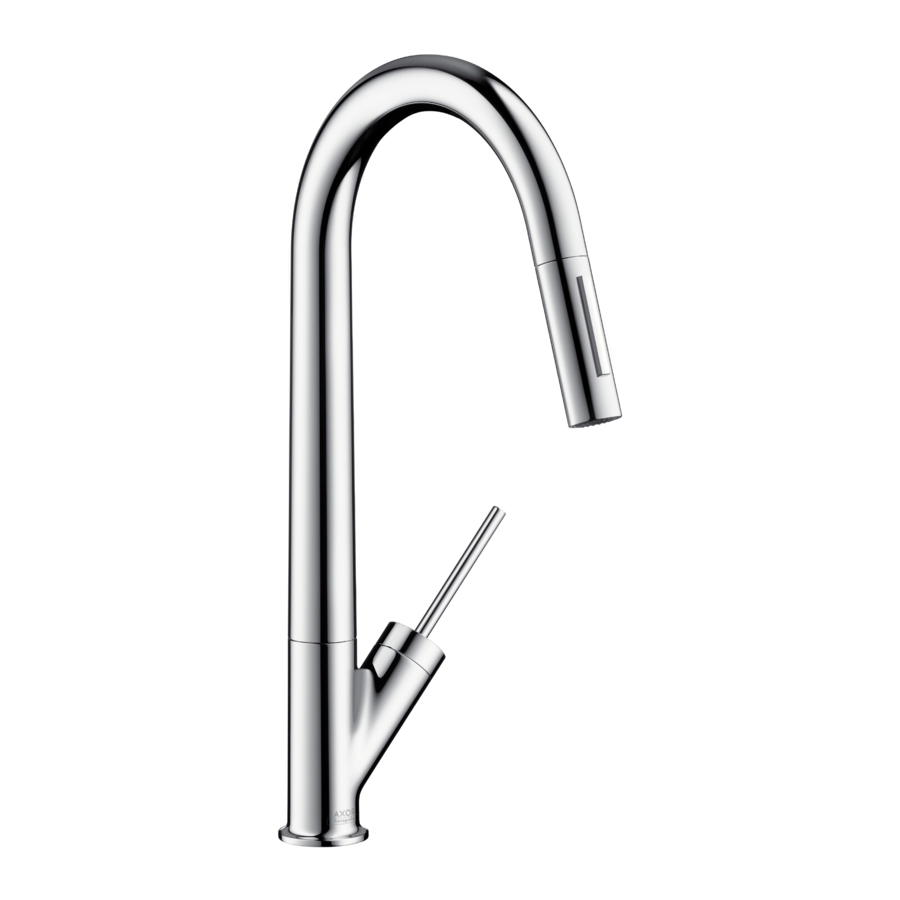
Hans Grohe Axor Starck 10821 1 Series Installation/User Instructions/Warranty
Hide thumbs
Also See for Axor Starck 10821 1 Series:
- Installation/user instructions/warranty (28 pages) ,
- Installation/user instructions/warranty (20 pages) ,
- User instructions (28 pages)

Related Manuals for Hans Grohe Axor Starck 10821 1 Series


Summary of Contents for Hans Grohe Axor Starck 10821 1 Series
- Page 1 Installation / User Instructions / Warranty Instructions de montage / Mode d'emploi / Garantie Instrucciones de montaje / Manejo / Garantía Starck 10821xx1 / 10824xx1 Starck 10826xx1...
-
Page 2: Technical Information
English Français Données techniques Technical Information Pression d’eau recommandée 15 - 75 PSI Recommended water pressure 15 - 75 PSI Pression d’eau maximum 145 PSI Max. water pressure 145 PSI Température recommandée 120° - 140° F* Recommended hot water temp. 120°... -
Page 3: Datos Tecnicos
Español Datos tecnicos Tools Required / Outiles Utiles / Herramientas Útiles Presión recomendada en servicio 15 - 75 PSI Presión en servicio max. 145 PSI Temperatura recomendada del 120° - 140° F* agua caliente Temperatura del agua caliente max. 176°F* Caudal máximo - 10821xx1, 10824xx1 2 GPM Caudal máximo - 10826xx1... - Page 4 1⅛" 9¼" 4⅜" 5⅜" 18° 2" 2" 7⅝" 1⅜" 1⅜" ⅜ ⅜ 10821xx1 10824xx1 4⅜" 1⅛" 2" 1⅜" 5⅝" ⅜ 10826xx1...
- Page 5 Replacement Parts / Pièces détachées / Repuestos 10821xx1 97155xx0 10824xx1 10821xx1: 95907xx0 95893xx0 97157000 97735000 95340000 98186000 (30x2) 97350000 98231000 (18x1,5) 95908xx1 96339000 98140000 (20x1) 95909000 95910000 98749000 96316001 97523000 95561000 95049000 88624000 98551000 xx = Colors / Couleurs / Acabados 00 = Chrome 80 = Steel Optik...
- Page 6 English Installation 10821xx1 / Adjust the spout rotation 10824xx1 With the spout cam in place, the spout will rotate 75° to the right, and 75° to the left of center. 10826xx1 page 16 Reposition the cam to change the rotation. página 16 Repositioning the cam one "tooth"...
- Page 7 Français Español Ajustez la Rotation du Bec Ajuste la Rotación del Surtidor Avec la came de bec installée, le bec pivotera de Con la leva del surtidor en su lugar, el surtidor rotará 75° vers la droite, et 75° vers la gauche. 75º...
- Page 8 English Install the handspray hose and handspray. Push the spout onto the faucet body so that the pin goes into the hole on the rear of the spout. Place the faucet and sealing ring on the mounting surface. Install the plastic washer, friction washer, metal washer, and mounting nut.
- Page 9 Français Español Installez le tuyau de douchette et la douchette. Instale el flexo de la ducha extraible y la ducha extraible. Poussez le bec sur le corps de robinet pour que l'épingle entre dans le trou sur l'arrière du bec. Empuje el surtidor en el cuerpo de chorro para que el alfiler entre el hoyo en el trasero del chorro.
- Page 10 English Connect the hot and cold supply hoses to the stops. Use two wrenches. Do not allow the supply hoses to twist. 9 mm 16 mm Connect the handspray hose to the connection hose. Install the hose weight. Test the handspray hose. If it does not retract smoothly, reposition the weight.
- Page 11 Français Español Connectez les tuyaux d'arrivée d'eau chaude et Conecte las mangueras de suministro de agua cali- d'eau froide aux tuyau d'alimentation. ente y fría a las alimentaciones de la red. Servez-vous de deux clés, tel Use dos llaves, como se illustra en el qu'illustre dans le schema.
- Page 12 User Instructions / Instructions de service / Manejo open / ouvert / abierto close / fermé / cerrado hot / chaud / caliente cold / froid / frío open / ouvert / abierto...
- Page 13 Cleaning / Nettoyage / Limpieza...
- Page 14 Cleaning / Nettoyage / Limpieza...
- Page 15 Replacement Parts / Pièces détachées / Repuestos 10826xx1 97155xx0 95893xx0 97662000 110° 150° 97157000 92646000 96339000 97558000 96316001 98749000 97523000 95049000 xx = Colors / Couleurs / Acabados 00 = Chrome 80 = Steel Optik...
- Page 16 English 10826xx1 Installation Place the faucet on the mounting surface. Install the support, friction washer, metal washer, and mounting nut. If the mounting surface is greater than 1¾", or if there is insufficient space, omit the support. Tighten the mounting nut. Tighten the tensioning screws.
- Page 17 Français Español 10826xx1 Installation 10826xx1 Instalación Placez l’anneau d’étanchéité et le robinet sur la Coloque el aro de sellado y el grifo sobre la superfi- surface de montage. cie de montaje. Installez le soporte, la rondelle en fibre, la rondelle Instale el soporto, la arandela de fibra, la arandela de friction et l’écrou de montage.
- Page 18 English With the spout cam in place, the spout will rotate 75° to the right, and 75° to the left of center. Reposition the cam to change the rotation. Repositioning the cam one “tooth" results in a 10° change. Install the 110° cam if a 110° rotation is desired. Remove the cam completely if a 360°...
- Page 19 Français Español Avec la came de bec installée, le bec pivotera de Con la leva del surtidor en su lugar, el surtidor rotará 75° vers la droite, et 75° vers la gauche. 75º hacia la derecha y 75º a la izquierda. Repositionnez la came pour changer la rotation.
- Page 20 English Remove the aerator. Flush the faucet for at least 2 minutes. > 2 min Install the aerator.
- Page 21 Français Español Retirez l’aérateur. Retire el aireador. Rincez le robinet pendant au moins 2 minutes. Lave el grifo durante al menos 2 minutos. Installez l’aérateur. Instale el aireador.
- Page 22 User Instructions / Instructions de service / Manejo close / fermé / cerrar open / ouvert / abierto hot /chaud / caliente cold / froid / frío...
- Page 23 Cleaning Recommendation for Hansgrohe Products Modern bathroom faucets, kitchen faucets and shower products are made from different materials to comply with the needs of the market with regard to design and functionality. To avoid damage to the product, it is necessary to take proper care of For best results: •...
-
Page 24: Indications Importantes
• Après le nettoyage rincez avec suffisamment d’eau claire pour éliminer les restes de produits attachés. • L’utilisation d’appareil de nettoyage à vapeur n’est pas autorisée, car les températures importantes peuvent détériorer les produits. Indications importantes • Les produits pour le corps comme les savons liquides, les shampooings ou les gels de douche peuvent causer des détériorations. -
Page 25: Limited Consumer Warranty
Limited Consumer Warranty This product has been manufactured and tested to the highest quality standards by Hansgrohe, Inc. (“Hansgrohe”). This warranty is limited to Hansgrohe products that are purchased by a consumer in the United States or Canada after March 1, 1996, and installed in either in the United States or in Canada. WHO IS COVERED BY THE WARRANTY This warranty extends to the original purchaser only. - Page 26 EXCLUSIONS AND LIMITATIONS REPAIR OR REPLACEMENT (OR, IN LIMITED CIRCUMSTANCES, REFUND OF THE PURCHASE PRICE) AS PROVIDED UNDER THIS WARRANTY IS THE EXCLUSIVE REMEDY OF THE PURCHASER. HANSGROHE NEITHER ASSUMES NOR AUTHORIZES ANY PERSON TO CREATE FOR IT ANY OTHER OBLIGATION OR LIABILITY IN CONNECTION WITH THIS PRODUCT.
- Page 28 Hansgrohe, Inc. • 1490 Bluegrass Lakes Parkway • Alpharetta, GA 30004 Tel. 800-334-0455 • Fax 770-360-9887 www.hansgrohe-usa.com...
Need help?
Do you have a question about the Axor Starck 10821 1 Series and is the answer not in the manual?
Questions and answers