Table of Contents
Advertisement
Quick Links
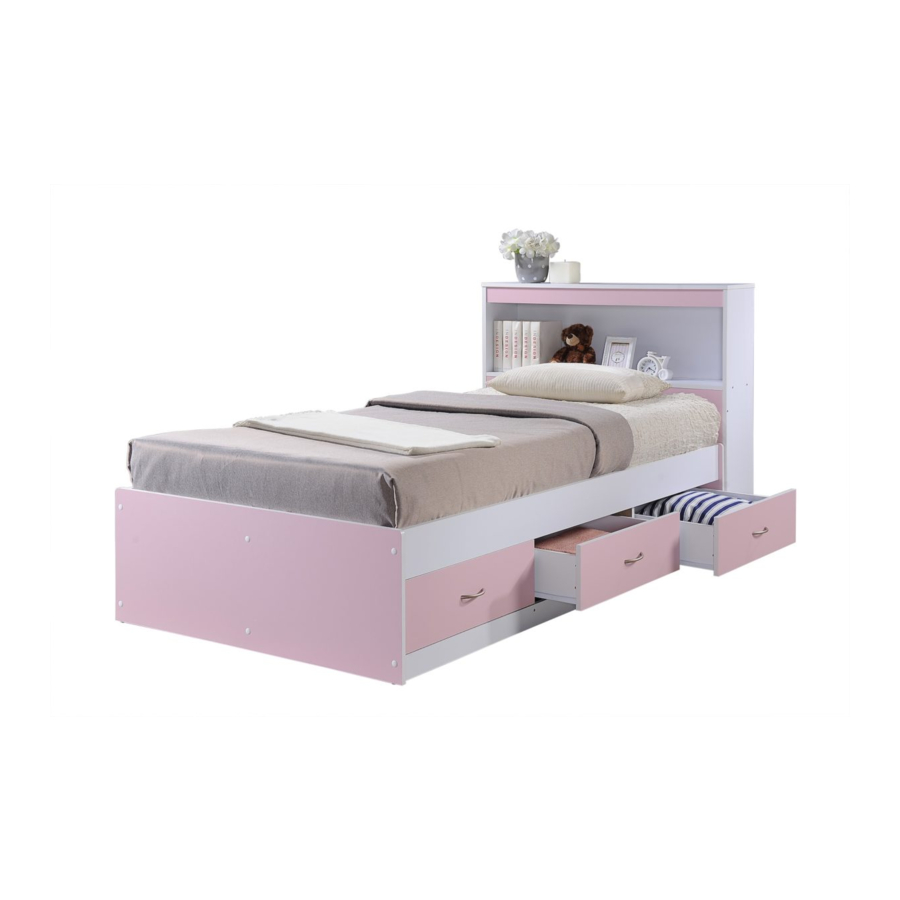
HIBT 60-MOPV (SINGLE BED)
~ Before assembly, please read the instructions ~
~ Keep these instructions for future reference ~
~ Follow these steps to assemble the Bed ~
THIS INSTRUCTION BOOKLET CONTAINS IMPORTANT INFORMATION ABOUT ASSEMBLY
AND SAFETY. PLEASE READ AND KEEP FOR FUTURE REFERENCE.
Hodedah
www.hodedah.com
support @hodedah.com
1
Advertisement
Table of Contents

Related Manuals for Hodedah HIBT 60-MOPV


Summary of Contents for Hodedah HIBT 60-MOPV
- Page 1 Hodedah www.hodedah.com support @hodedah.com ASSEMBLY INSTRUCTION HIBT 60-MOPV (SINGLE BED) ~ Before assembly, please read the instructions ~ ~ Keep these instructions for future reference ~ ~ Follow these steps to assemble the Bed ~ THIS INSTRUCTION BOOKLET CONTAINS IMPORTANT INFORMATION ABOUT ASSEMBLY...
- Page 2 Hodedah www.hodedah.com support @hodedah.com Parts Center Panel Stand Panel (Side Rail) 1 pc 2 pcs 1905 x 354 x 15mm 487.5 x 294 x 15mm The parts of the product are packed in one box. There are inner box(es) or package(s) that included components...
- Page 3 Hodedah www.hodedah.com support @hodedah.com Hardware And Accessories Plastic Dowel CSK Cap Screw CB Screw CB Screw CB Screw CB Screw M8 x 25mm M6 x 40mm M3.5 x 12mm M4 x 25mm M4 x 30mm M4 x 35mm 46 pcs...
- Page 4 Hodedah www.hodedah.com support @hodedah.com - This product contains small components, please ensure that they are kept away from small children. - THIS INSTRUCTION BOOKLET CONTAINS IMPORTANT SAFETY INFORMATION. PLEASE READ AND KEEP FOR FUTURE REFERENCE. DO NOT RETURN PRODUCT TO THE STORE.
- Page 5 - Never push, drag or pull your furniture (especially on carpet). Warranty Information Hodedah warrants this product to be free from defects in material and workmanship agrees to remedy any such defect. This warranty covers one year from the date of original purchase. This is solely limited to be repair or replacement of defective parts and no assembly labor is included.
- Page 6 Hodedah Hodedah www.hodedah.com www.hodedah.com support @hodedah.com support @hodedah.com Pre - Assembly Insert 4 Pvc Dowel A into the edge of Panel #1, 4 & 6 where are non-thru holes indicators, using hammer gently tap them in. Using a hammer gently tap the 3 Plastic Pin M into the bottom edge of Panel #1, 4 &...
- Page 7 Hodedah Hodedah www.hodedah.com www.hodedah.com support @hodedah.com support @hodedah.com Pre - Assembly Insert 4 Pvc Dowel A into the edge of Panel #2, 5 & 7 where are non-thru Place the drawer slide O1 onto holes indicators, using hammer gently the 3 marking area shown at tap them in.
- Page 8 Hodedah www.hodedah.com support @hodedah.com Assembly Of Drawer ( 1 ) - Tighten 2 screw C to Panel #7-1 inner thru hole. - Repeat same step foe next Panel #7-2 & 7-3. ( 2 ) - Place Panel #7-1 on each side of Panel #9 as shown.
- Page 9 Hodedah www.hodedah.com support @hodedah.com Assembly Instruction Set A Step 1 - Fix both Panel #2 onto Panel #1 by inserting the dowels onto the respective non-thru holes at Panel #1. - Use Allen Key N to tighten 4 screw F from the thru-holes of Panel #1 to non-thru hole of both Panel #2, as shown.
- Page 10 Hodedah www.hodedah.com support @hodedah.com Assembly Instruction Set A Step 2 - Fix Panel #5 onto Panel #1 by inserting the dowels onto the respective non-thru holes at Panel #1. - Insert 2 Barrel Nuts H to non-thru holes at Panel #1, 3 & 4.
- Page 11 Hodedah www.hodedah.com support @hodedah.com Assembly Instruction Set A Step 3 - Fix Panel #5 onto Panels #1, 3, 4 & 6. Align properly by inserting the dowel of Panel #1, 3, 4 & 6 onto non-thru holes of Panels #5.
- Page 12 Hodedah www.hodedah.com support @hodedah.com Assembly Instruction Set B Step 1 - Fix Panel #15 onto Panel #13 by inserting the dowels onto the respective non-thru holes at Panel #13. - Next, fix Panel #14 onto Panel #13 by inserting the dowels onto the non-thru holes at panel #13.
- Page 13 Hodedah www.hodedah.com support @hodedah.com Assembly Instruction Set B Step 2 - Lift up the unit & fix Panel #18 by inserting the dowels onto the non-thru holes at Part #18. - Insert Minifix Housing J1 onto non-thru holes at Panel # 13 & 17.
- Page 14 Hodedah www.hodedah.com support @hodedah.com Assembly Instruction Set B Step 3 - Joint the completed set A to set B. Insert 6 screw D From the inner of set B. Set B Set A CB Screw M4 x 30mm 6 pcs...
Need help?
Do you have a question about the HIBT 60-MOPV and is the answer not in the manual?
Questions and answers