
Related Manuals for Crystal Image Technologies RM-F117A-HDMI8


Summary of Contents for Crystal Image Technologies RM-F117A-HDMI8
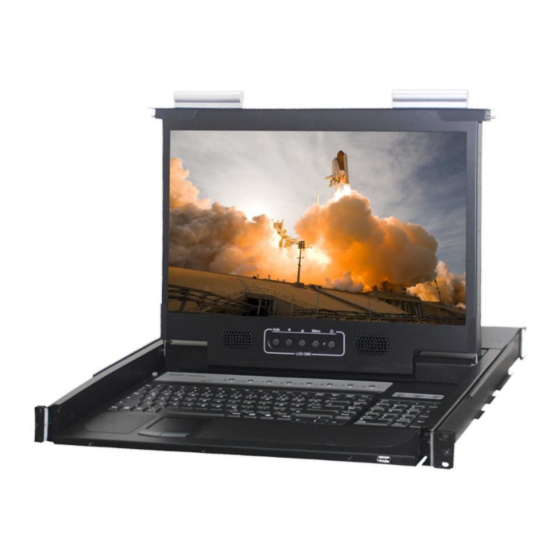
- Page 1 1RU 17.3” LCD Console Drawer with Integrated HDMI KVM Switch - Part# RM-F117A-HDMI8 User Manual...
-
Page 2: Table Of Contents
Contents Introduction ..........................3 Main Features ........................3 Package Contents ........................ 3 LED Panel ........................... 4 1.3.1 Buttons and Operations ....................4 Back Panels ......................... 4 USB2.0 Hub (at Front) ......................5 Hardware Installation ....................... 6 Computer/Server Installation ....................6 2.1.1 Connecting KVM switch to the host system .............. -
Page 3: Introduction
1. Introduction The 8-port HDMI LCD KVM Switch including HDMI, USB 2.0 and stereo audio. The HDMI KVM control up to 8 computers with HDMI display output from a single keyboard, Switch allows you to mouse and monitor. It supports 1920 x 1200 resolution for your maximum convenience in adapting to your display requirements. -
Page 4: Led Panel
LED Panel LEDs for each Host Port Port Number Select Button Figure 1. LED Panel View 1.3.1 Buttons and Operations There are 8 push buttons on the LED panel. The operations described in below. (1) The “1”, “2”, “3”, “4”, “5”, “6”, “7”, “8” are the port number select buttons You can select to the required port number by press the port number to switch the port directly. -
Page 5: Usb2.0 Hub (At Front)
USB2.0 Hub (at Front) It provides a front port USB2.0 HUB for convenient access the USB devices at front. USB2.0 HUB port 5 / 13... -
Page 6: Hardware Installation
2. Hardware Installation Before installation, please make sure all of the peripherals and computers have been turned off. Computer/Server Installation Figure 3. Computer/Server Installation 2.1.1 Connecting KVM switch to the host system In order to connect the KVM switch of the host system perform the following steps: Step 1. -
Page 7: Power Up Sequence
Power Up Sequence Double check whether all cables/connectors are properly connected. You can check the keyboard and mouse connectors to ensure the connectors and cables are connected correctly. The recommended Power Up sequence is as follows: Monitor, KVM Switch, finally the Computers. -
Page 8: Usage
3. Usage Now that you have connected your console and servers to your KVM Switch, it is ready for use. You can control the KVM switch by two methods: Using push buttons located on the LED panel of the KVM Switch Using hot-key commands through the console keyboard It takes few seconds for the video signal to refresh after switching servers. -
Page 9: Hot Plug
Hot Plug The KVM Switch supports “Hot Plug” function for USB keyboard and mouse connectors. Note: Normally, USB port is Hot pluggable, but some OS (Operation Systems), do not ■ support USB Hot Plug function. If you apply Hot Plug to this kind of OS, it will cause unpredictable behavior or shut down the Computer. -
Page 10: Technical Specifications
4. Technical Specifications Feature Specification KB/MS: USB B Type Host Port Connector Video: HDMI (digital) Host Ports Video Resolution Up to 1920 x 1200 1 x USB2.0 Type-A connector (front) USB 2.0 HUB port 2 x USB2.0 Type-A connector (rear) (1) Hotkey Computers Selection (2) Push button... -
Page 11: Troubleshooting
5. Troubleshooting No LED display on KVM Switch ■ Make sure the power adapter plugged into the KVM Switch. If the LED’s still won’t light, perform soft reset to KVM switch. ■ Power cycle KVM switch. The computer has started up, but keyboard or mouse won’t work Make sure your keyboard and mouse work fine if directly plugged into the computer. -
Page 12: Glossary
6. Glossary The following definitions are used throughout this User Manual. ■ Auto-Scan: A mode of operation where the KVM switch scans from one port to another, on an ongoing basis, as configured by the user. ■ Console: The all-in-one term for the keyboard, video monitor, mouse, and audio connected to a KVM switch. -
Page 13: Certifications
7. Certifications This equipment has been tested and found to comply with Part 15 of the FCC Rules. Operation is subject to the following two conditions: (1) This device may not cause harmful interference (2) This device must accept any interference received. Include interference that may cause undesired operation.
Need help?
Do you have a question about the RM-F117A-HDMI8 and is the answer not in the manual?
Questions and answers