
Subscribe to Our Youtube Channel
Related Manuals for emaux E-Lumen X


Summary of Contents for emaux E-Lumen X
- Page 1 E-Lumen X Retrofit Underwater Light INSTRUCTION MANUAL Keep this Manual for futrue reference...
-
Page 2: Table Of Contents
CONTENTS WARNING ------------------------------------------------------ 2 PRODUCE DESCRIPTION ------------------------------------------ 3 CONTROL ------------------------------------------------------ 4 INSTALLATION NOTES -------------------------------------------- 5 INSATALLATION ------------------------------------------------- 7 MAINTENANCE AND TROUBLE SHOOTING -------------------------- 11 REPLACEMENT PARTS ------------------------------------------- 12... -
Page 3: Warning
WARNING Please read the manual carefully before commencing installation. This manual contains important information about the correct installtion and operation of E- Lumen X lights. Before — · Only qualified electrician is allowed to carry out the installation of this product. ·... -
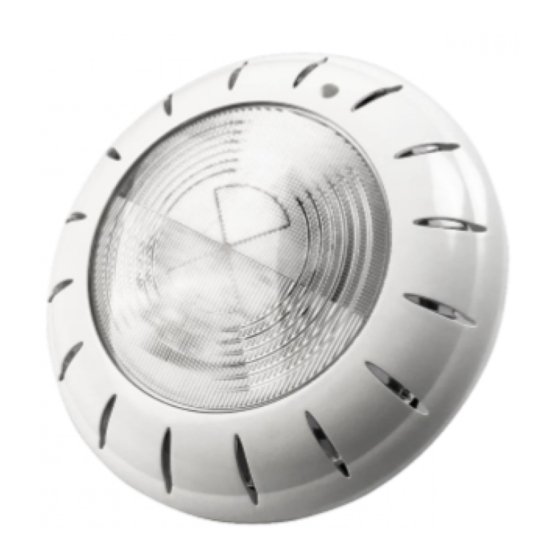
Page 4: Produce Description
PRODUCT DESCRIPTION SPECIFICATION — Electrical Specification : 1) Standard Voltage : AC12-32V 2) Frequency : 50/60Hz 3) Power : 25W 4) Mode of operation : ON/OFF Mode or E-Direct control box COLOR CHANGE — Description Mode Cool White White Single Green Green Single Blue Blue... -
Page 5: Control
CONTROL 1) When the light is connected to the transformer directly, the on/off switch controls the colour changes (Associating a light with a transformer and an on/off switch is recommended; If you want all the lights to change colour at the same time, install a master switch, Figure 1). -
Page 6: Installation Notes
INSTALLATION NOTES 1) The light have retrofit. You should follow the procedures closely when installing the light. 2) It is recommended to install a light every 20㎡, the approximate exposure area of each unit. 3) The lights should be installed in the direction that they will not shine directly into the house. 4) For training or competition pools, the lights must be installed on the sides in order to prevent swimmers from seeing any glare. -
Page 7: Insatallation
INSATALLATION A) Preparing to Install 1)Before installation,a circuit system diagram must be designed by a certified engineer. 2)The circuit system must comply with local laws and regulations and must be carried out by qualified electricians. 3)Make sure the voltage is 12-32V and the terminal box is at least 120cm from the poolside (Figure 3) . - Page 8 4)Assemble Retrofit connector.First,the cable thru Nut,Washer,Pressing Base in order(Attention: there are five sized stoppers),Connector Housing.Put Two sized O-Ring to Connector Housing.And insert two Copper Pins to Connector Internal,the power cable is thrued Copper Pins and hold it tight by the screws. Pull the cable back and Tighten Nut, the front face is keeped the frush for Connector Housing and Connector Internal.Figure 5 Connector...
- Page 9 C) Vinyl Pool Installation and Retro-Installation 1) Retro plate into the concrete wall or install on other part , making sure that it is parallel to the side of the pool. Or Retro Plate install on other types plate,and relpace other lights.
- Page 10 D) Fiberglass Pools / Vinyl Pools Installation 1) Refer to section "Preparing to Install”. 2) Make 2 holes on the pool wall (Figure 12). 3) Place the o-rings between the Mounting Plate and the pool wall and tighten it with the Nut on the other side of the pool wall (Figure 13). 4) Put the cable sequentially through the sealing Nut, the sealing O-ring and the cable hole on the mounting plate;...
-
Page 11: Maintenance And Trouble Shooting
4) This unit does not need any kind of maintenance. If it is not working properly, please contact EMAUX authorized dealer where you purchase the unit from. 5) Warranty will be voided if the Emaux Underwater Light was dismantled by unauthorized personnel. -
Page 12: Replacement Parts
REPLACEMENT PARTS Item No. Part No. Description 03011058 The light is dim White Plastic Lid Gray Plastic Lid 440256797 Blue Plastic Lid Stainless Steel Lid 20 LEDs Panel 25W Color E042601 440526797 Fastener 3011364 M4*12 Flat head self-tapping screw E042602 Retro-fit connector E042603 Retro Pool Fitting...
Need help?
Do you have a question about the E-Lumen X and is the answer not in the manual?
Questions and answers