Advertisement
Quick Links
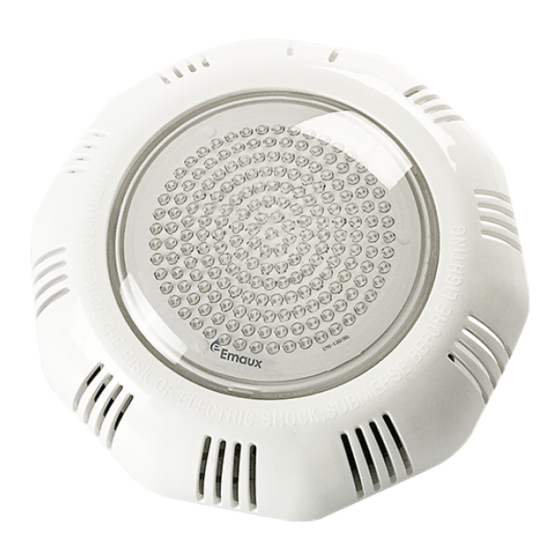
REPLACEMENT PARTS
Key No.
Part No.
1
01050119
Lights Face plate
2
03011364
M4*12 Screw
3
04011109
Bulb plate 12V/8W 198LEDs For white Colour Only
3
04011110
Bulb plate 12V/8W 198LEDs For Colour-changing Only
3
04011113
Bulb plate 12V/8W 198LEDs For Blue Colour Only
4
03011364
M4*12 Screw
5
01012005
UL/LED-TP100 Lights Bracket
6
03011363
M4*16 Screw
7
89040401
UL/LED-TP100 Lights Vinyl pool Fitting
8
89040501
LED-TP100 Lights Concrete Pool Fitting
Never operate this Underwater Light for more than 10 seconds unless it is totally
!
submerged in water. Without total submersion, the light assembly will get extremely hot,
which may result in serious injury to pool users, installers, or bystanders, or in damage to
property.
!
Be sure power is off before installing or removing lamp. Allow lamp to cool before
relamping. This light fixture uses a Halogen Quartz lamp. Do Not touch lamp with bare
hand, this may severely reduce its life. Use the plastic furnished with the replacement
lamp to eliminate finger prints from getting on lamp.
Description
WARNING
4-4
LED-TP100 Series Underwater Light
Qty
1
1
1
1
1
2
1
2
1
PLEASE READ THE FOLLOWING CAREFULLY AND
1
KEEP THIS USER MANUAL SAVE FOR FUTURE REFERENCE
RISK OF ELECTRICAL SHOCK OR ELECTROCUTION
This underwater light fixture must be installed by a licensed or certified electrician or a
qualified serviceman in accordance to the requirements of your government standard or
local authorities. Improper installation will create electric hazards which could result in
serious injury, death as well as damage to the property. Before servicing the light,
disconnect the power supply from the circuit breaker. Failure to do so could result in serious
injury, death and or damage to the property.
Operating Procedures
DANGER !
1-4
EMLI16022768
Advertisement

Related Manuals for emaux LED-TP100 Series


Summary of Contents for emaux LED-TP100 Series
- Page 1 REPLACEMENT PARTS LED-TP100 Series Underwater Light Operating Procedures Key No. Part No. Description 01050119 Lights Face plate 03011364 M4*12 Screw 04011109 Bulb plate 12V/8W 198LEDs For white Colour Only 04011110 Bulb plate 12V/8W 198LEDs For Colour-changing Only 04011113 Bulb plate 12V/8W 198LEDs For Blue Colour Only...
- Page 2 2) Connect conduit to midst of Mounting Spacer (left of Bracket),see Figure 2. INSTALLATION 3) If pool surface is to be plastered, you must allow proper concrete cutback for plaster thickness. Finish concrete surface must be flush with Mounting Spacer. CAUTION: Finish area surrounding Mounting Spacer MUST be flat and flush with the face of Mounting Spacer, this ensures a snug A) Preparatory steps which must be completed by the electrician before light fit between light and wall, see Figure 3.
Need help?
Do you have a question about the LED-TP100 Series and is the answer not in the manual?
Questions and answers