
Related Manuals for Steelcase Ology


Summary of Contents for Steelcase Ology
- Page 1 ® Ology Boundary Screen ™ #2 SQUARE 5/32” 888.STEELCASE (888.783.3522) www.steelcase.com © 2019 Steelcase Inc. Page 1 of 4 Grand Rapids, MI 49501 U.S.A. 1360035001 Rev A...
- Page 2 ® Single Sided Dual Sided Assemble Mounting Bracket 1) Using (3) M6 button head thread forming screws (provided) attach the mounting bracket to underside of cross-tube weldment. TIP: Note hole positions used on single sided (see arrows), centered on dual sided applications. 2a) Use a level to check for vertical orientation.
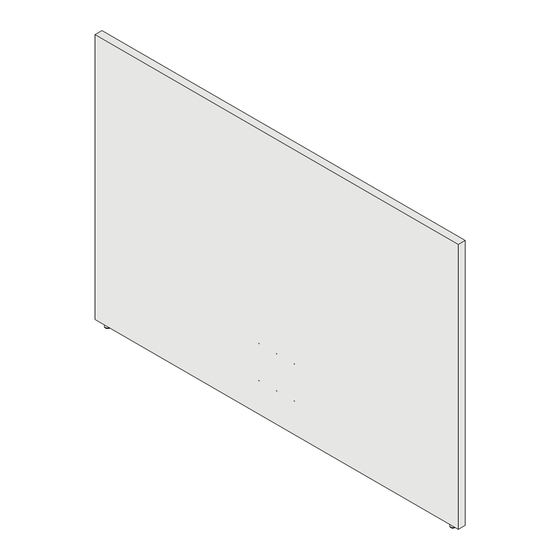
- Page 3 ® Attach the Boundary Screen 3a) Position boundary screen against bracket and check for alignment of the pilot holes (6X), 3b) adjust the screen leveler glides, if necessary, to match the pilot hole pattern to slots in bracket, 3c) secure using (6X) #10-12 x .625 screws (provided). TIP: Check screen for 1”...
- Page 4 ® Install Trim 4a) Flex sides of trim cover open to overlap mounting bracket. 4b) engage “V-tabs” to slots, then 4c) push cover tight to boundary screen. Page 4 of 4 1360035001 Rev A...
Need help?
Do you have a question about the Ology and is the answer not in the manual?
Questions and answers