Advertisement
Quick Links
®
888.STEELCASE (888.783.3522)
www.steelcase.com
© 2016 Steelcase Inc.
Grand Rapids, MI 49501
U.S.A.
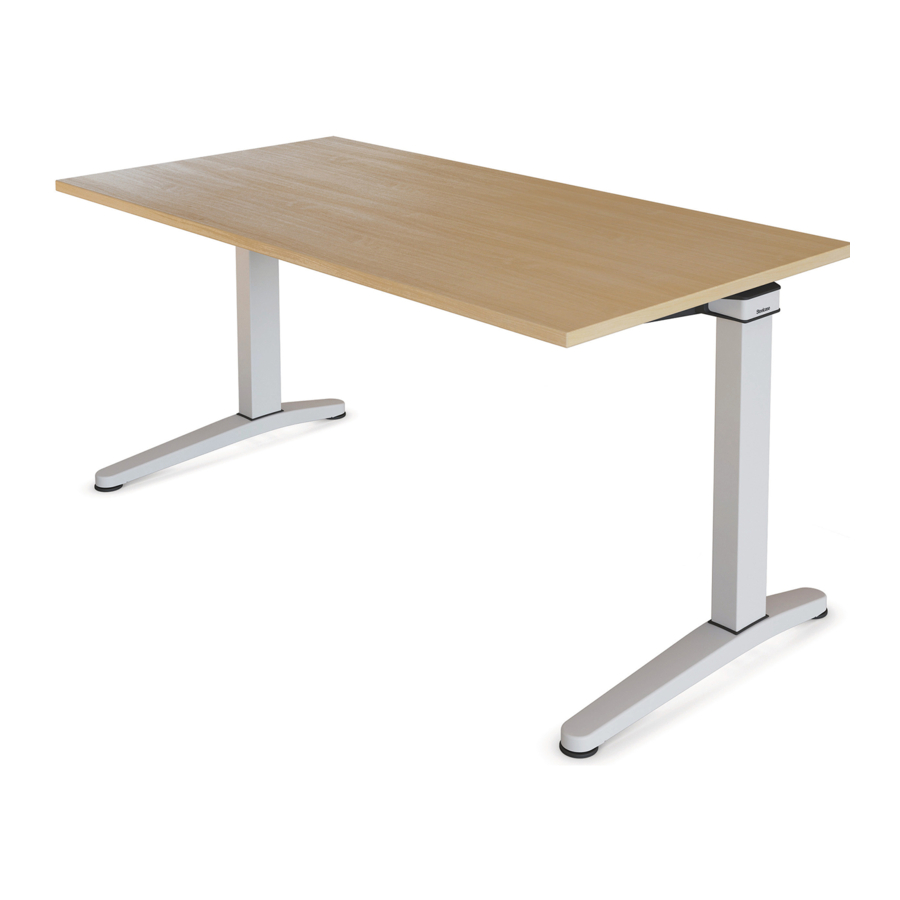
Ology
Height Adjustable Rectangular & Tapered Desks
™
Bureaux rectangulaires et coniques réglables en hauteur Ology
Escritorios Ology
Pour usage commercial et domestique
rectangulares y cónicos de altura ajustable
™
Para uso comercial y doméstico
25267701
For Commercial & Home Use
™
3, 5 & 6mm
#2
10mm
3, 5 & 6mm
TORQUE WRENCH
CLÉ À COUPLE
LLAVE DE TORSIÓN
Page 1 of 27
P/N 25267701
Doc # 67488 Rev T
Advertisement

Related Manuals for Steelcase Ology Height Adjustable Rectangular & Tapered Desks


Summary of Contents for Steelcase Ology Height Adjustable Rectangular & Tapered Desks
- Page 1 3, 5 & 6mm 10mm 3, 5 & 6mm TORQUE WRENCH CLÉ À COUPLE LLAVE DE TORSIÓN 888.STEELCASE (888.783.3522) www.steelcase.com Page 1 of 27 © 2016 Steelcase Inc. 25267701 P/N 25267701 Grand Rapids, MI 49501 Doc # 67488 Rev T U.S.A.
- Page 2 Increase the separation between the equipment and receiver. Connect the equipment into an outlet or a circuit different from that to which the receiver is connected. Consult the dealer or an experienced radio/TV technician for help. P/N 25267701 Doc # 67488 Rev T Important: Changes or modifications to this product not authorized by Steelcase could void your authority to operate the product.
-
Page 3: Important Safety Instructions
PLUG ILLUSTRATION DISCLAIMER - Illustrations shown here may not match your product. Depending on your region, the plug pin size OUTLET BOX and shape may change. Figure 2 OPERATING INSTRUCTIONS Grounding methods Page 3 of 27 Please refer to the provided User Guide, which is also available at www.steelcase.com P/N 25267701 www.steelcase.com/migrationse/userguide/en Doc # 67488 Rev T... - Page 4 Consulter le revendeur ou un technicien expérimenté en radio/télévision pour obtenir de l'aide. P/N 25267701 Important : Les changements ou modifications non autorisés par Steelcase apportés à ce produit pourraient annuler votre droit d'utiliser le produit. Doc # 67488 Rev T...
- Page 5 En fonction de votre région, la taille et la forme des broches de la fiche peuvent changer. Figure 2 Méthodes de mise à la terre Page 5 of 27 MODE D’EMPLOI P/N 25267701 Veuillez vous reporter au Guide de l'utilisateur fourni, lequel est également disponible sur www.steelcase.com www.steelcase.com/migrationse/userguide/fr Doc # 67488 Rev T...
- Page 6 Consulte con el distribuidor o con un técnico de radio / TV experimentado para obtener ayuda. P/N 25267701 Doc # 67488 Rev T Importante: Los cambios o modificaciones a este producto no autorizados por Steelcase pueden anular la autorización que tiene para operar el producto.
-
Page 7: Instrucciones De Operación
Dependiendo de su región, el tamaño y la forma de la clavija del enchufe puede cambiar. Figura 2 Métodos de conexión a tierra Page 7 of 27 INSTRUCCIONES DE OPERACIÓN P/N 25267701 Por favor remítase la guía del usuario provista, que también está disponible en www.steelcase.com Doc # 67488 Rev T www.steelcase.com/migrationse/userguide/es... - Page 8 Some of these parts are considered by regulatory bodies to be critical components. If any parts shown here do not match your order, please contact Steelcase at www.steelcase.com/contact-us Estos dibujos identifican las piezas incluidas en su mesa de altura regulable. Algunas de estas piezas son consideradas por los organismos reguladores como componentes críticos.
- Page 9 Some of these parts are considered by regulatory bodies to be critical components. If any parts shown here do not match your order, please contact Steelcase at www.steelcase.com/contact-us Estos dibujos identifican las piezas incluidas en su mesa de altura regulable. Algunas de estas piezas son consideradas por los organismos reguladores como componentes críticos.
- Page 10 ® 35" (889mm) 23" (584.2mm) NOTE: This part is handed. (RH shown in isometric view) REMARQUE: Cette partie a deux côtés. (Côté droit illustré en vue isométrique) NOTA: Esta parte tiene dos lados. (El lado derecho se muestra en vista isométrica) 29"...
- Page 11 ® NOTE: For Overhang Option Only REMARQUE: Pour le surplomb option seulement 35" NOTA: Solo para la opción de voladizo (889mm) " (584.2mm) or 29 " (736.6mm) NOTE: Loosen glides. NOTE: Attach one leg only REMARQUE: Desserrez les patins. REMARQUE: Fixez un pied seulement NOTA: NOTA: Sujete solo una pata Afloje los deslizadores.
- Page 12 ® Loosen bolts almost Longer cable all the way. 78" (2 M) Desserrez les boulons Câble plus long presque complètement. (2 M) Afloje los tornillos Cable más largo casi por completo. 78 Pulg (2 M) Shorter cable 39" (1 M) Câble plus court 39 po (1 M) Page 12 of 27...
- Page 13 ® Tube Orientation: Hole on tube can be placed on the Left or Right Hand side depending on User Preference. Hole on tube can face front or back. Place towards back if there is no Cable Tray or Basket. Orientation du tube: Le trou sur le tube peut être placé...
- Page 14 ® NOTE: Loosen glides. REMARQUE: Desserrez les patins. NOTA: Afloje los deslizadores. 11 4X 221 in-lbs (25 Nm) Page 14 of 27 P/N 25267701 Doc # 67488 Rev T...
- Page 15 ® Placement of Control Box ______________________ If you have a Cable Basket or Power Access Door in the Back, place Control Box in the Front of the Frame Tube. Otherwise, place the Control Box behind the Frame Tube for best knee clearance. Place Control Box on the same side as the desired User Switch location (Left or Right).
- Page 16 ® Route and make cable connections Acheminez et connectez les câbles Enrute y conecte los cables WARNING AVERTISSEMENT ADVERTENCIA STRAIN RELIEF IS FOR COMMERCIAL USE ONLY. SOULAGEMENT DE TENSION EST POUR UN USAGE COMMERCIAL SEULEMENT. EL ALIVIO DE TENSIÓN ES SOLO PARA USO COMERCIAL. RISK OF SERIOUS INJURY.
- Page 17 ® For 4 Preset Only Pour 4 préréglages uniquement Solo para 4 preestablecidos 4 Preset Active & Simple Touch 4 préréglages Commutateur tactile active et simple 4 preestablecidos Interruptor táctil activo y simple Page 17 of 27 NOTE: Gasket for Simple Touch Only. See Arrow for correct orientation. P/N 25267701 REMARQUE: Joint pour le commutateur tactile simple uniquement.
- Page 18 ® For Active Touch Only: Tap the Switch. Each time it is pressed, it will toggle between 22.6" and 27.3", the 2 different starting heights. 22.6" = Extended Legs 27.3" = Basic Legs 22.6" Plug the desk (574mm) Once the desired height is into power.
- Page 19 ® Press down to initialize the desk, holding for 3 seconds. After initialization, the legs will now adjust vertically. Appuyez vers le bas pour initialiser le bureau, en le tenant pendant 3 secondes. Après l'initialisation, les pieds s'ajusteront verticalement. Extended Leg: 22.6"...
- Page 20 ® 1a 2X 1b 4X Rail Option: (If Applicable) Option du rail: (Si applicable) Opción de riel: (Si es aplicable) Page 20 of 27 P/N 25267701 Doc # 67488 Rev T...
- Page 21 ® 9" < = (228.6mm) Page 21 of 27 P/N 25267701 Doc # 67488 Rev T...
- Page 22 ® Page 22 of 27 P/N 25267701 Doc # 67488 Rev T...
- Page 23 ® Power Access Door Option: (If Applicable) Option de porte avec accès électrique: (Si applicable) Opción de puerta con acceso eléctrico: (Si es aplicable) Page 23 of 27 P/N 25267701 Doc # 67488 Rev T...
- Page 24 ® Page 24 of 27 P/N 25267701 Doc # 67488 Rev T...
- Page 25 ® Grommet Option: (If Applicable) Option passe-fils: (Si applicable) Opción de ojal: (Si es aplicable) Page 25 of 27 P/N 25267701 Doc # 67488 Rev T...
- Page 26 ® Page 26 of 27 P/N 25267701 Doc # 67488 Rev T...
- Page 27 ® Page 27 of 27 P/N 25267701 Doc # 67488 Rev T...
Need help?
Do you have a question about the Ology Height Adjustable Rectangular & Tapered Desks and is the answer not in the manual?
Questions and answers