Table of Contents
Advertisement
Quick Links
Accessory List
Attention: The drawings below are only for reference which might be slightly different from the actual object, please in kind prevail. Any tools missing
or installation problems, please contact the customer service firstly.
A
B
C
x3
x12
ST4.2
M6
M6
Part List
1
2
3
Joint Table Board Assemblyx1
Adjustable Table Board Assemblyx1
Desktop Assemblyx1
4
5
6
7
Left Adjusting Railx1 Right Adjusting Railx1
Feetx2
Lifting column x2
10
11
12
1 3
Knob Screwx1
Hand switchx1
Adaptorx1
Power plug x1
Item No.: SPE-S122WO
Installation guide
Technical Data
Column Number
Maximum Load
50KG
(Whole Desk)
Maximum Load
(Joint Table Board)
Maximum Load
Five-range height adjustment, each 25.4mm,
(Adjustable Table Board)
maximum 12KG
25mm/s
Max Speed
100-240V
Input Voltage
730mm
Lowest Position
1230mm
Highest Position
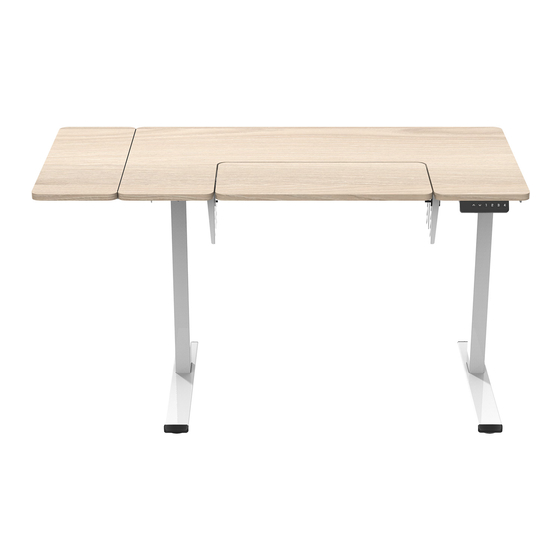
1100*600mm
Main Desktop Size
Joint Desktop Size
230*600mm
580*265mm
Adjustable Desktop Size
Continuous operation for 2 mins at most after
Duty Cycle
pause for 18 mins
0~4 0°C
Applicable Temperature
D
x8
x1
4x4
5x5
(With cross)
Installation Instruction
9
3
8
4
8
9
2
6
Supporting plate1x1
Supporting plate2x1
7
1 4
15
Cablex1
Cable mountsx4
STEP1
B
x4
D
4x4
longside of the
lifting colum
2
2
Shortside of the desktop
STEP2
C
x8
D
4x4
STEP3
A
x3
1
D
5x5
5
11
12
10
15
13
14
Install the lifting column
2
Rotate the column after
inserting it to the bottom
to avoid height difference
1
Install the lifting column (2) to the
tabletop(1), then tighten the
screws (B) with allen key (D)
Install the feet
D
C
7
6
Install the feet (4) to the lifting columns (2) with the
screw (C)and tighten it with 4*4 wrench (D)
Install the hand switch
1
D
A
11
Position the hand switch (3) as shown in the picture to align
the three screw holes on the tabletop, then fix it with the
screw (A)and tighten it with 5*5 wrench (D)
1
2
Insert
Insert the hexagon head of the column
Rotate the column after inserting
along the wiring trough, the side of the
it, making the screws on the
wire head facing the motor
supporting beam into the column slot
3
4
D
B
Screws
Tighten the screws(B) with 4x4 allen key
D
A
Advertisement
Table of Contents

Related Manuals for Spacetronik SPE-S122WO


Summary of Contents for Spacetronik SPE-S122WO
- Page 1 STEP1 Install the lifting column Item No.: SPE-S122WO Insert Installation guide Rotate the column after inserting it to the bottom to avoid height difference Insert the hexagon head of the column Rotate the column after inserting along the wiring trough, the side of the...
- Page 2 The direction of the arrow on the adjusting rail points to the direction Install and adjust the desktop STEP4 STEP6 Connect all cables to the adaptor of the control box assembly The reserved hole is close to Put the adjustable table board (3) into the the side of the control box notch of the main table board, and align the screw slot of the adjusting rail(4) with...
Need help?
Do you have a question about the SPE-S122WO and is the answer not in the manual?
Questions and answers